/

Samsung Impression Camera Replacement

What you need

  1. Samsung Impression Camera Replacement, Samsung Impression Camera Replacement: step 1, image 1 of 1
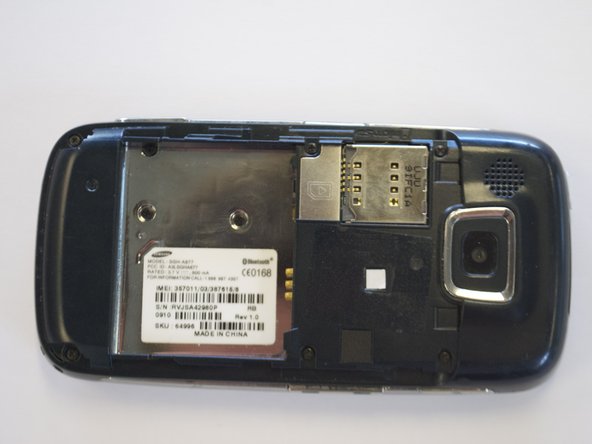
    • Orient the phone with the screen facing down.

    • Using your thumb, slide the back panel away from the camera to expose the battery.

  2. Samsung Impression Camera Replacement: step 2, image 1 of 2 Samsung Impression Camera Replacement: step 2, image 2 of 2
    • Grip the battery on its sides, opposite the direction of the white arrow.

    • Pry the battery up. It will pivot at the end with the white arrow. The battery will now be free.

  3. Samsung Impression Camera Replacement: step 3, image 1 of 1
    • Remove the 6 outer screws.

    • The screws should be 3.5 mm in length.

    • Put the screws in a safe place as they are very small and easy to lose.

  4. Samsung Impression Camera Replacement: step 4, image 1 of 1
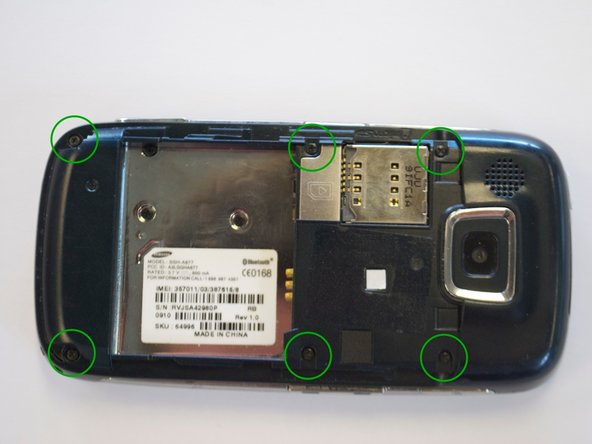
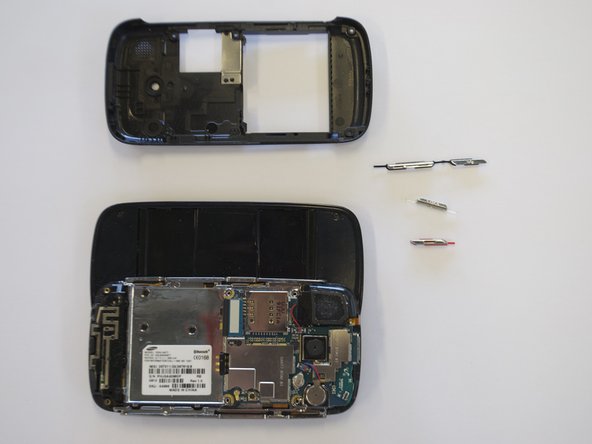
    • Snap off back the cover by gently prying around the top and bottom edges with a flat head screwdriver.

    • It may help to slide the touchscreen upwards when removing the back panel.

    • The side buttons will become loose and are prone to fall out, so put these in a safe place.

  5. Samsung Impression Camera Replacement: step 5, image 1 of 1
    • To free the circuit board, remove the black wire that is holding it down.

    • You can remove the wire by gently prying up the gold terminator that is attached to the green circuit board. A gentle tug is all it will take.

  6. Samsung Impression Camera Replacement: step 6, image 1 of 2 Samsung Impression Camera Replacement: step 6, image 2 of 2
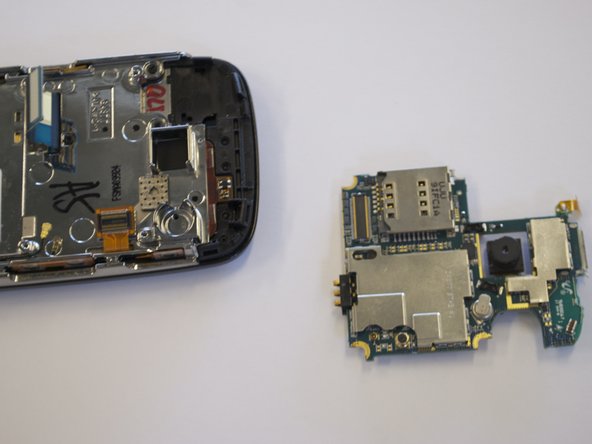
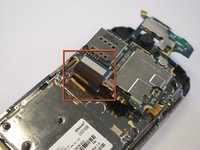
    • The circuit board will still be held on by a blue and black ribbon that is removed by gently pulling it upwards.

  7. Samsung Impression Camera Replacement: step 7, image 1 of 2 Samsung Impression Camera Replacement: step 7, image 2 of 2
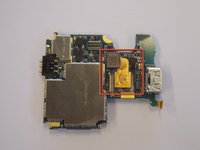
    • Turn the circuit board over.

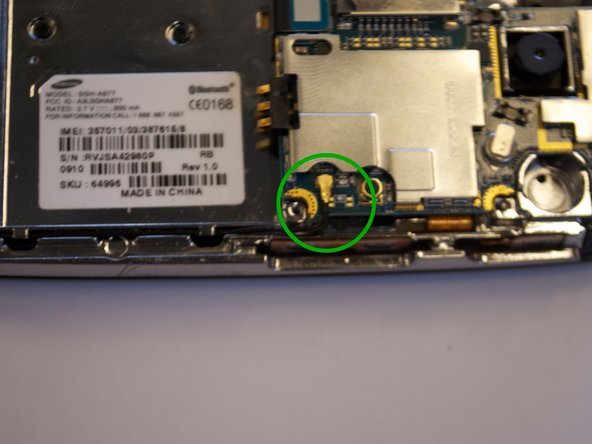
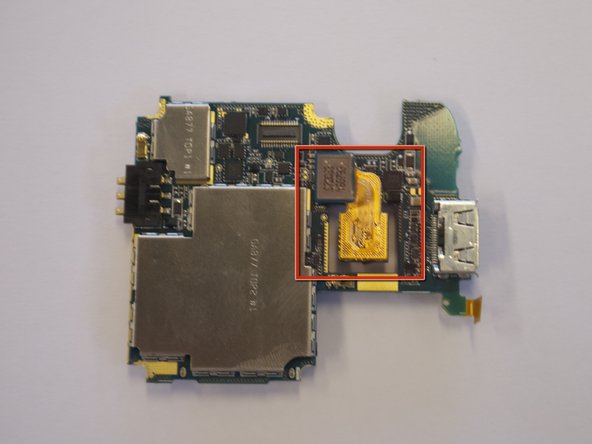
    • The bottom of the camera will have a gold ribbon coming out of it which attaches to the circuit board.

    • Pull upwards on the blue rectangle where the gold ribbon ends. This will remove the camera from the circuit board.

Conclusion

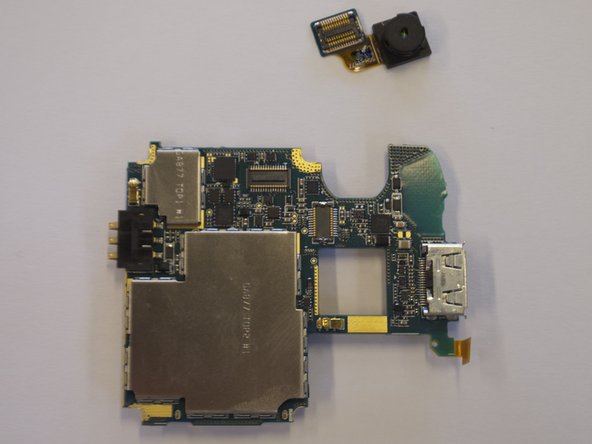
To reassemble your device, follow these instructions in reverse order.

System

Member since: 09/24/09

2,562 Guides authored

0 Comments

Add Comment

View Statistics:

Past 24 Hours: 0

Past 7 Days: 0

Past 30 Days: 0

All Time: 0