
-
-
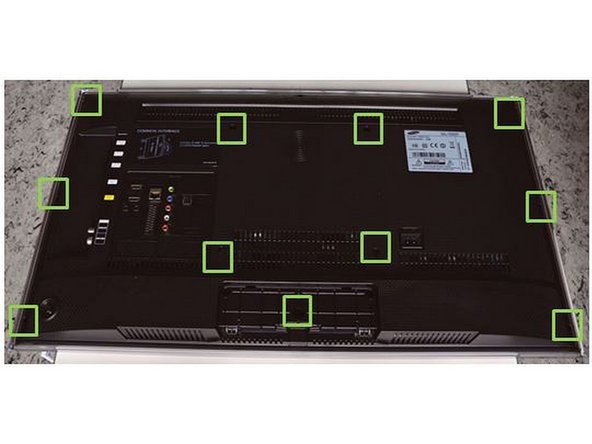
Place the TV screen side-down.
-
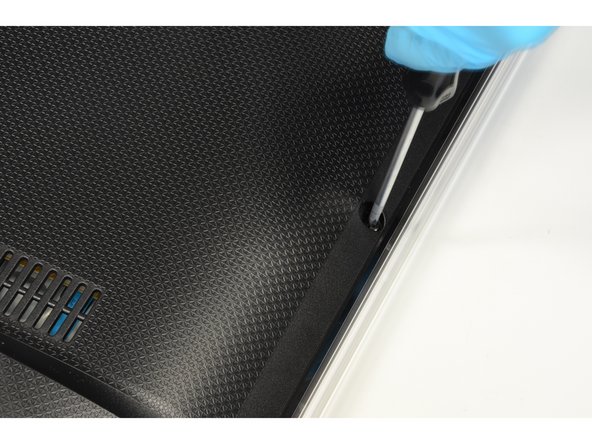
Using PH#2 screwdriver, begin to loose the eleven screws of the back-casing (highlighted in green boxes).
-
Work your way around the TV until you can pull the back cover off.
-
-
-
Note that two different type of polymers are molded together (red box). It is not possible to further separate them.
-
-
-
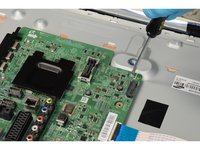
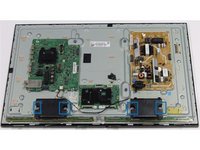
Remove cables: Disconnect all twelve connectors (highlighted in red boxes) and separate the tapes used to fix cables to the metal casing.
-
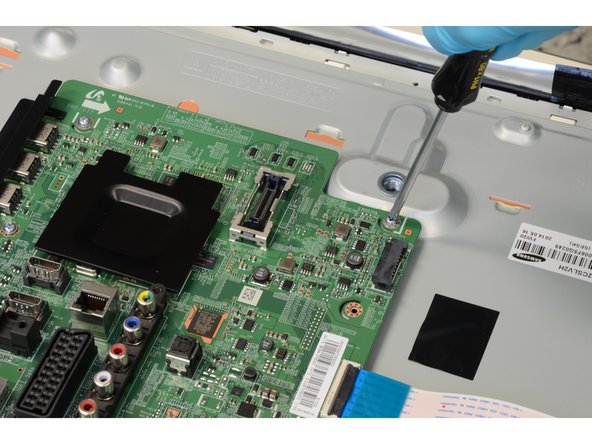
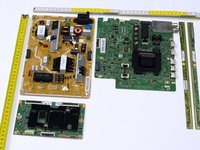
Remove Printed Circuit Boards (PCB): Using PH#2 screwdriver, begin to loose the thirteen screws (highlighted in green boxes) which fix the PCBs to the metal casing.
-
-
-
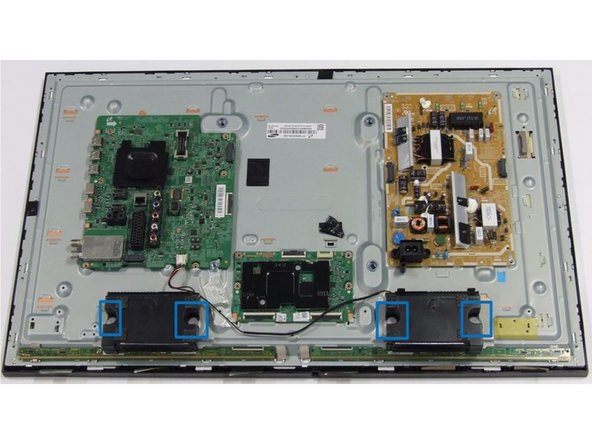
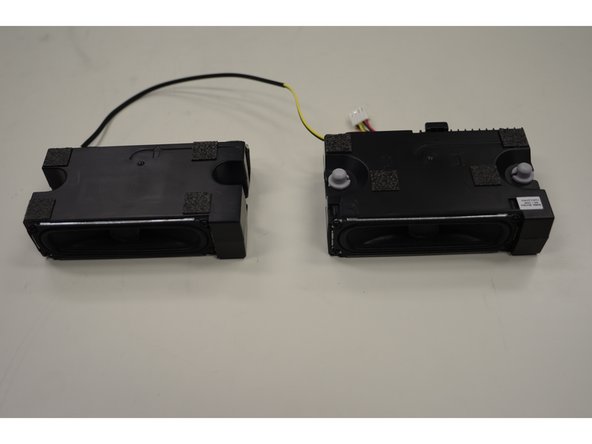
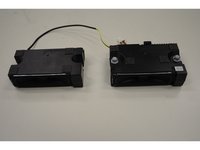
Remove the speakers by extracting them manually from their mountings (blue boxes).
-
-
-
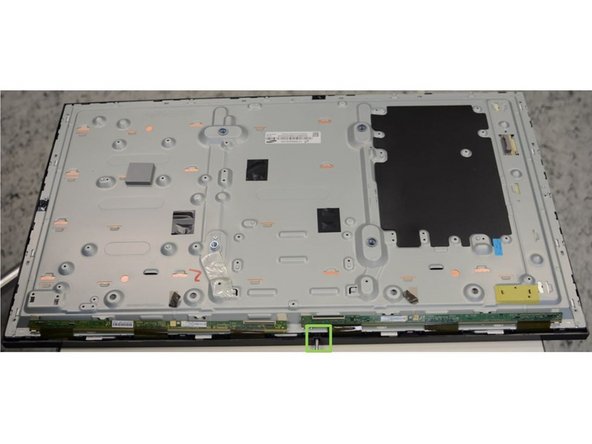
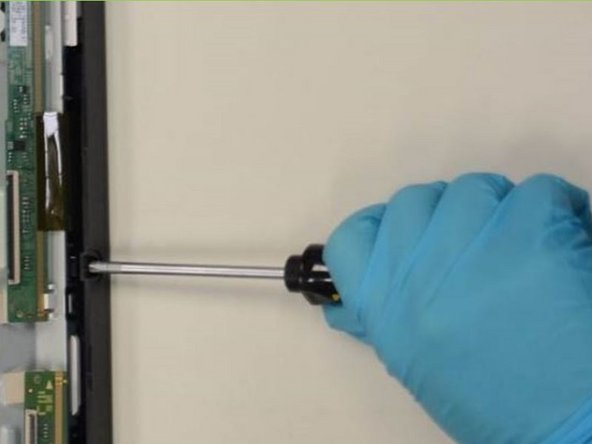
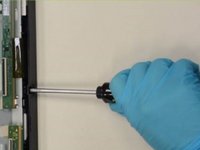
Using PH#1 screwdriver, loose the only screw that fixes the front frame and the display unit (highlighted in green box).
-
Place the TV facing screen up and remove the front frame.
-
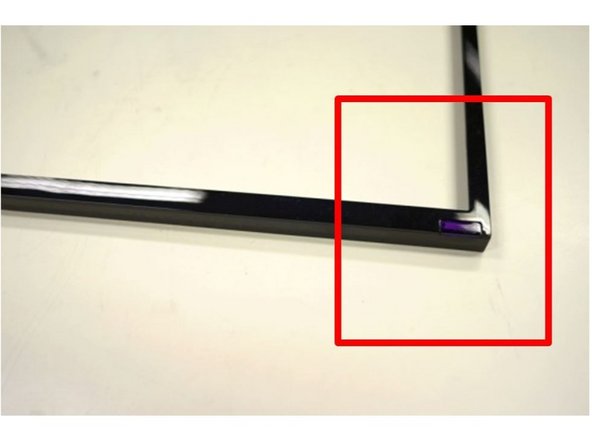
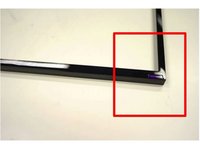
Again, as with the back-housing, the front frame contains two different polymer types molded together (red box).
-
-
-
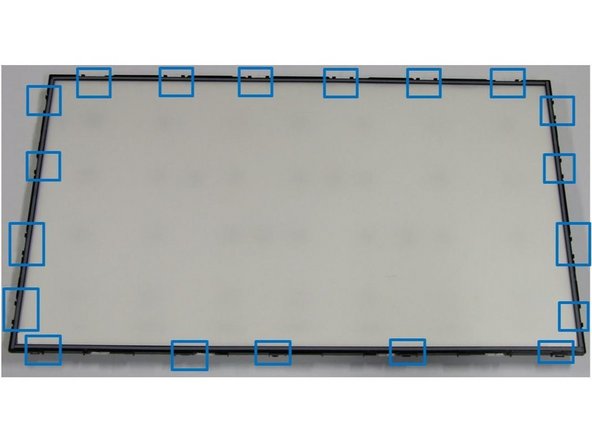
Using a slotted screwdriver, begin to lever the nineteen clips of the inner frame (highlighted in blue boxes) starting at the bottom of the TV.
-
Continue to work your way around the frame counterclockwise until you can pull the frame off.
-
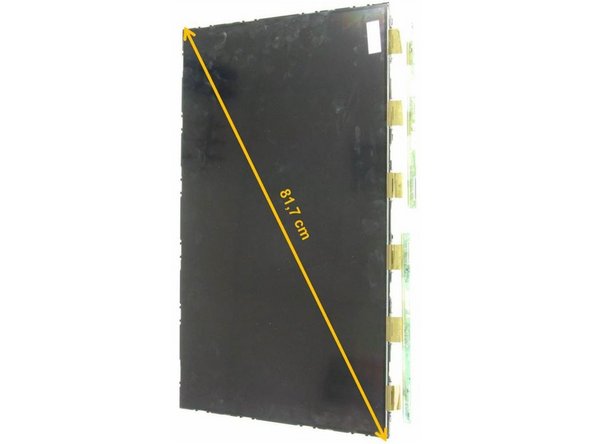
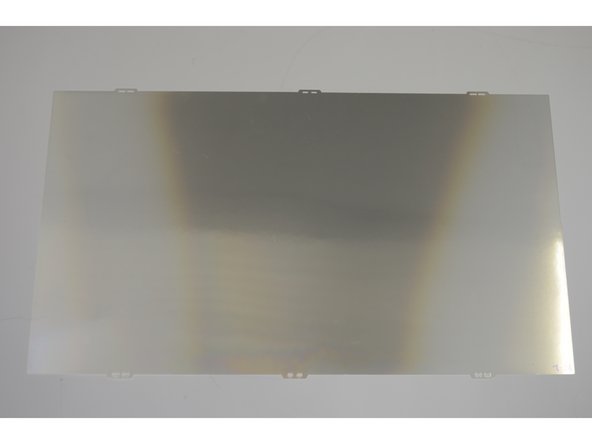
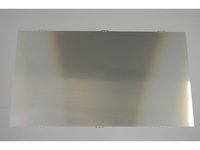
Then, remove the already exposed polarized foils.
-
-
-
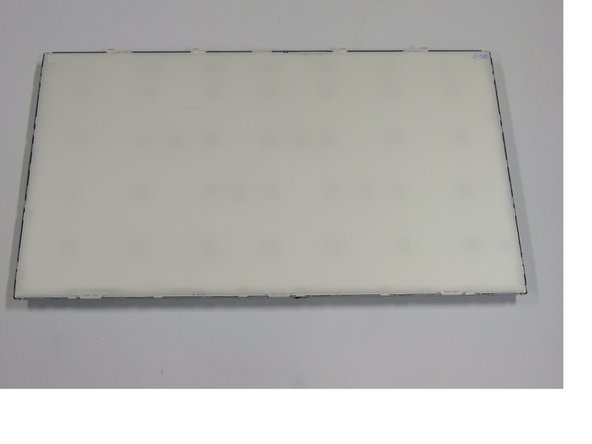
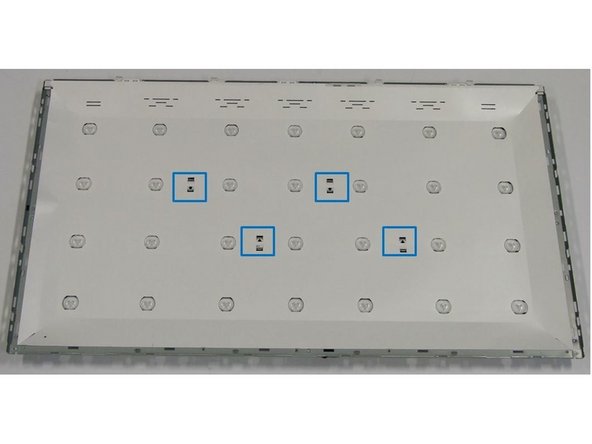
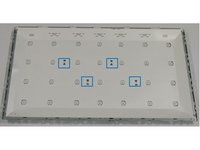
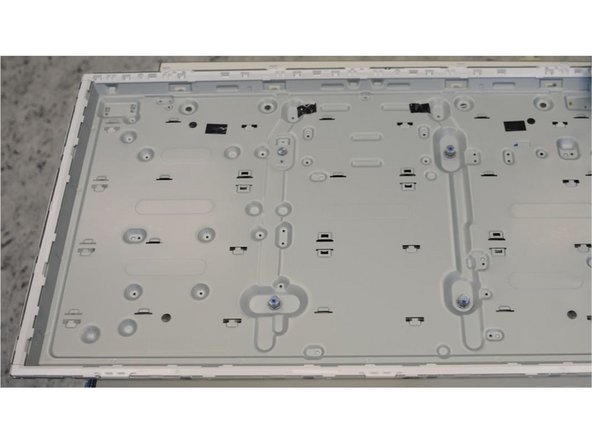
Using slotted screwdriver, loose the four clips (blue boxes of the first picture).
-
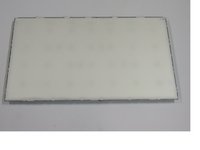
Remove the protective foil and access the backlight unit.
-
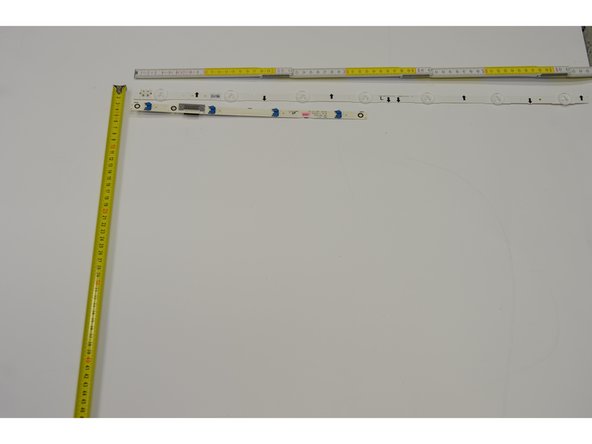
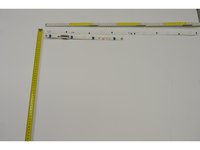
Use your fingers to pry open the PCBs from the clips on the metallic casing (blue boxes of the second picture).
-
In total, loose thirty-two clips starting with the four LED containing PCBs and ending with the connection PCB on the side.
-
-
-
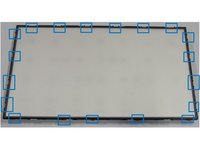
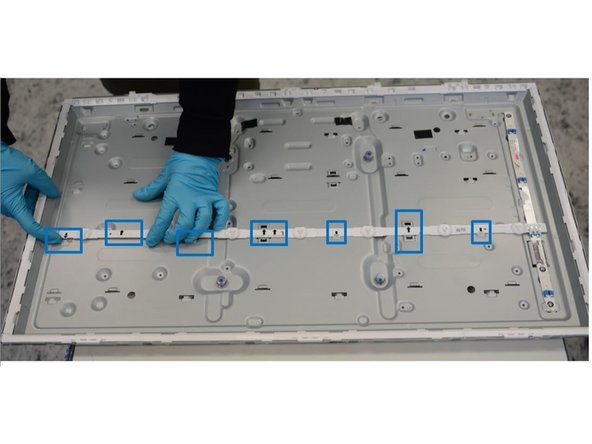
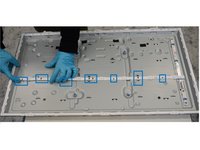
Using slotted screwdriver, loose twenty clips.
-
Remove the plastic frame located inside the metal casing which is mounted in four pieces.
-


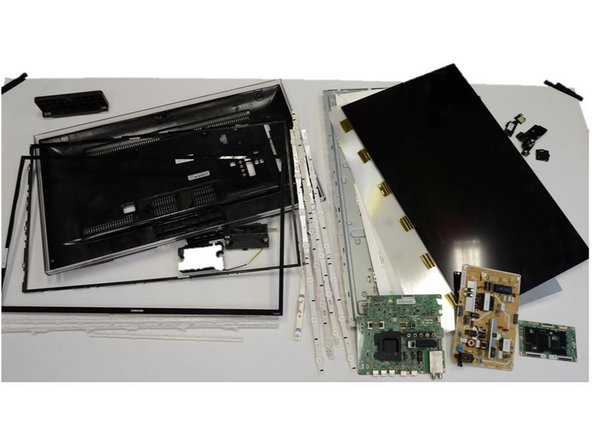
Finish Line