/

Sega Game Gear Case Replacement

What you need

  1. Sega Game Gear Case Replacement, Sega Game Gear Case Replacement: step 1, image 1 of 1
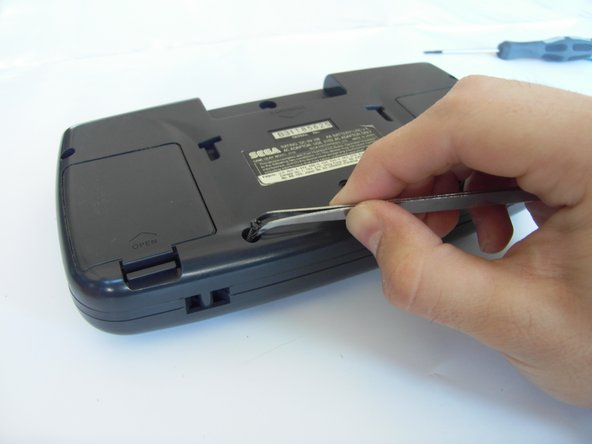
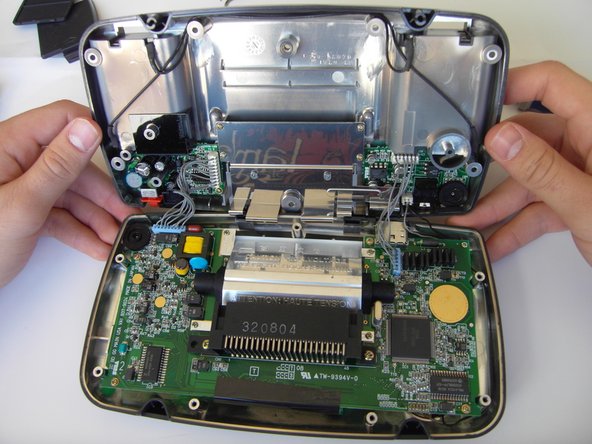
    • Place your device upside down and locate the two battery compartments.

  2. Sega Game Gear Case Replacement: step 2, image 1 of 1
    • Press on the tabs at the bottom of the battery covers then lift up to remove.

  3. Sega Game Gear Case Replacement: step 3, image 1 of 1
    • Put battery covers back on.

  4. Sega Game Gear Case Replacement: step 4, image 1 of 1
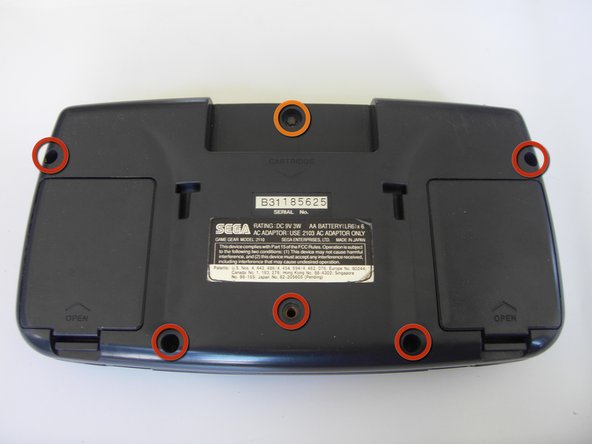
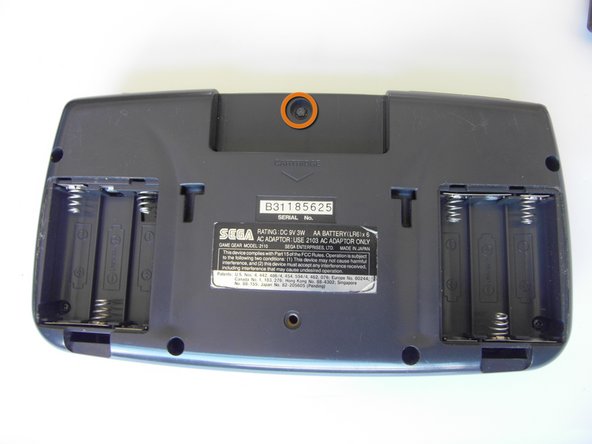
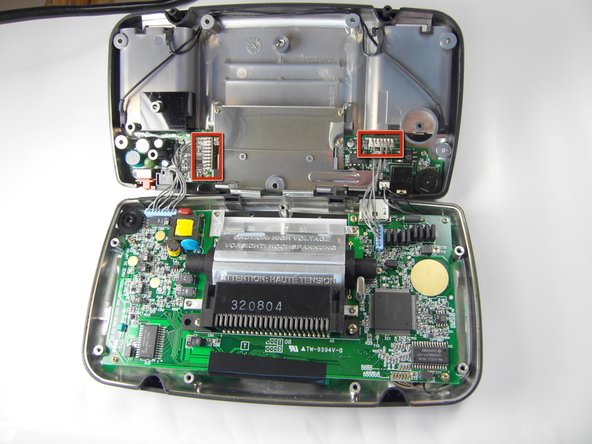
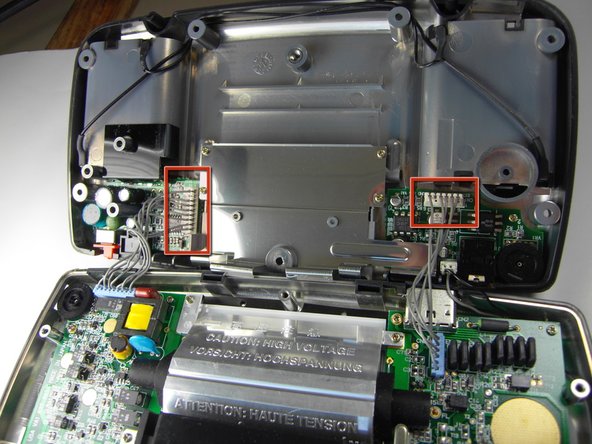
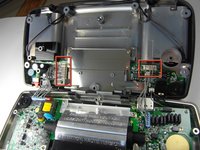
    • Unscrew all the marked screws with the small Philips head screwdriver.

    • The 4.5mm Gamebit screw requires a bit more turning and patience than the other screws.
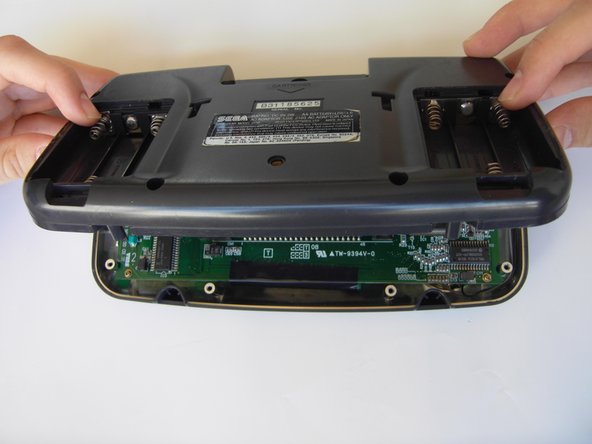
  5. Sega Game Gear Case Replacement: step 5, image 1 of 1
    • Use tweezers to take all other screws out.

  6. Sega Game Gear Case Replacement: step 6, image 1 of 1
    • Use the security screwdriver to get the final screw out.

  7. Sega Game Gear Case Replacement: step 7, image 1 of 2 Sega Game Gear Case Replacement: step 7, image 2 of 2
    • Gently open the case by unfolding it over the top of the Sega Game Gear.

    • Do not pull the back of the case away, as cables are connected between both sides.

  8. Sega Game Gear Case Replacement: step 8, image 1 of 3 Sega Game Gear Case Replacement: step 8, image 2 of 3 Sega Game Gear Case Replacement: step 8, image 3 of 3
    • Carefully unplug the 2 white-tipped connectors on the top cover.

Conclusion

To reassemble your device, follow these instructions in reverse order.

System

Member since: 09/24/09

2,562 Guides authored

0 Comments

Add Comment

View Statistics:

Past 24 Hours: 0

Past 7 Days: 0

Past 30 Days: 0

All Time: 20