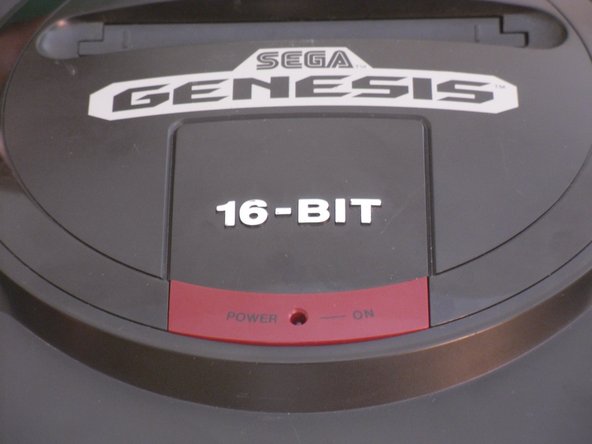
/

Sega Genesis Power LED Replacement

What you need

  1. Sega Genesis Power LED Replacement, Sega Genesis Power LED Replacement: step 1, image 1 of 1
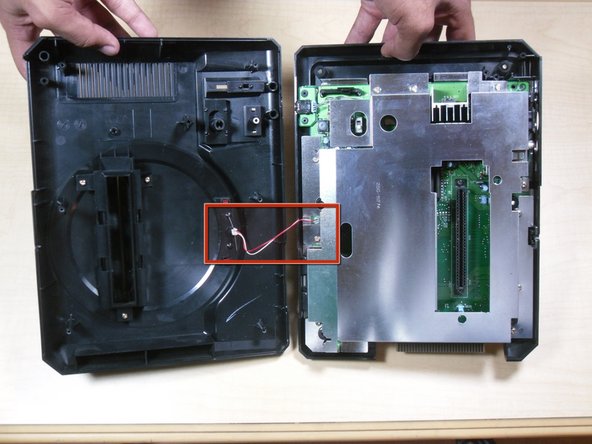
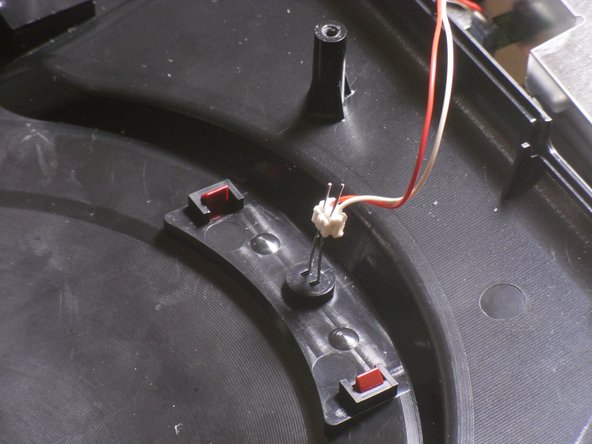
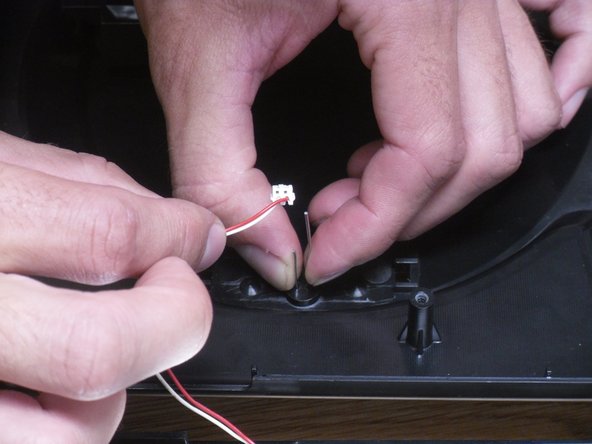
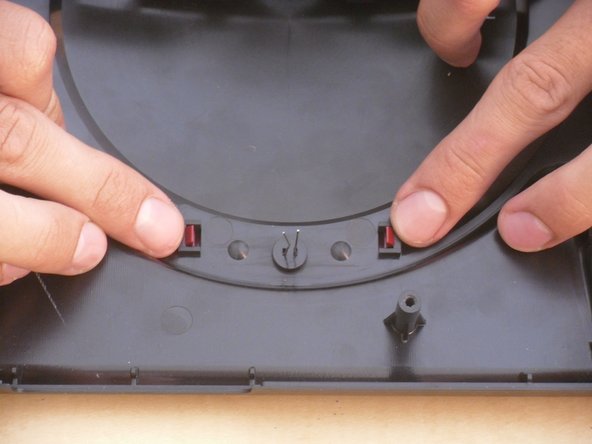
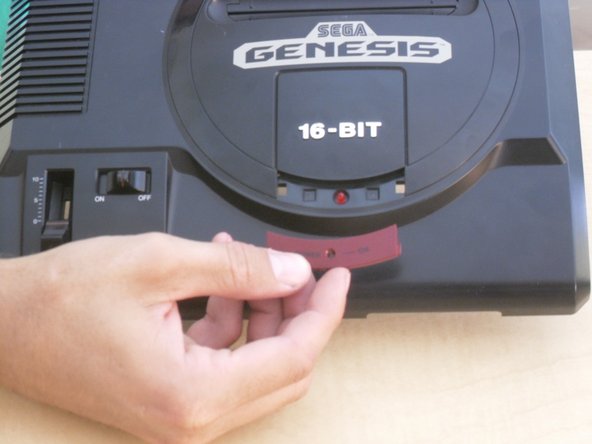
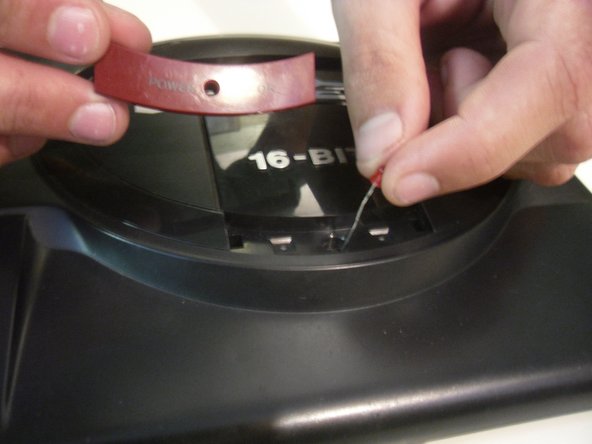
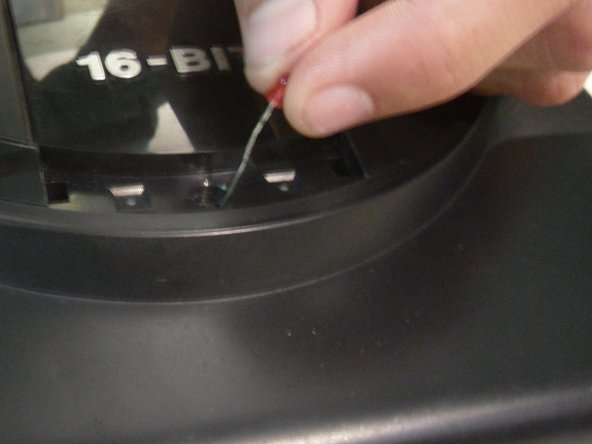
    • Remove the six screws from the underside of the console with a Phillips #1 screwdriver.

  2. Sega Genesis Power LED Replacement: step 2, image 1 of 1
    • Flip the Sega Genesis upright.

  3. Sega Genesis Power LED Replacement: step 3, image 1 of 1
    • Gently lift the top casing.

    • Note: the case will be connected to the main board by LED wires.

  4. Sega Genesis Power LED Replacement: step 4, image 1 of 1
    • Bend out the LED leads into vertical positions.

  5. Sega Genesis Power LED Replacement: step 5, image 1 of 1
    • Slide the LED wire apparatus off the lead pins.

    • Note: observe which color wire corresponds with which length of pin.

  6. Sega Genesis Power LED Replacement: step 6, image 1 of 1
    • Separate the main board from the outer case.

  7. Sega Genesis Power LED Replacement: step 7, image 1 of 1
    • Remove plastic "Power / On" cover by pushing tabs together.

  8. Sega Genesis Power LED Replacement: step 8, image 1 of 1
    • Pull "Power / On" cover away from the console cover.

  9. Sega Genesis Power LED Replacement: step 9, image 1 of 1
    • From the outside of the top cover, remove LED.

  10. Sega Genesis Power LED Replacement: step 10, image 1 of 1
  11. Sega Genesis Power LED Replacement: step 11, image 1 of 1
    • Re-insert "Power / On" cover until it clicks into place.

Conclusion

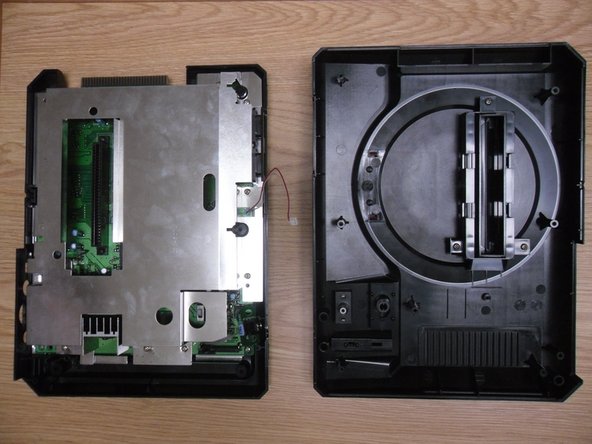
To reassemble your device, follow these instructions in reverse order.

System

Member since: 09/24/09

2,562 Guides authored

0 Comments

Add Comment

View Statistics:

Past 24 Hours: 0

Past 7 Days: 0

Past 30 Days: 0

All Time: 1