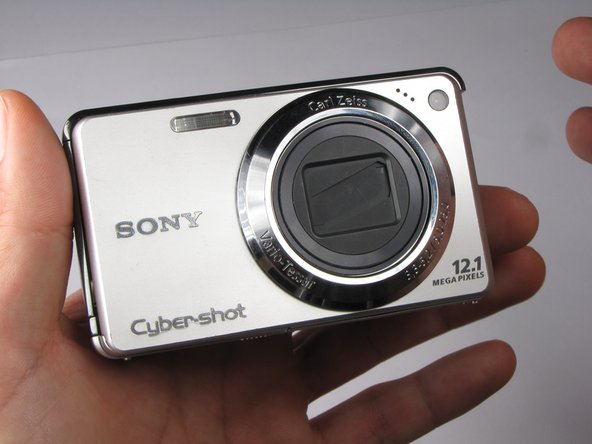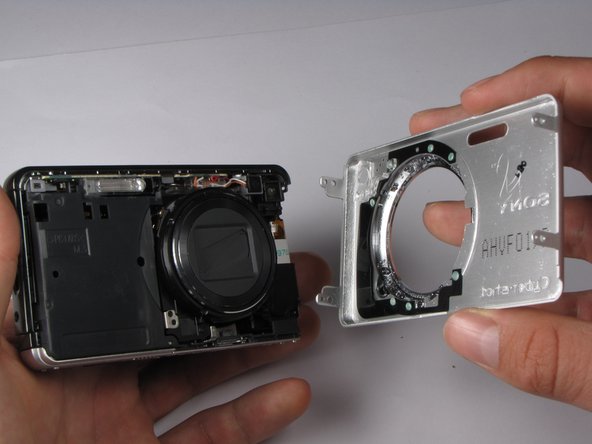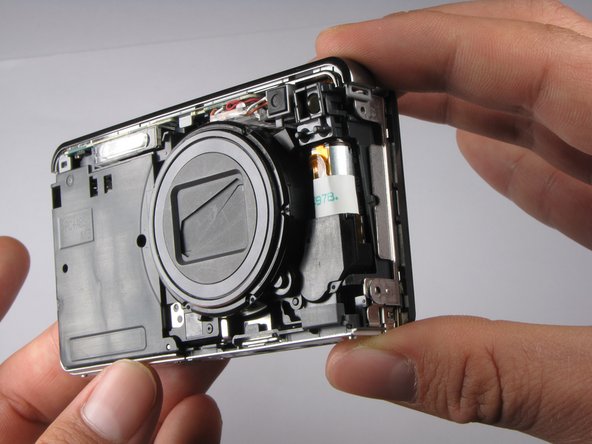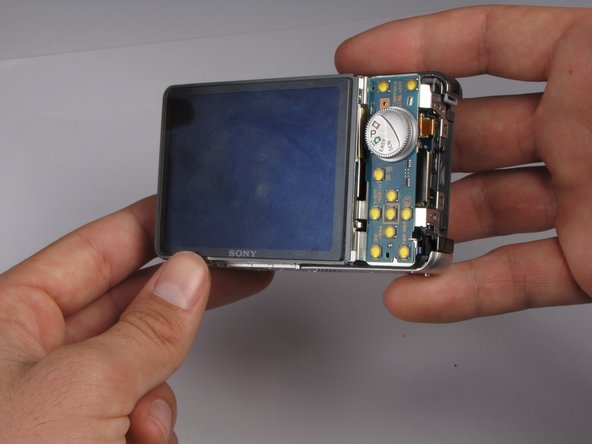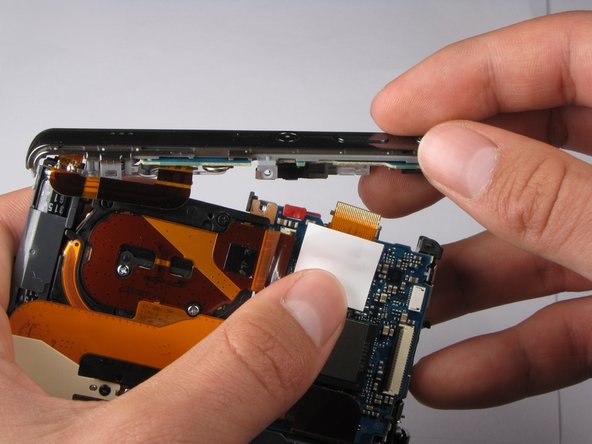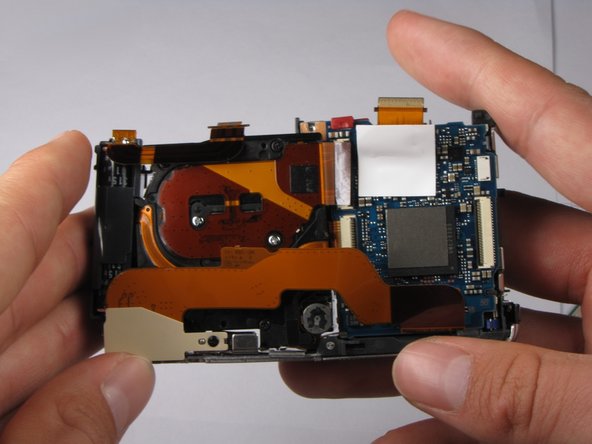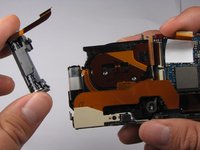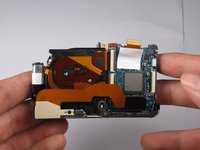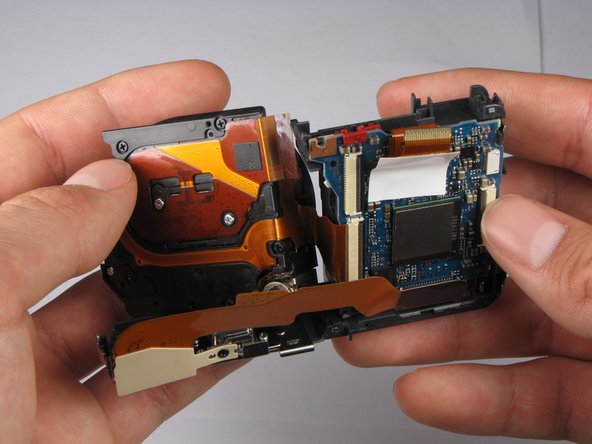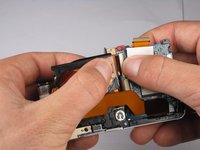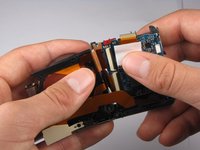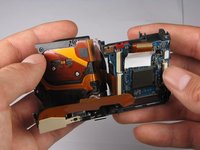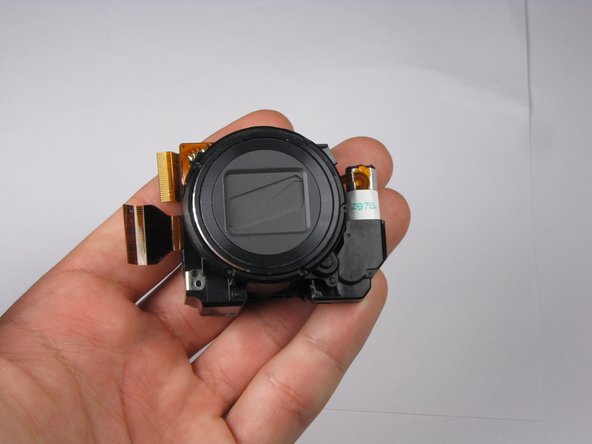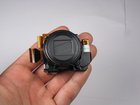
Sony Cyber-shot DSC-W290 Lens Assembly Replacement

What you need

    1. Sony Cyber-shot DSC-W290 Lens Assembly Replacement, Sony Cyber-shot DSC-W290 Lens Assembly Replacement: step 1, image 1 of 1
      • Find the hatch labeled "open" on the left side of the bottom of the camera.

      • Slide the hatch in the direction that the arrow is pointing. The hatch will open outward on its own.

      Add Comment

    2. Sony Cyber-shot DSC-W290 Lens Assembly Replacement: step 2, image 1 of 1
      • Slide the blue locking tab to release the battery. Slide the battery out of the camera.

      Add Comment

    3. Sony Cyber-shot DSC-W290 Lens Assembly Replacement: step 3, image 1 of 2 Sony Cyber-shot DSC-W290 Lens Assembly Replacement: step 3, image 2 of 2
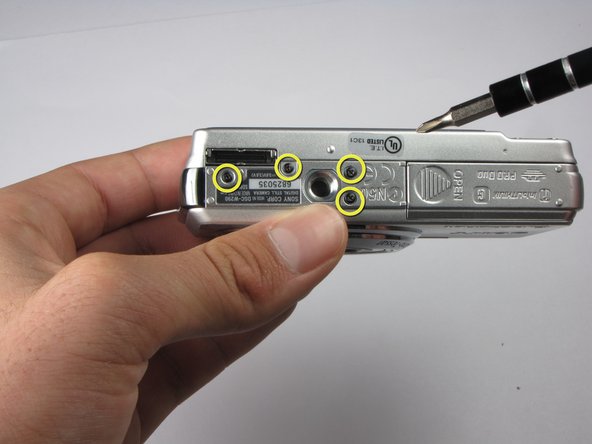
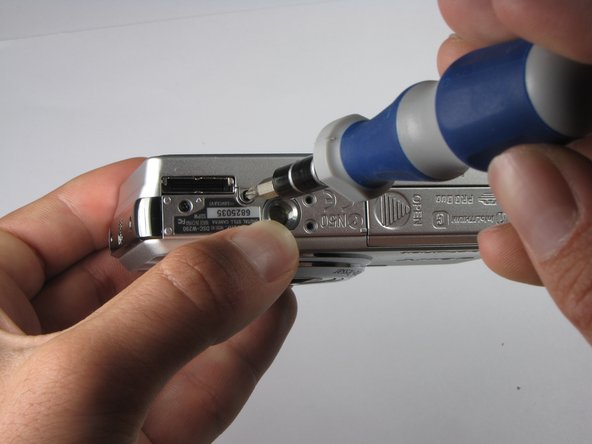
      • Replace hatch and rotate camera 180 degrees. You should still be looking at the bottom of the camera.

      • Remove the four 2.5mm Philips #0 screws.

      Add Comment

    4. Sony Cyber-shot DSC-W290 Lens Assembly Replacement: step 4, image 1 of 3 Sony Cyber-shot DSC-W290 Lens Assembly Replacement: step 4, image 2 of 3 Sony Cyber-shot DSC-W290 Lens Assembly Replacement: step 4, image 3 of 3
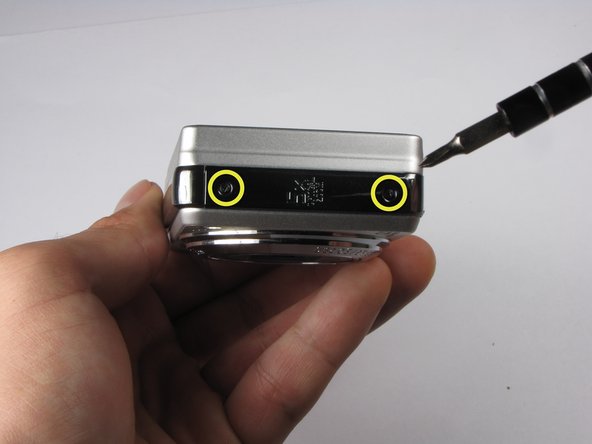
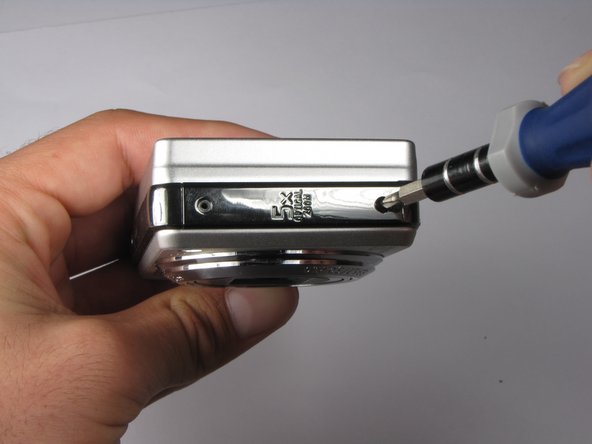
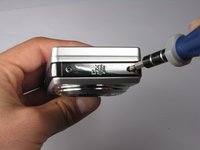
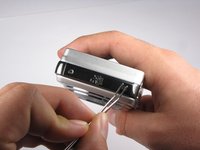
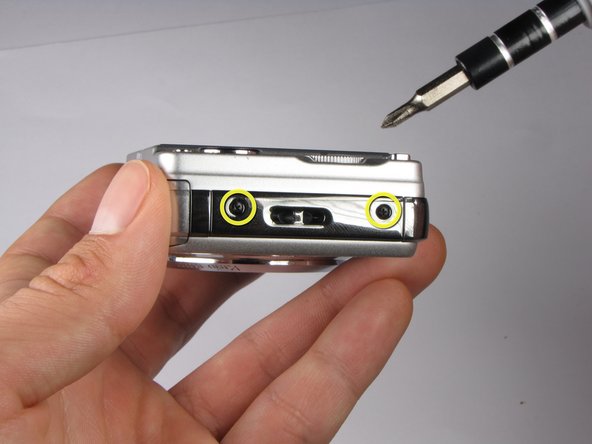
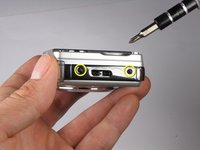
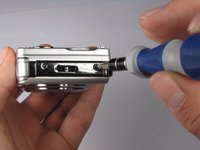
      • Turn the camera so the left side-panel faces you. (It says 5x Optical Zoom)

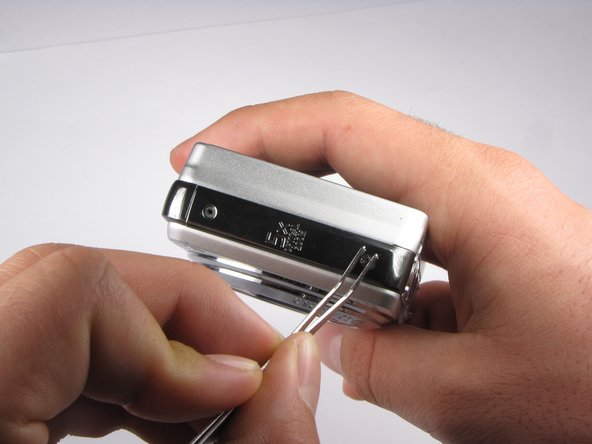
      • Remove the two 2.5mm Philips #0 screws.

      • You may have to remove the screws with a pair of tweezers when the screws are almost out.

      Add Comment

    5. Sony Cyber-shot DSC-W290 Lens Assembly Replacement: step 5, image 1 of 3 Sony Cyber-shot DSC-W290 Lens Assembly Replacement: step 5, image 2 of 3 Sony Cyber-shot DSC-W290 Lens Assembly Replacement: step 5, image 3 of 3
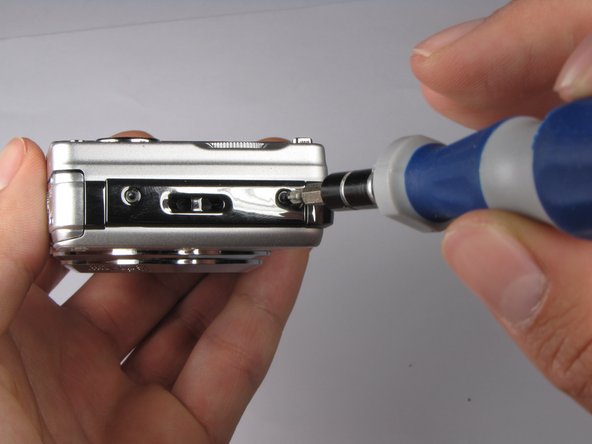
      • Turn the camera so the right side faces you.

      • Remove the two 2.5mm Philips #0 screws.

      • You may have to remove the screws with a pair of tweezers when the screws are almost out.

      Add Comment

    6. Sony Cyber-shot DSC-W290 Lens Assembly Replacement: step 6, image 1 of 1
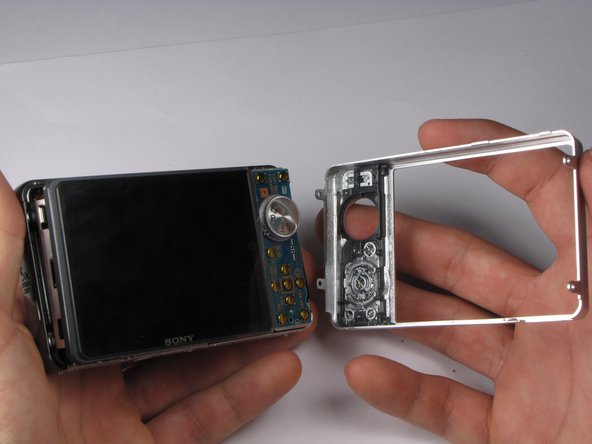
      • Rotate camera so that the back is facing you.

      • Pull the back casing directly away from the LCD screen.

      Add Comment

    7. Sony Cyber-shot DSC-W290 Lens Assembly Replacement: step 7, image 1 of 2 Sony Cyber-shot DSC-W290 Lens Assembly Replacement: step 7, image 2 of 2
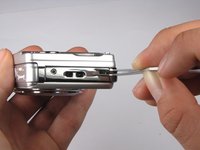
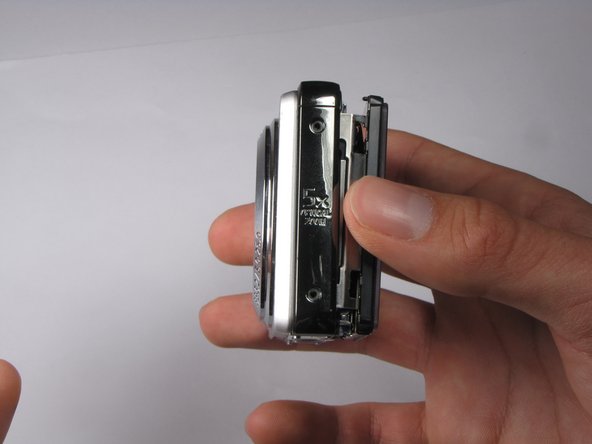
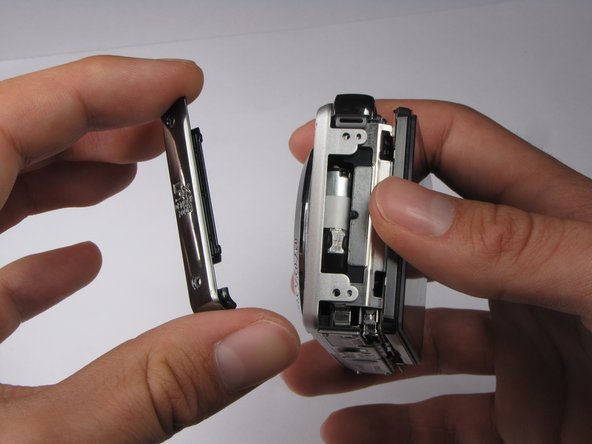
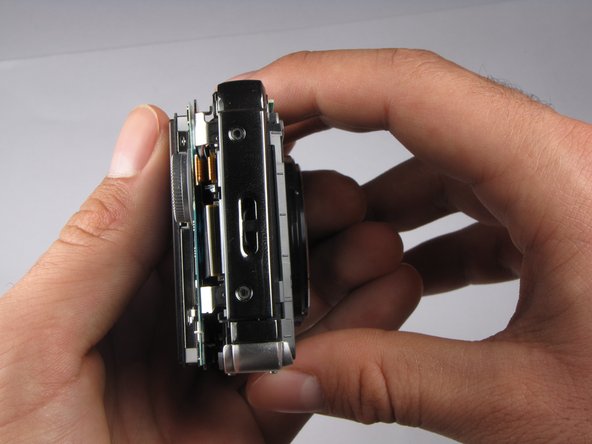
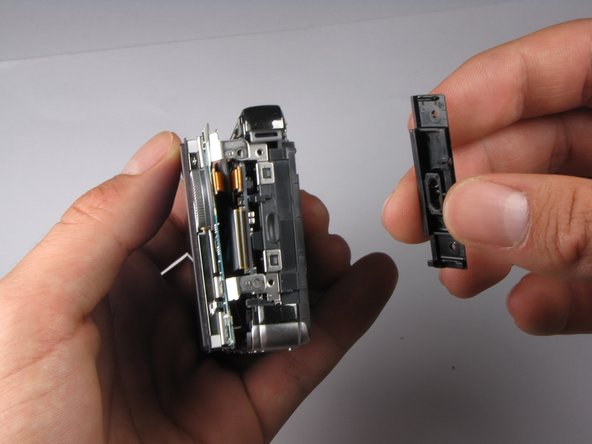
      • Turn the camera so that the left side is facing you.

      • Pull the left side-panel off of the camera.

      Add Comment

    8. Sony Cyber-shot DSC-W290 Lens Assembly Replacement: step 8, image 1 of 2 Sony Cyber-shot DSC-W290 Lens Assembly Replacement: step 8, image 2 of 2
      • Turn camera so that the front of the camara is facing you.

      • Pull the front casing directly away from the camera.

      • The right side panel may fall off when you take the front panel off.

      Add Comment

    9. Sony Cyber-shot DSC-W290 Lens Assembly Replacement: step 9, image 1 of 2 Sony Cyber-shot DSC-W290 Lens Assembly Replacement: step 9, image 2 of 2
      • Turn the camera so that the right side is facing you.

      • Pull the right side-panel away from the rest of the camera.

      Add Comment

    10. Sony Cyber-shot DSC-W290 Lens Assembly Replacement: step 10, image 1 of 2 Sony Cyber-shot DSC-W290 Lens Assembly Replacement: step 10, image 2 of 2
      • This is what your camera should look like now that you have removed the casing from all sides.

      Add Comment

    11. Sony Cyber-shot DSC-W290 Lens Assembly Replacement: step 11, image 1 of 1
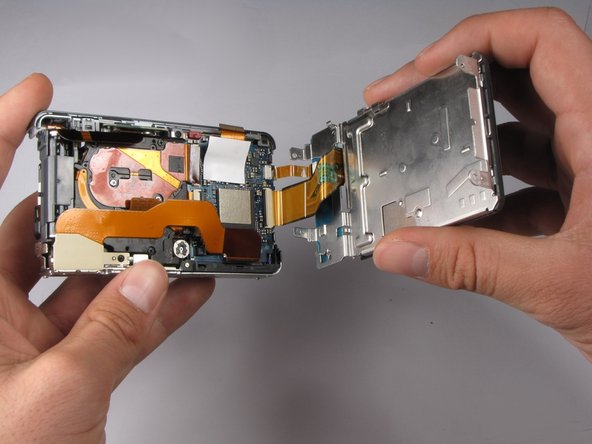
      • Gently pull the LCD and its casing away from the motherboard as shown.

      • Be careful not to rip out any ribbon cables.

      Add Comment

    12. Sony Cyber-shot DSC-W290 Lens Assembly Replacement: step 12, image 1 of 2 Sony Cyber-shot DSC-W290 Lens Assembly Replacement: step 12, image 2 of 2
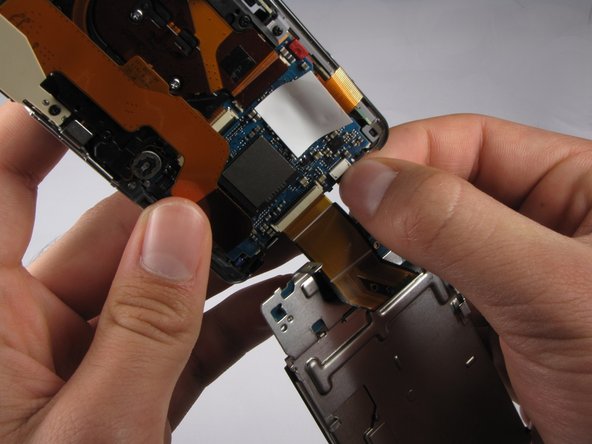
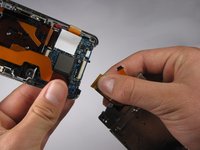
      • Disconnect the small ribbon-wire by gently pulling on the small ribbon-wire where it connects with the motherboard.

      • Do not use excessive force to remove the wire because this may cause it to tear.

      Add Comment

    13. Sony Cyber-shot DSC-W290 Lens Assembly Replacement: step 13, image 1 of 2 Sony Cyber-shot DSC-W290 Lens Assembly Replacement: step 13, image 2 of 2
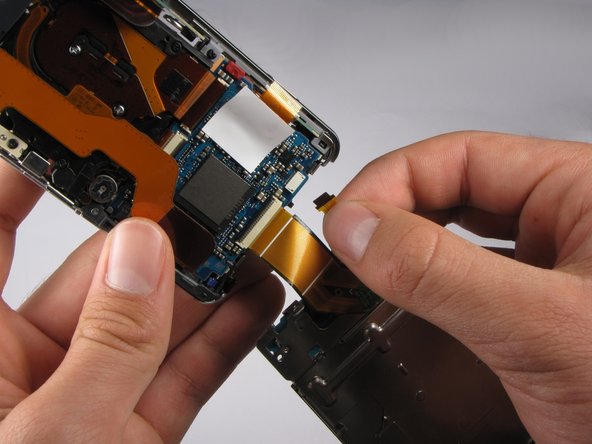
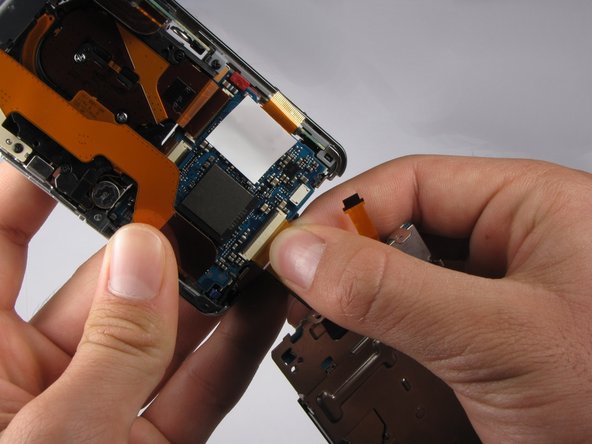
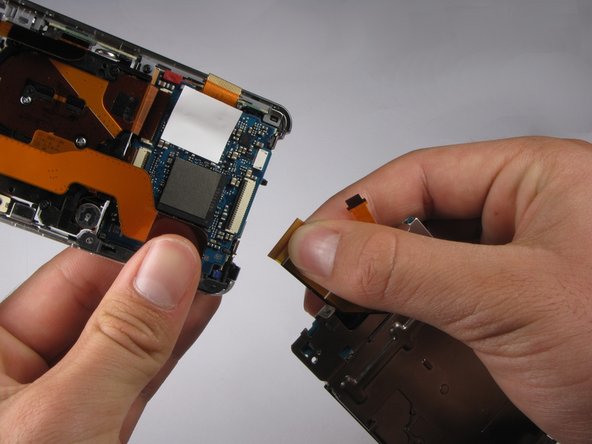
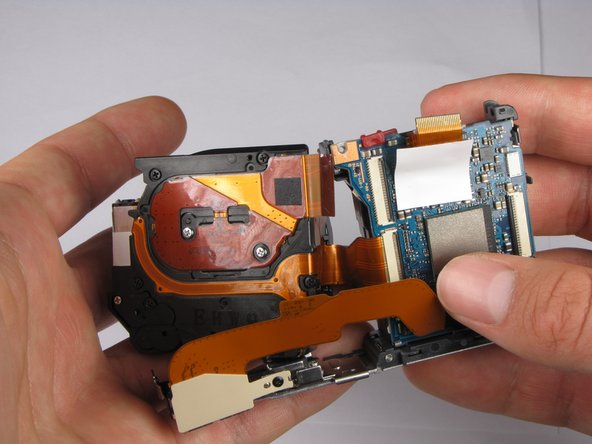
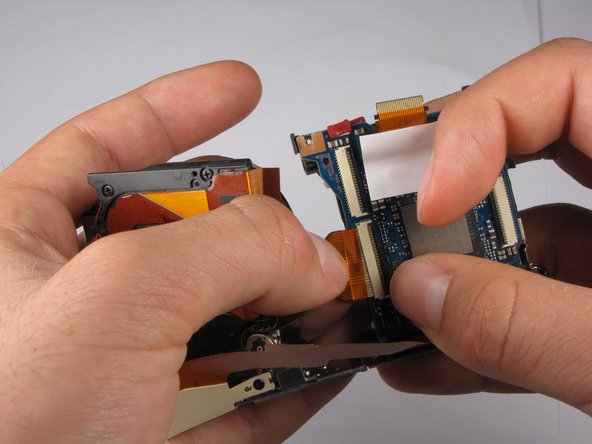
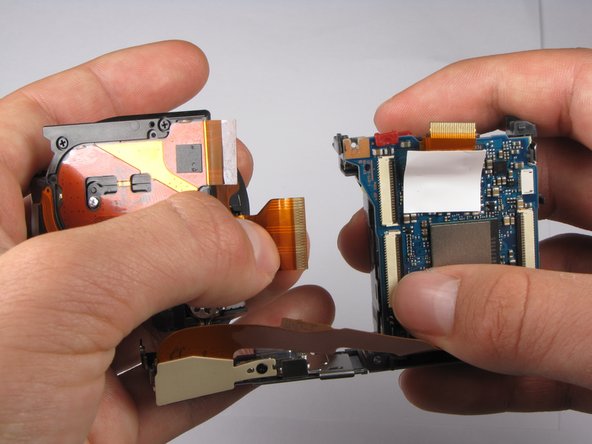
      • Disconnect the large ribbon-wire by pulling on the large ribbon-wire where it connects to the motherboard.

      Add Comment

    14. Sony Cyber-shot DSC-W290 Lens Assembly Replacement: step 14, image 1 of 1
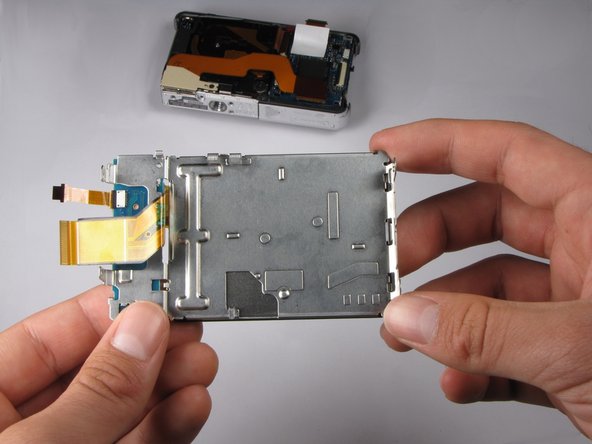
      • Pull the LCD and its casing away from the rest of the camera.

      Add Comment

    15. Sony Cyber-shot DSC-W290 Lens Assembly Replacement: step 15, image 1 of 2 Sony Cyber-shot DSC-W290 Lens Assembly Replacement: step 15, image 2 of 2
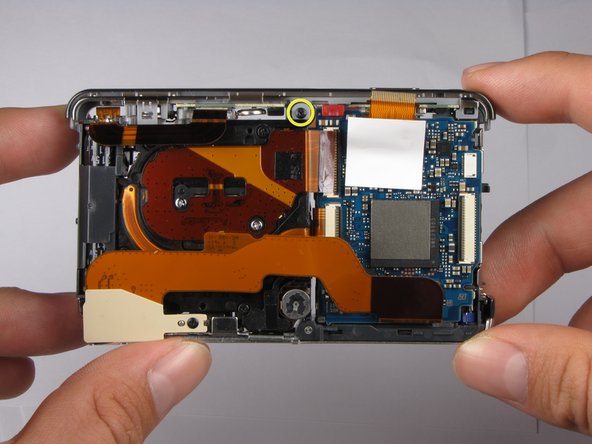
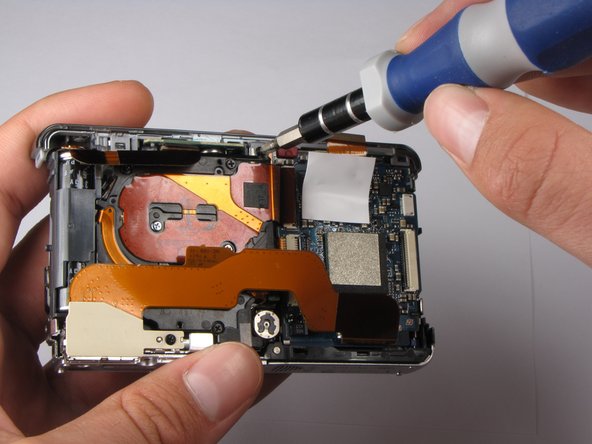
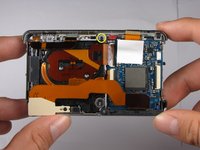
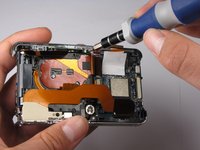
      • Turn the camera so the back is facing you.

      • Remove the 2.5mm Philips #0 screw at the top of the camera.

      Add Comment

    16. Sony Cyber-shot DSC-W290 Lens Assembly Replacement: step 16, image 1 of 3 Sony Cyber-shot DSC-W290 Lens Assembly Replacement: step 16, image 2 of 3 Sony Cyber-shot DSC-W290 Lens Assembly Replacement: step 16, image 3 of 3
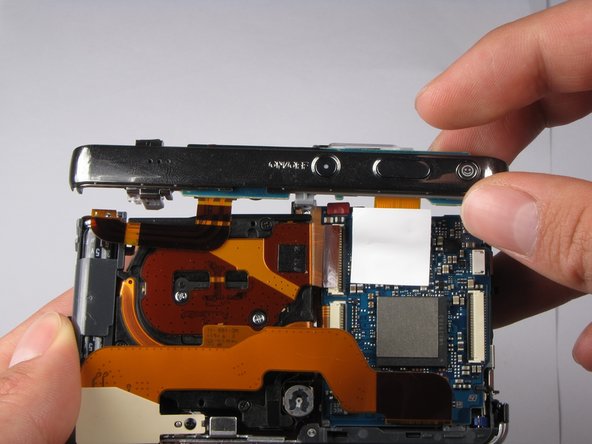
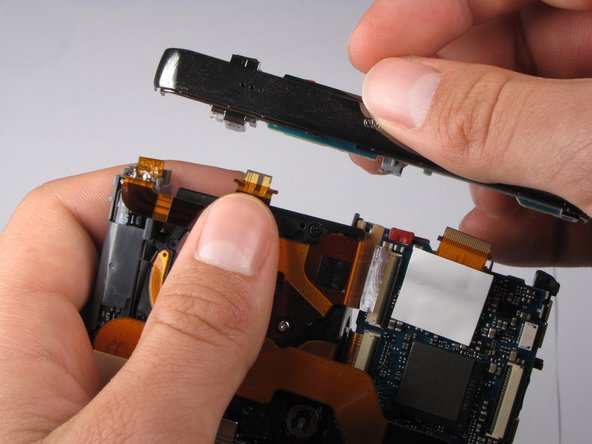
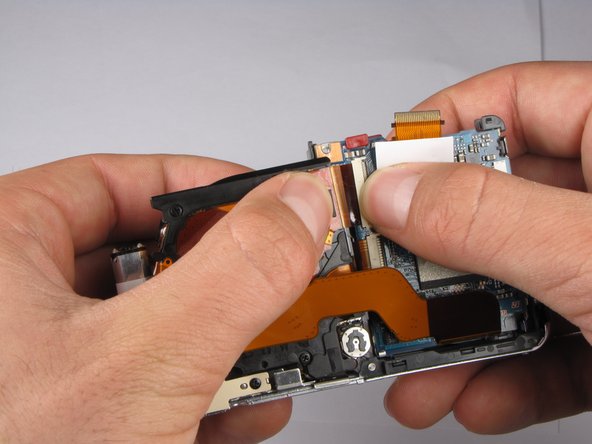
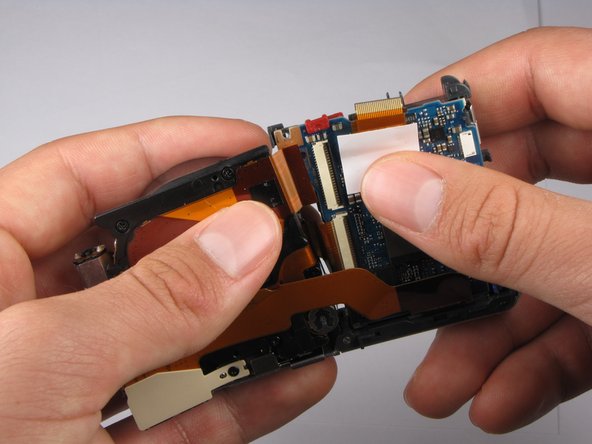
      • Tilt top casing up and towards you.

      • Carefully remove the right ribbon-wire from the top camera panel by pulling where the wire connects to the top.

      • Make sure to hold the camera with your thumb on the white square to ensure the ribbon-wire is not disconnected from the motherboard.

      • Carefully remove the left ribbon-wire from the top camera panel by pulling where the wire connects to the top.

      Add Comment

    17. Sony Cyber-shot DSC-W290 Lens Assembly Replacement: step 17, image 1 of 3 Sony Cyber-shot DSC-W290 Lens Assembly Replacement: step 17, image 2 of 3 Sony Cyber-shot DSC-W290 Lens Assembly Replacement: step 17, image 3 of 3
      • Flash capacitors are dangerous! Be extremely careful when removing the capacitor from the camera. You can get shocked BADLY!

      • Remove the flash capacitor from the lens assembly.

      • Carefully place the flash capacitor away from where you are working.

      Add Comment

    18. Sony Cyber-shot DSC-W290 Lens Assembly Replacement: step 18, image 1 of 3 Sony Cyber-shot DSC-W290 Lens Assembly Replacement: step 18, image 2 of 3 Sony Cyber-shot DSC-W290 Lens Assembly Replacement: step 18, image 3 of 3
      • Carefully disconnect the top ribbon-wire from the motherboard by pulling where the wire connects to the motherboard.

      Add Comment

    19. Sony Cyber-shot DSC-W290 Lens Assembly Replacement: step 19, image 1 of 3 Sony Cyber-shot DSC-W290 Lens Assembly Replacement: step 19, image 2 of 3 Sony Cyber-shot DSC-W290 Lens Assembly Replacement: step 19, image 3 of 3
      • Disconnect the top remaining ribbon-wire by carefully pulling at the base of where the wire connects to the motherboard.

      Add Comment

    20. Sony Cyber-shot DSC-W290 Lens Assembly Replacement: step 20, image 1 of 3 Sony Cyber-shot DSC-W290 Lens Assembly Replacement: step 20, image 2 of 3 Sony Cyber-shot DSC-W290 Lens Assembly Replacement: step 20, image 3 of 3
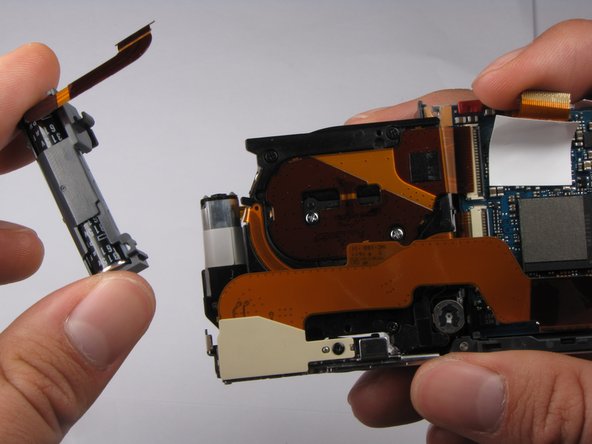
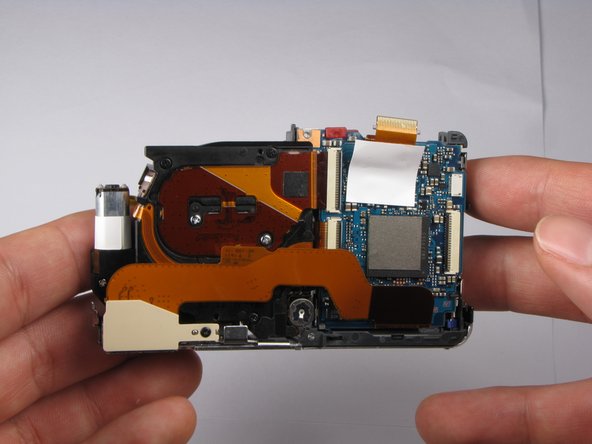
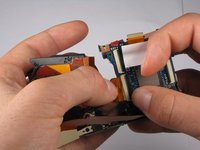
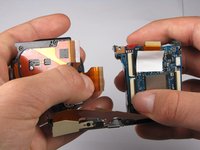
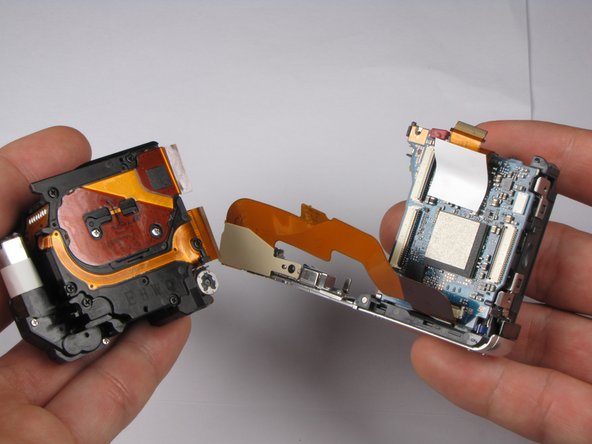
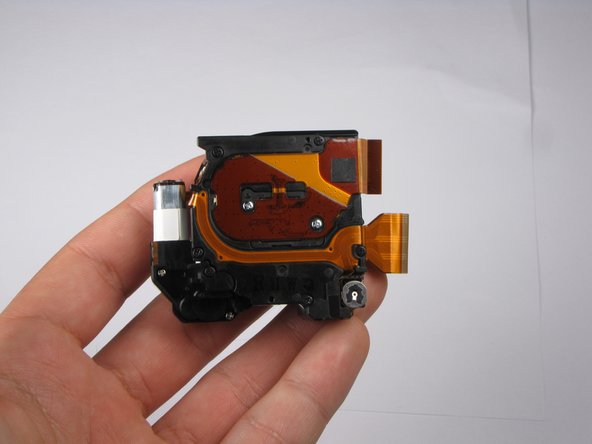
      • Pull the Lens Assembly away from the motherboard.

      • You have now removed the Lens Assembly from the camera.

      Add Comment

Conclusion

To reassemble your device, follow these instructions in reverse order.

Cancel: I did not complete this guide.

System

Member since: 09/24/09

2,562 Guides authored

0 Guide Comments

Add Comment

View Statistics:

Past 24 Hours: 0

Past 7 Days: 0

Past 30 Days: 0

All Time: 37