Sony Cyber-shot DSC-W5 Speaker Replacement

What you need

    1. Sony Cyber-shot DSC-W5 Speaker Replacement, Sony Cyber-shot DSC-W5 Speaker Replacement: step 1, image 1 of 1
      • Remove Memory Stick Pro from the card reader slot on the bottom of the camera.

      • Remove both batteries.

      Add Comment

    2. Sony Cyber-shot DSC-W5 Speaker Replacement: step 2, image 1 of 2 Sony Cyber-shot DSC-W5 Speaker Replacement: step 2, image 2 of 2
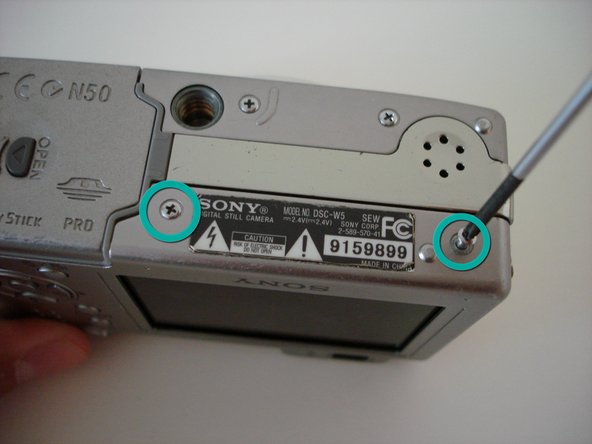
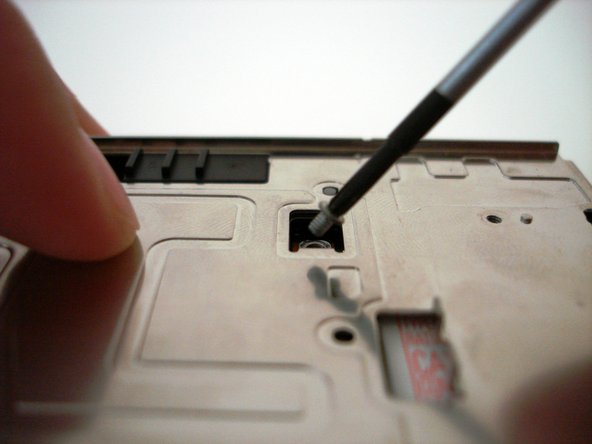
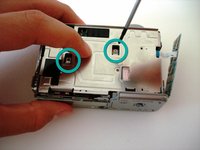
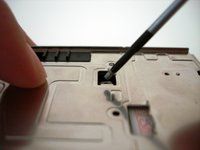
      • Remove the single visible screw from both sides of the camera.

      • Remove the two screws that are adjacent to the warning label, which is on the underside of the camera.

      • Do NOT remove all four screws from the bottom.

      Add Comment

    3. Sony Cyber-shot DSC-W5 Speaker Replacement: step 3, image 1 of 2 Sony Cyber-shot DSC-W5 Speaker Replacement: step 3, image 2 of 2
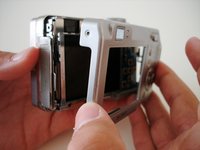
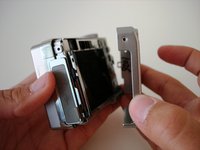
      • Gently remove the back cover from the camera.

      • The first time the case is removed, it will be stiff. Be patient and gently rock the cover back and forth until it slides free.

      Add Comment

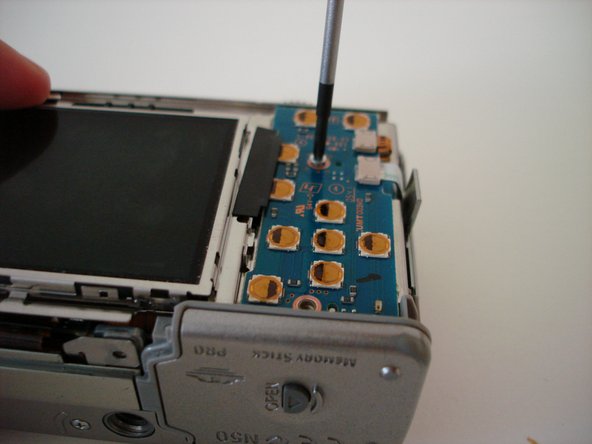
    4. Sony Cyber-shot DSC-W5 Speaker Replacement: step 4, image 1 of 2 Sony Cyber-shot DSC-W5 Speaker Replacement: step 4, image 2 of 2
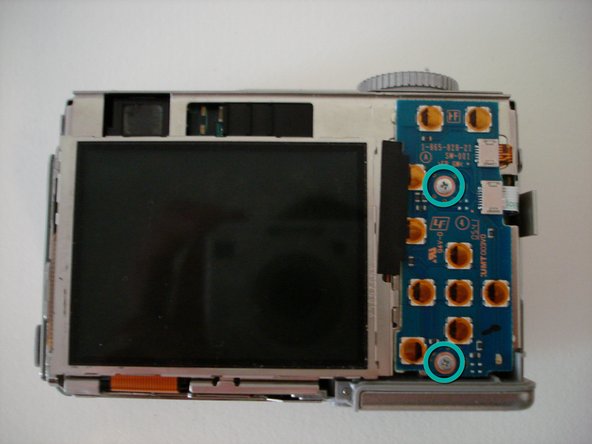
      • Remove the two screws holding the circuit board down.

      Add Comment

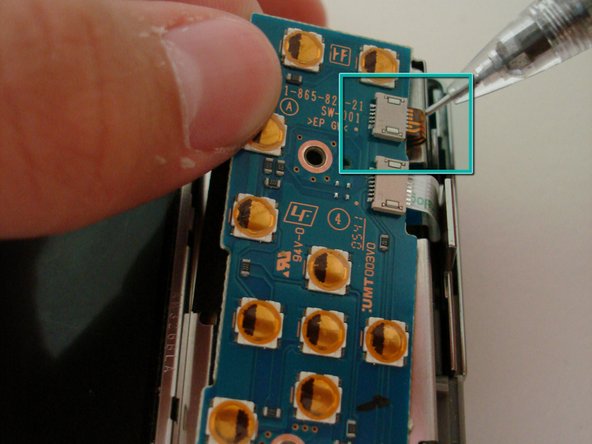
    5. Sony Cyber-shot DSC-W5 Speaker Replacement: step 5, image 1 of 1
      • Detach the orange cable from the board.

      • Use a thin object, like a paperclip, to gently pry the cable off the connector.

      Add Comment

    6. Sony Cyber-shot DSC-W5 Speaker Replacement: step 6, image 1 of 2 Sony Cyber-shot DSC-W5 Speaker Replacement: step 6, image 2 of 2
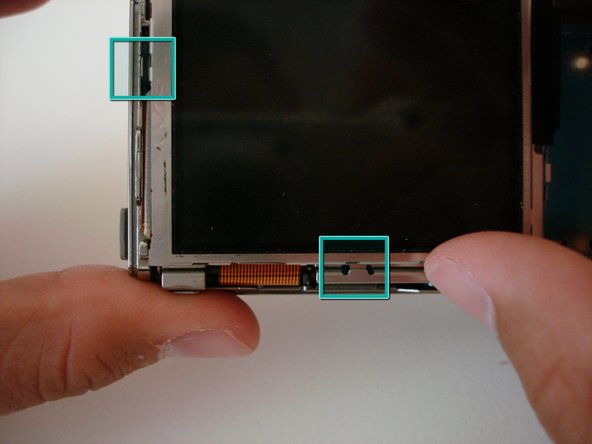
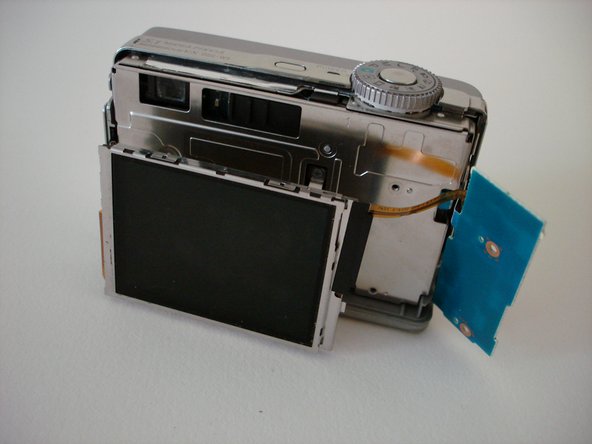
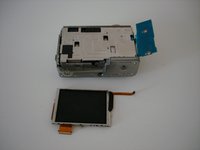
      • The LCD screen sits in two slots; one on the bottom, and one on the left edge.

      • Slide LCD screen from the two slots.

      • Do not attempt to completely remove the screen, as it is still attached to the camera.

      Add Comment

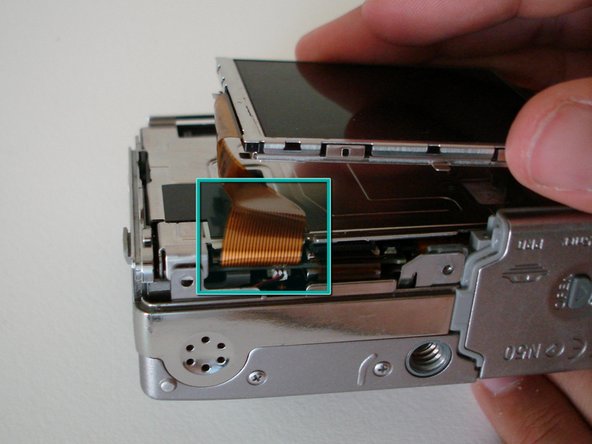
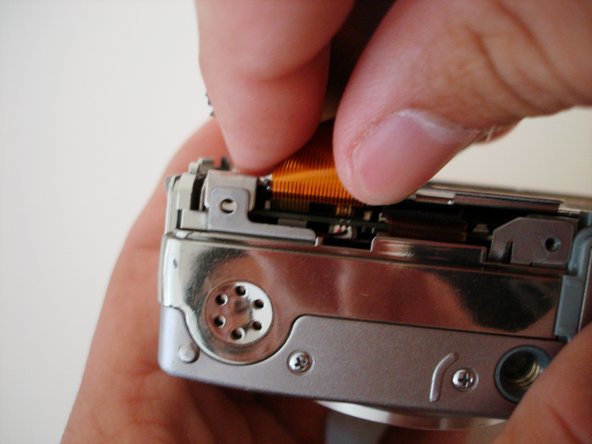
    7. Sony Cyber-shot DSC-W5 Speaker Replacement: step 7, image 1 of 3 Sony Cyber-shot DSC-W5 Speaker Replacement: step 7, image 2 of 3 Sony Cyber-shot DSC-W5 Speaker Replacement: step 7, image 3 of 3
      • To remove the LCD screen, detach the orange cable from the board.

      • If needed, replace the LCD screen.

      Add Comment

    8. Sony Cyber-shot DSC-W5 Speaker Replacement: step 8, image 1 of 2 Sony Cyber-shot DSC-W5 Speaker Replacement: step 8, image 2 of 2
      • Remove the two screws holding down the steel back plate.

      • Remove steel back plate.

      Add Comment

    9. Sony Cyber-shot DSC-W5 Speaker Replacement: step 9, image 1 of 2 Sony Cyber-shot DSC-W5 Speaker Replacement: step 9, image 2 of 2
      • Now remove the plastic plate that covers the motherboard.

      Add Comment

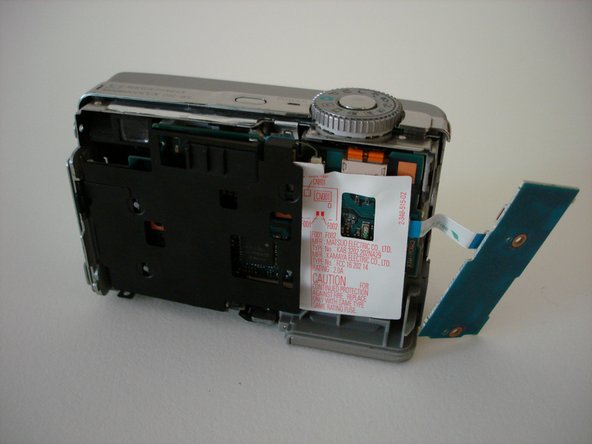
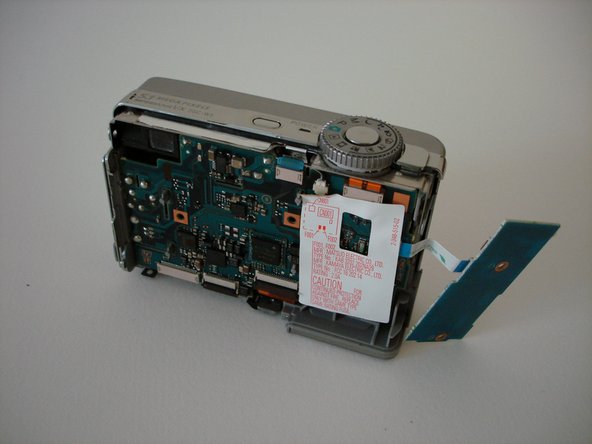
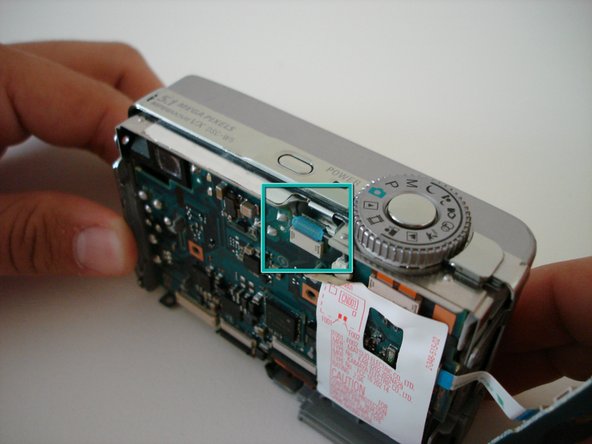
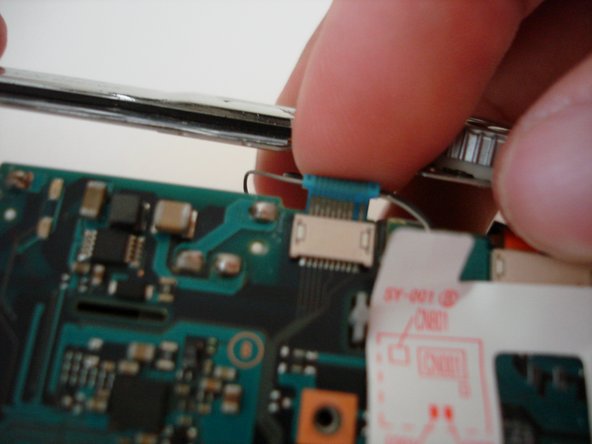
    10. Sony Cyber-shot DSC-W5 Speaker Replacement: step 10, image 1 of 2 Sony Cyber-shot DSC-W5 Speaker Replacement: step 10, image 2 of 2
      • Warning: Electric Shock From this point on, hold the camera by the chrome edges ONLY. Capacitors store electric charge even if the batteries are removed.

      • Remove the blue cable.

      Add Comment

    11. Sony Cyber-shot DSC-W5 Speaker Replacement: step 11, image 1 of 2 Sony Cyber-shot DSC-W5 Speaker Replacement: step 11, image 2 of 2
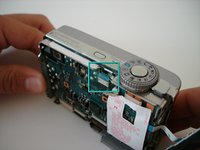
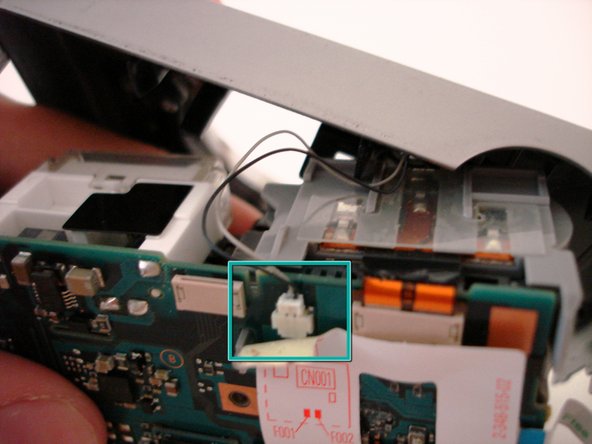
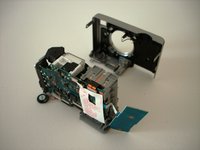
      • Disconnect the flash cable (black and white wires) before completely removing the front case.

      • Gently start to remove the case.

      • Once the cable is free, set aside the front case.

      Add Comment

    12. Sony Cyber-shot DSC-W5 Speaker Replacement: step 12, image 1 of 2 Sony Cyber-shot DSC-W5 Speaker Replacement: step 12, image 2 of 2
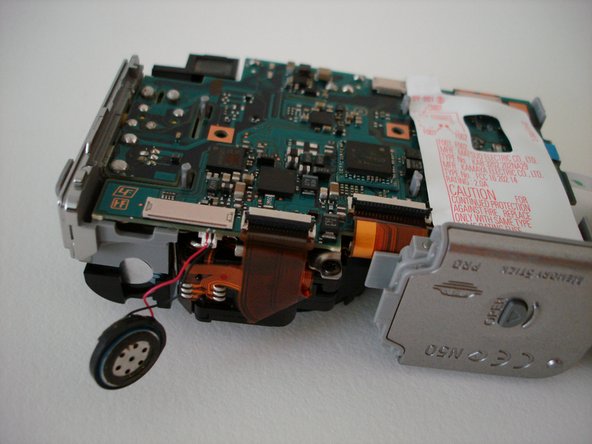
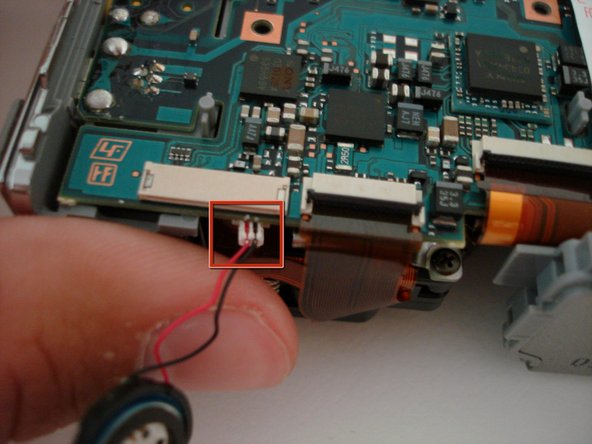
      • The speaker should now be clearly seen on the underside of the camera.

      • Gently unplug the speaker from the motherboard.

      • Replace the speaker.

      Add Comment

Conclusion

To reassemble your device, follow these instructions in reverse order.

Cancel: I did not complete this guide.

System

Member since: 09/24/09

2,562 Guides authored

0 Guide Comments

Add Comment

View Statistics:

Past 24 Hours: 0

Past 7 Days: 0

Past 30 Days: 1

All Time: 18