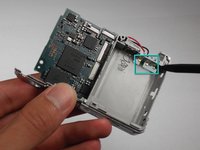
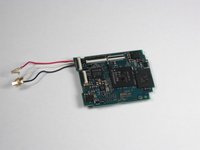
Sony Cyber-shot DSC-W55 Motherboard - Second Half Replacement
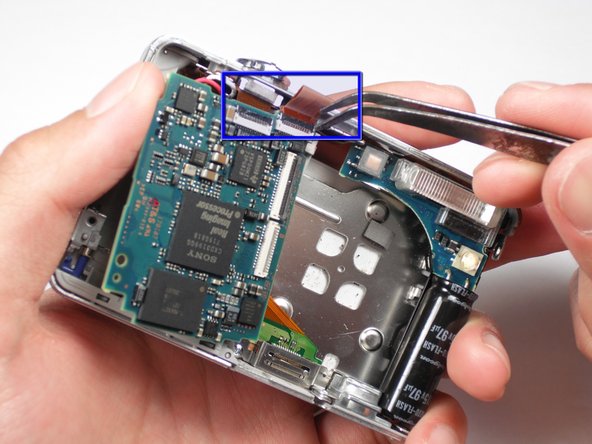
What you need

    1. Sony Cyber-shot DSC-W55 Motherboard - Second Half Replacement, Sony Cyber-shot DSC-W55 Motherboard - Second Half Replacement: step 1, image 1 of 2 Sony Cyber-shot DSC-W55 Motherboard - Second Half Replacement, Sony Cyber-shot DSC-W55 Motherboard - Second Half Replacement: step 1, image 2 of 2
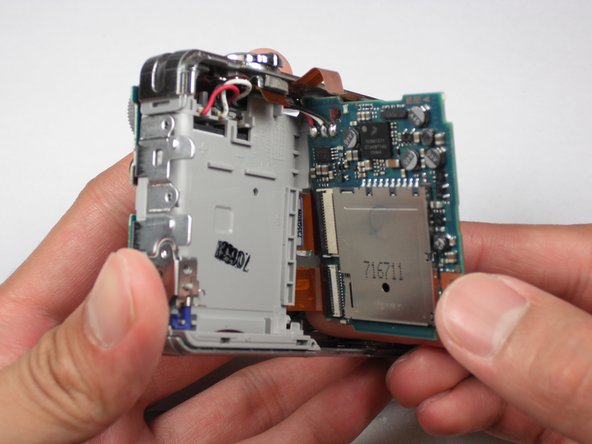
      • Slide the battery cover in the direction the arrow points.

      • Pull the battery cover towards you.

      Add Comment

    2. Sony Cyber-shot DSC-W55 Motherboard - Second Half Replacement: step 2, image 1 of 2 Sony Cyber-shot DSC-W55 Motherboard - Second Half Replacement: step 2, image 2 of 2
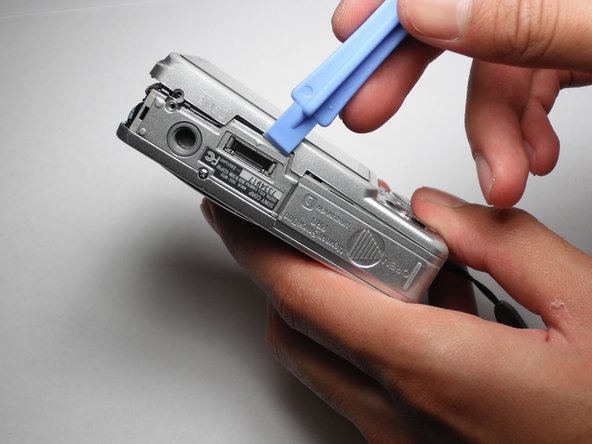
      • Flick the blue switch for the battery to pop out.

      • Remove the battery from the camera.

      Add Comment

    3. Sony Cyber-shot DSC-W55 Motherboard - Second Half Replacement: step 3, image 1 of 2 Sony Cyber-shot DSC-W55 Motherboard - Second Half Replacement: step 3, image 2 of 2
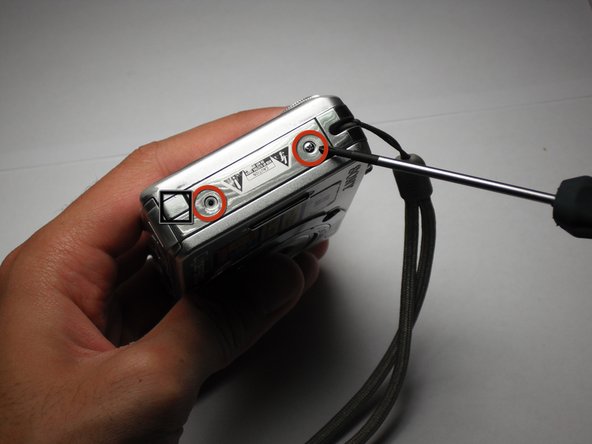
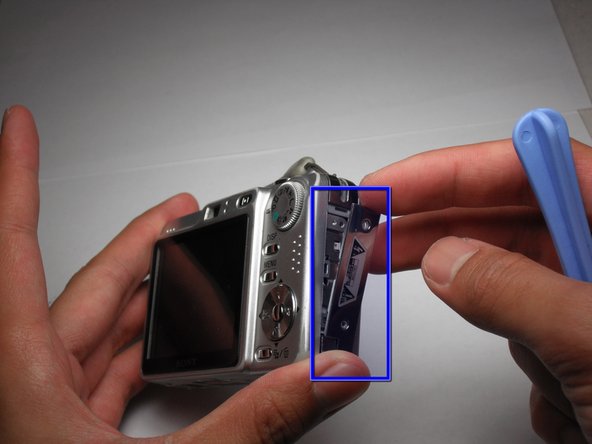
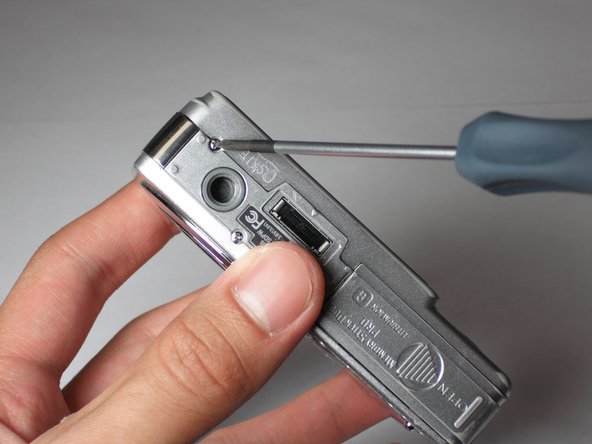
      • Using the Phillips #00 Screwdriver,remove the two screws from the caution panel.

      • Remove that panel.

      • Careful for falling pieces.

      Add Comment

    4. Sony Cyber-shot DSC-W55 Motherboard - Second Half Replacement: step 4, image 1 of 2 Sony Cyber-shot DSC-W55 Motherboard - Second Half Replacement: step 4, image 2 of 2
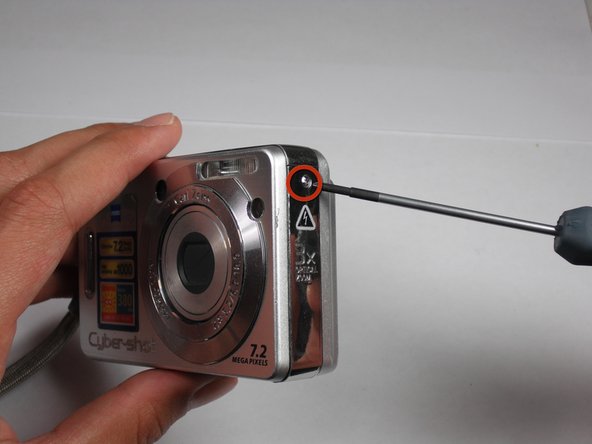
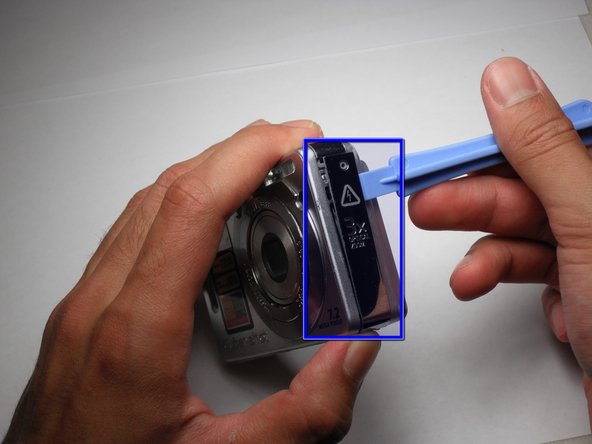
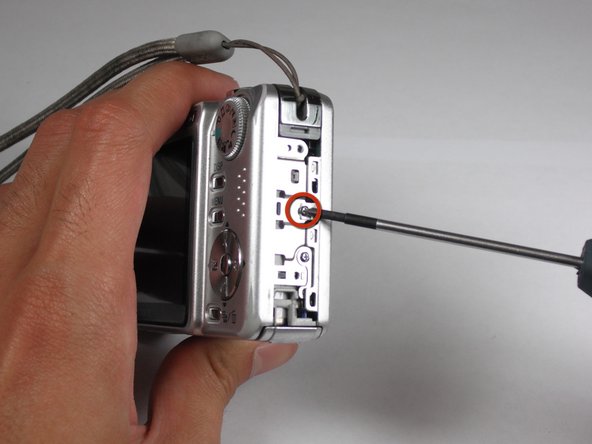
      • Remove the screw with a Phillips #00 Screwdriver from the right side of the camera (with '3x optical zoom' engraved on the side panel).

      • Remove that panel.

      Add Comment

    5. Sony Cyber-shot DSC-W55 Motherboard - Second Half Replacement: step 5, image 1 of 1
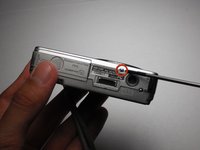
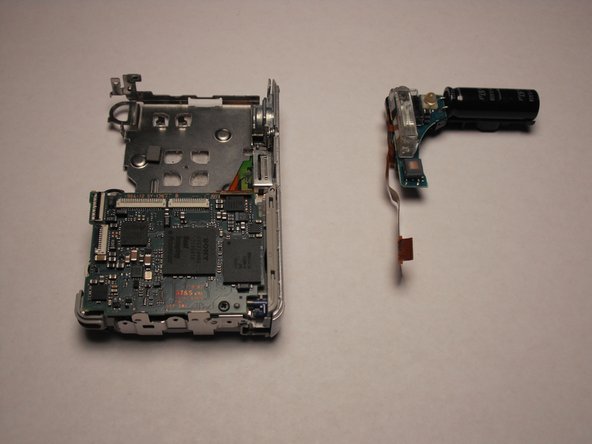
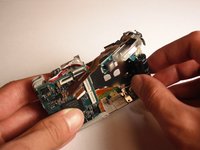
      • Remove the screw using the Phillips #00 Screwdriver from the bottom the camera, closest to the back cover.

      Add Comment

    6. Sony Cyber-shot DSC-W55 Motherboard - Second Half Replacement: step 6, image 1 of 2 Sony Cyber-shot DSC-W55 Motherboard - Second Half Replacement: step 6, image 2 of 2
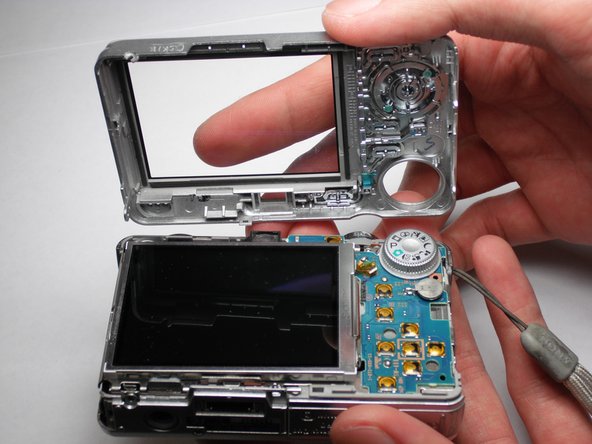
      • Gently remove the back cover.

      • It may be a bit stiff, so use some force to remove it. Proceed with caution.

      Add Comment

    7. Sony Cyber-shot DSC-W55 Motherboard - Second Half Replacement: step 7, image 1 of 1
      • Remove the screw using a Phillips #00 Screwdriver on the left side (where the "3x optical zoom" panel use to be).

      Add Comment

    8. Sony Cyber-shot DSC-W55 Motherboard - Second Half Replacement: step 8, image 1 of 3 Sony Cyber-shot DSC-W55 Motherboard - Second Half Replacement: step 8, image 2 of 3 Sony Cyber-shot DSC-W55 Motherboard - Second Half Replacement: step 8, image 3 of 3
      • Remove the small screw using a Phillips #00 Screwdriver on the bottom of the camera attached to the front cover.

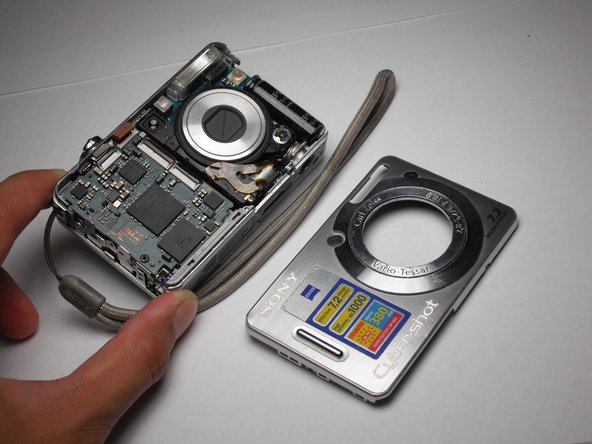
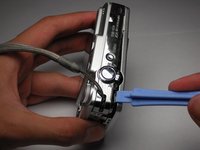
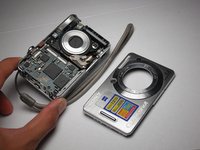
      • Gently remove the front cover.

      • Put a little force to pop off the case. Proceed with caution.

      Add Comment

    9. Sony Cyber-shot DSC-W55 Motherboard - Second Half Replacement: step 9, image 1 of 2 Sony Cyber-shot DSC-W55 Motherboard - Second Half Replacement: step 9, image 2 of 2
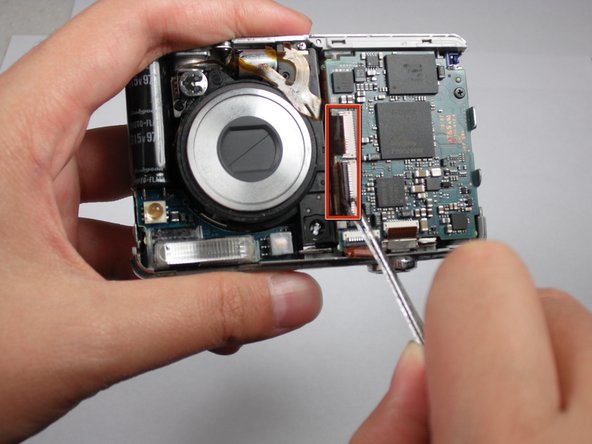
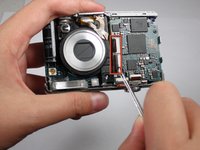
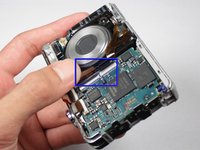
      • Flip the black secure locks off. Tweezers may be necessary.

      • Detach the two orange cables.

      Add Comment

    10. Sony Cyber-shot DSC-W55 Motherboard - Second Half Replacement: step 10, image 1 of 2 Sony Cyber-shot DSC-W55 Motherboard - Second Half Replacement: step 10, image 2 of 2
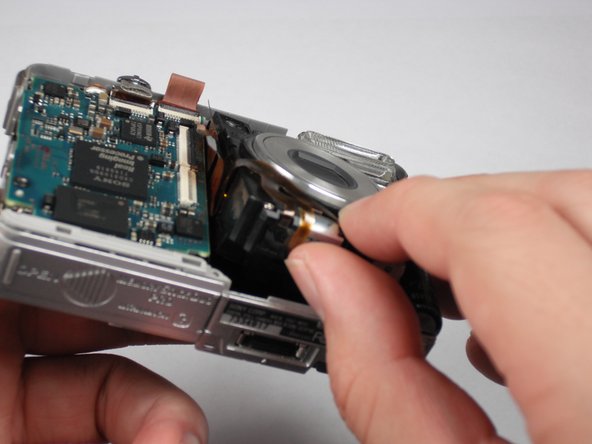
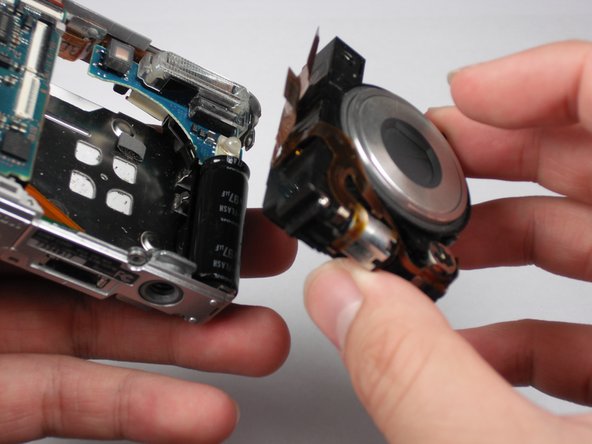
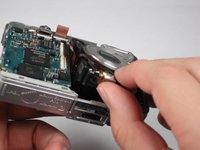
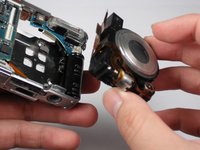
      • Gently pull the lens container out of the camera.

      Add Comment

    11. Sony Cyber-shot DSC-W55 Motherboard - Second Half Replacement: step 11, image 1 of 1
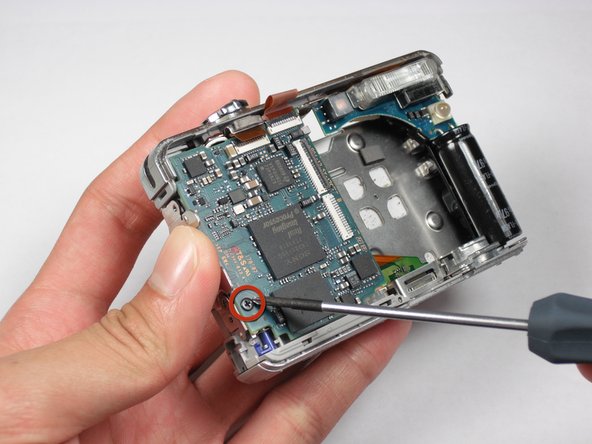
      • Remove the black screw using a Phillips #00 Screwdriver on the motherboard.

      Add Comment

    12. Sony Cyber-shot DSC-W55 Motherboard - Second Half Replacement: step 12, image 1 of 2 Sony Cyber-shot DSC-W55 Motherboard - Second Half Replacement: step 12, image 2 of 2
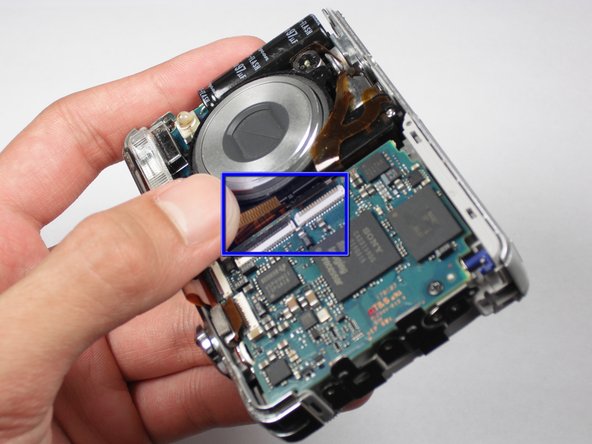
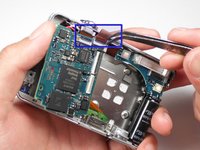
      • Remove the two orange cables on the top of the motherboard with tweezers.

      • Lift the motherboard out of its slot.

      Add Comment

    13. Sony Cyber-shot DSC-W55 Motherboard - Second Half Replacement: step 13, image 1 of 2 Sony Cyber-shot DSC-W55 Motherboard - Second Half Replacement: step 13, image 2 of 2
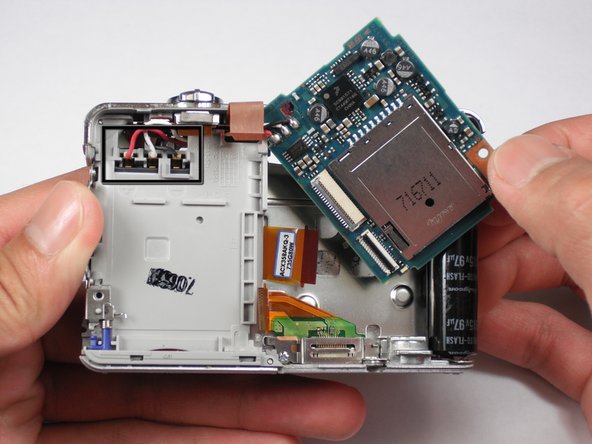
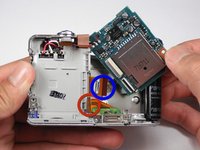
      • For the AV port, detach the bottom orange cable.

      • For the LCD screen, detach the top orange cable on the right side of the motherboard.

      • For the motherboard, detach all the orange cables.

      • Careful not to damage the red, white, and black wires when lifting the board.

      Add Comment

    14. Sony Cyber-shot DSC-W55 Motherboard - Second Half Replacement: step 14, image 1 of 3 Sony Cyber-shot DSC-W55 Motherboard - Second Half Replacement: step 14, image 2 of 3 Sony Cyber-shot DSC-W55 Motherboard - Second Half Replacement: step 14, image 3 of 3
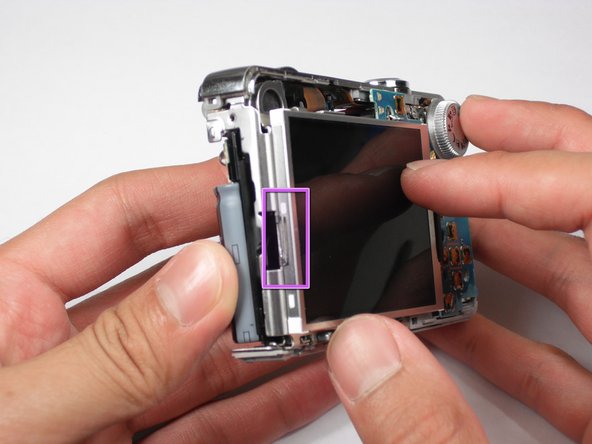
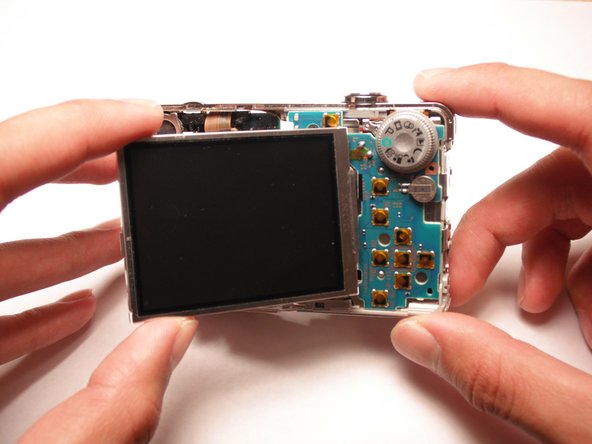
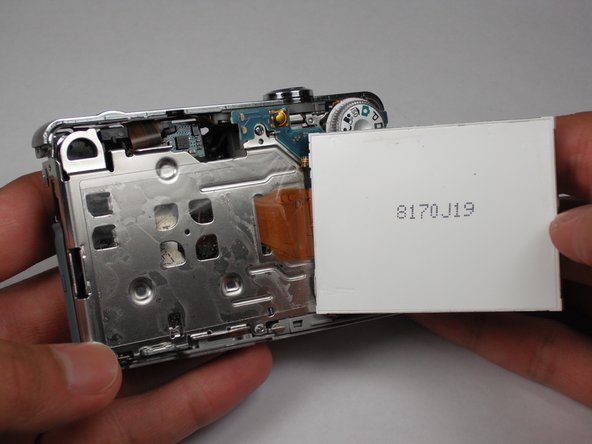
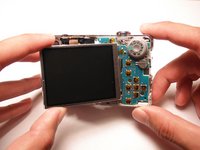
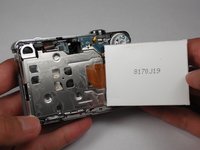
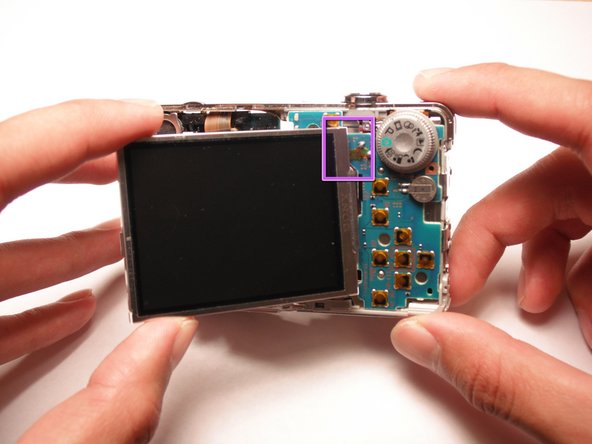
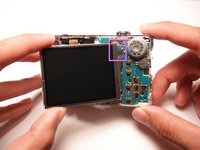
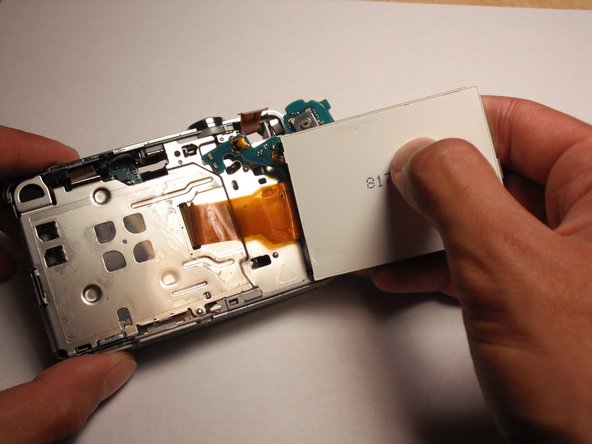
      • Verify the orange cables from the motherboard are removed from the LCD screen.

      • Lift the LCD screen off the hinge.

      Add Comment

    15. Sony Cyber-shot DSC-W55 Motherboard - Second Half Replacement: step 15, image 1 of 3 Sony Cyber-shot DSC-W55 Motherboard - Second Half Replacement: step 15, image 2 of 3 Sony Cyber-shot DSC-W55 Motherboard - Second Half Replacement: step 15, image 3 of 3
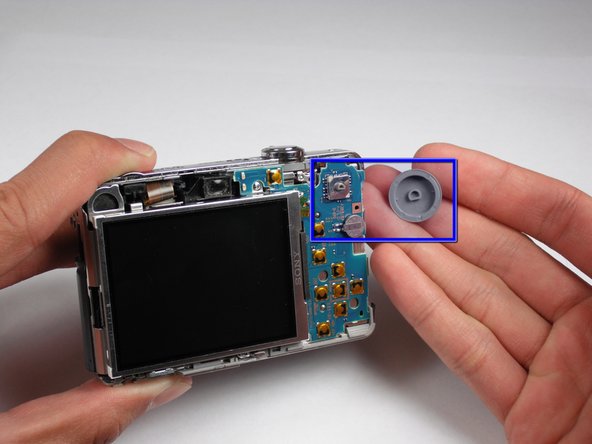
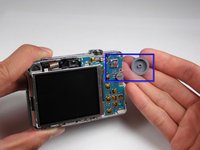
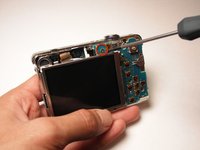
      • Verify that the LCD screen is attached to the chip on the back on the camera.

      • Remove the dial from the back of the camera. It pops right off very easily.

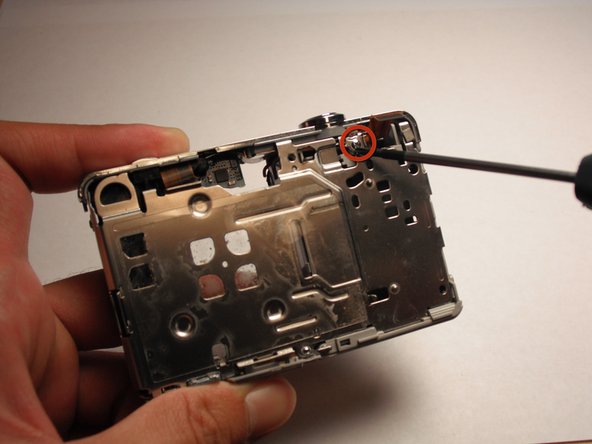
      • Remove the screw using a Phillips #00 Screwdriver from the camera.

      Add Comment

    16. Sony Cyber-shot DSC-W55 Motherboard - Second Half Replacement: step 16, image 1 of 2 Sony Cyber-shot DSC-W55 Motherboard - Second Half Replacement: step 16, image 2 of 2
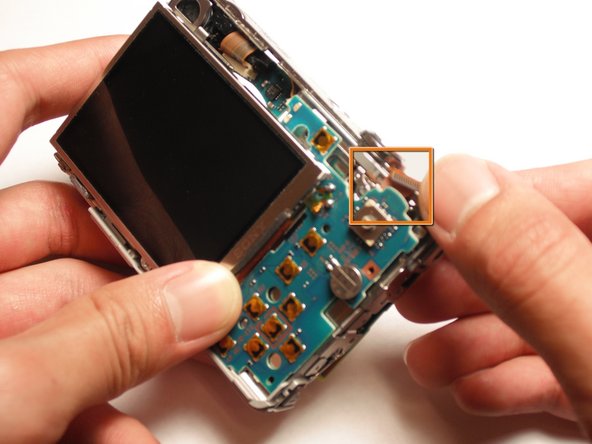
      • Remove the orange cable that is attached between the top of the camera and the chip. It should slide straight out with a little bit of force.

      • Remove the chip and the LCD screen now from the camera.

      • The chip may need a slight upward tug with a fingernail or tweezer.

      Add Comment

    17. Sony Cyber-shot DSC-W55 Motherboard - Second Half Replacement: step 17, image 1 of 2 Sony Cyber-shot DSC-W55 Motherboard - Second Half Replacement: step 17, image 2 of 2
      • Verify that the orange cables from the top piece are removed from the motherboard.

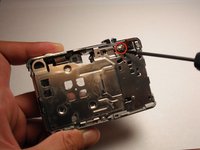
      • Remove the screw using a Phillips #00 Screwdriver on the upper part of the back side.

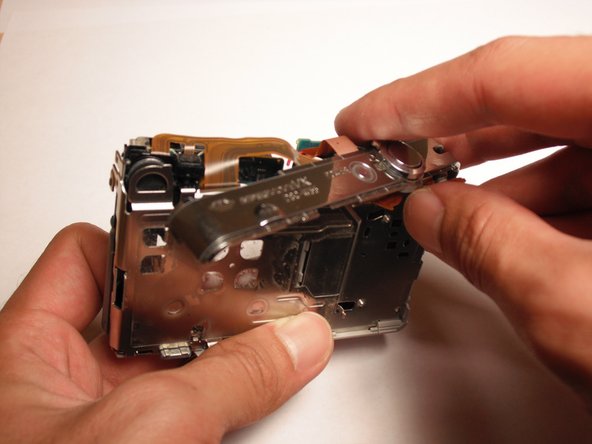
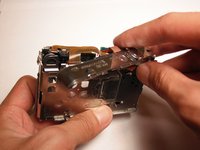
      • Pull the top off slowly and with caution. It is still slightly attached and may need a little force.

      Add Comment

    18. Sony Cyber-shot DSC-W55 Motherboard - Second Half Replacement: step 18, image 1 of 2 Sony Cyber-shot DSC-W55 Motherboard - Second Half Replacement: step 18, image 2 of 2
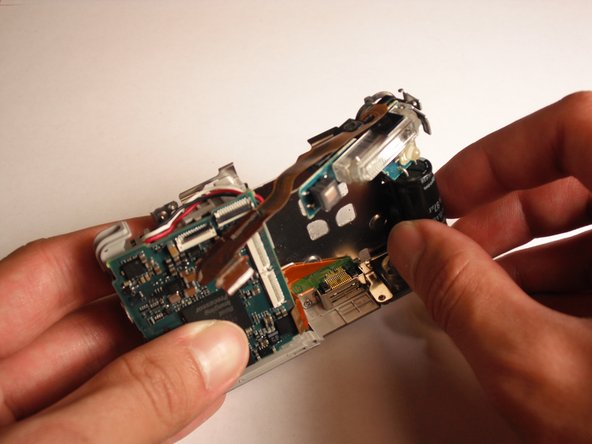
      • Slowly twist out the flash assembly.

      • It is attached to the hinge so a little force is necessary.

      Add Comment

    19. Sony Cyber-shot DSC-W55 Motherboard - Second Half Replacement: step 19, image 1 of 1
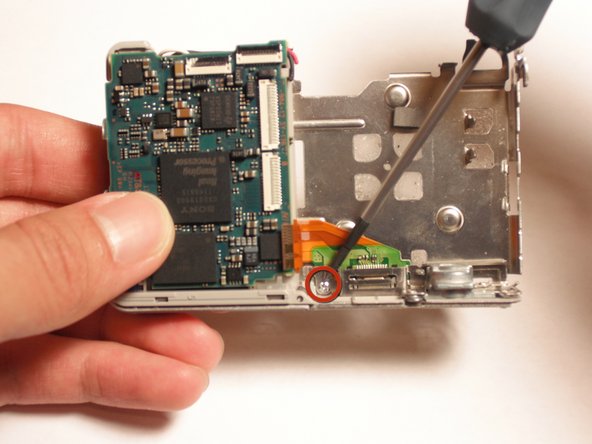
      • Verify the red, white, and black cables are still attached to the camera.

      • Remove the screw using a Phillips #00 Screwdriver near the AV port

      Add Comment

    20. Sony Cyber-shot DSC-W55 Motherboard - Second Half Replacement: step 20, image 1 of 3 Sony Cyber-shot DSC-W55 Motherboard - Second Half Replacement: step 20, image 2 of 3 Sony Cyber-shot DSC-W55 Motherboard - Second Half Replacement: step 20, image 3 of 3
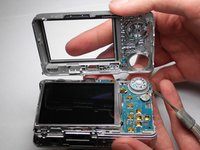
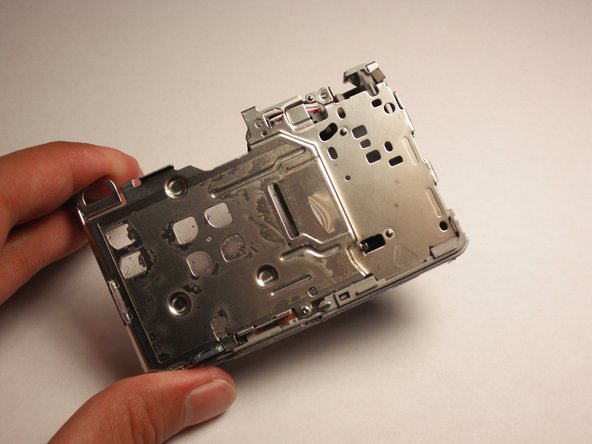
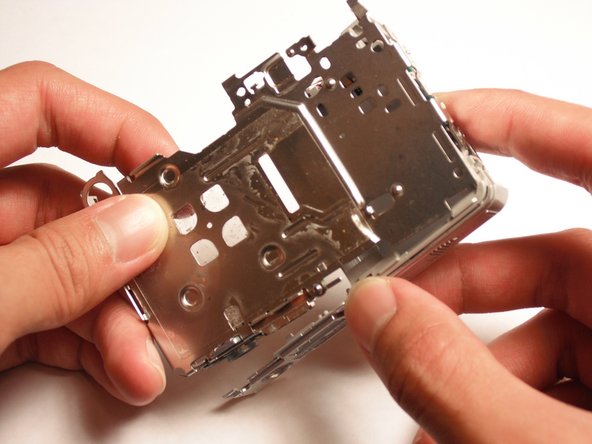
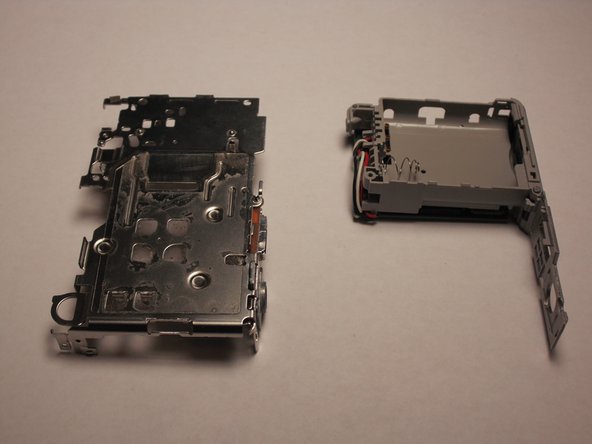
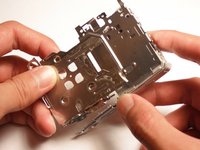
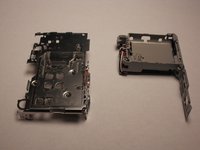
      • Remove the bottom part of the camera (where the battery is inserted into).

      • This should detach the rest into two pieces. Place the other aside.

      Add Comment

    21. Sony Cyber-shot DSC-W55 Motherboard - Second Half Replacement: step 21, image 1 of 2 Sony Cyber-shot DSC-W55 Motherboard - Second Half Replacement: step 21, image 2 of 2
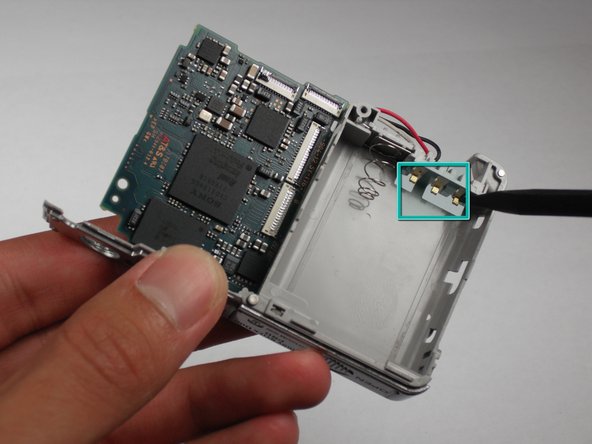
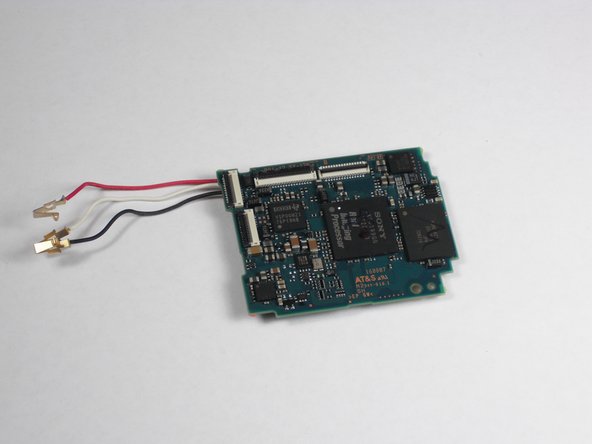
      • To remove the crimps, use the spudger to push into gold part of the crimp and pull the wire out gently.

      • Careful not to break the crimps from the wires.

      • Remove the motherboard from the camera.

      Add Comment

Conclusion

To reassemble your device, follow these instructions in reverse order.

Cancel: I did not complete this guide.

System

Member since: 09/24/09

2,562 Guides authored

0 Guide Comments

Add Comment

View Statistics:

Past 24 Hours: 0

Past 7 Days: 0

Past 30 Days: 1

All Time: 24