
Sony VAIO PCG-933A Thermal Paste Replacement

Last updated on Apr 11, 2016
Views: 35
View statistics:
- Past 24 Hours:
- 0
- Past 7 Days:
- 0
- Past 30 Days:
- 2
- All Time:
- 35
Comments: 0
No one has left comments on this guide. Will you be first?
Go to guide commentsCompleted: 0 1
No one has marked this guide "completed." Will you be the first?
1 person has marked this guide "completed." It's you — great job!
Favorites: 0 1
No one has favorited (and subscribed to) this guide. Will you be the first?
1 person has favorited (and subscribed to) this guide — and that's you!
Introduction
Go to step 1 ↓How to replace the thermal paste into your laptop.
What you need
-
-
-
Turn the laptop upside down
-
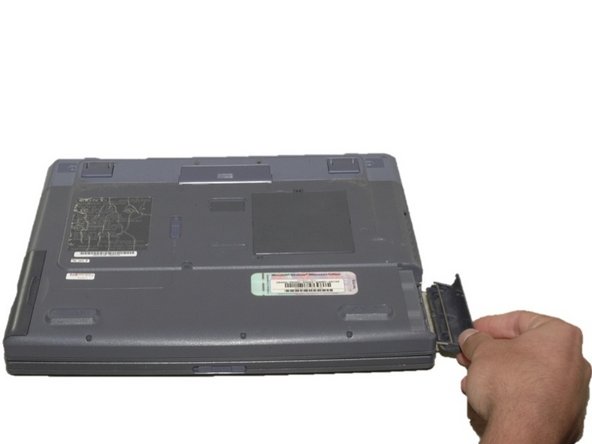
The battery is located on the front right side of the laptop; the opposite side from the floppy disk drive.
-
-
-
As shown by the arrow, slide the plastic cover up and then pull out and downwards.
-
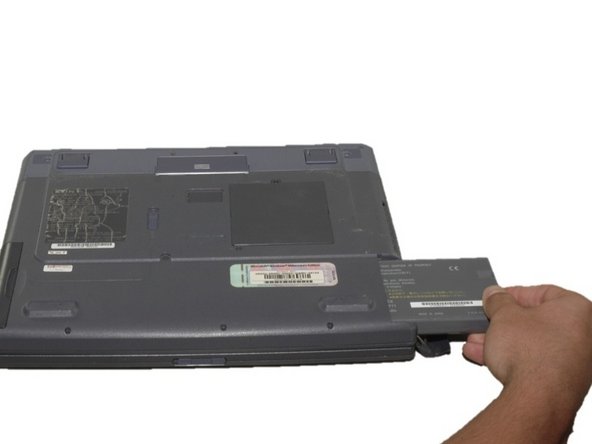
You should now be able to pull the battery out.
-
-
-
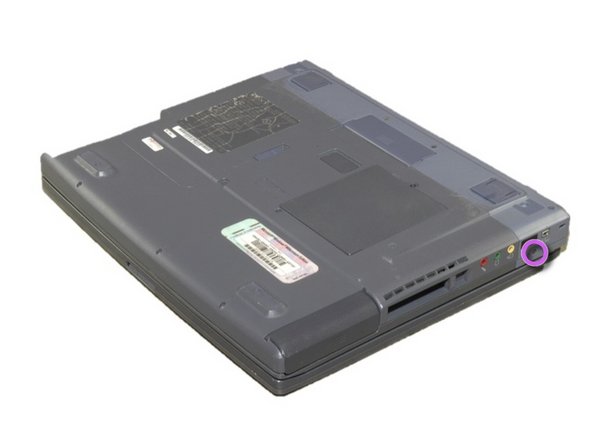
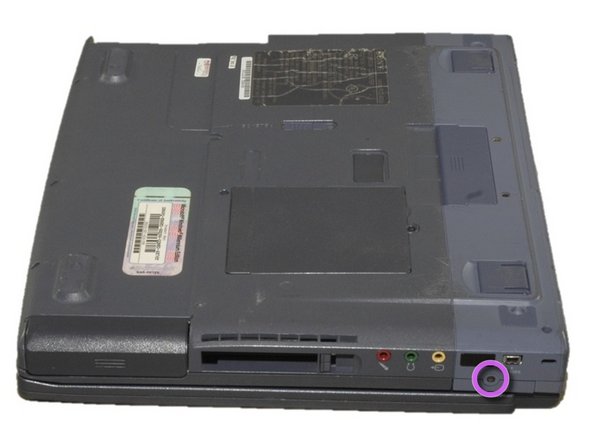
Remove the 4mm Phillips screw on the right rear side of the laptop next to the audio ports.
-
This will release the speaker grille.
-
-
-
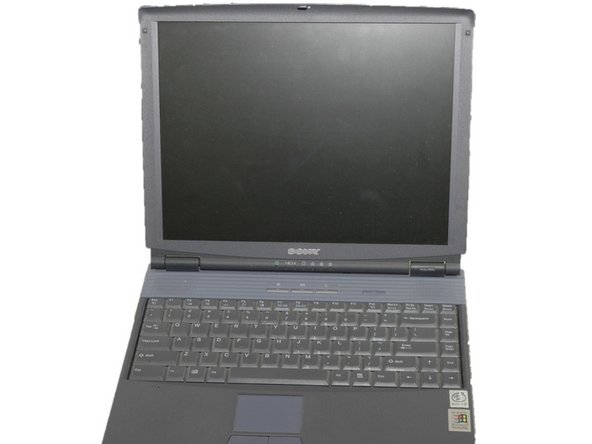
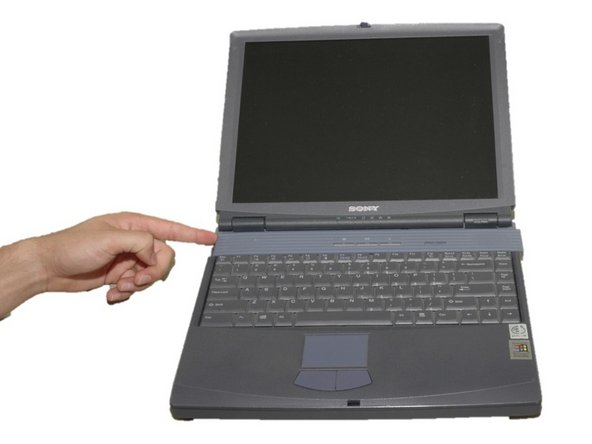
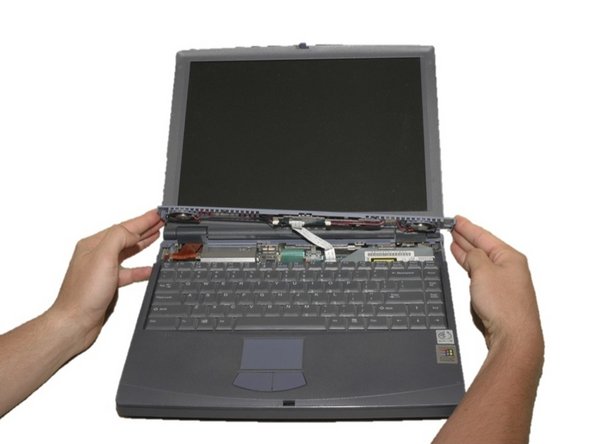
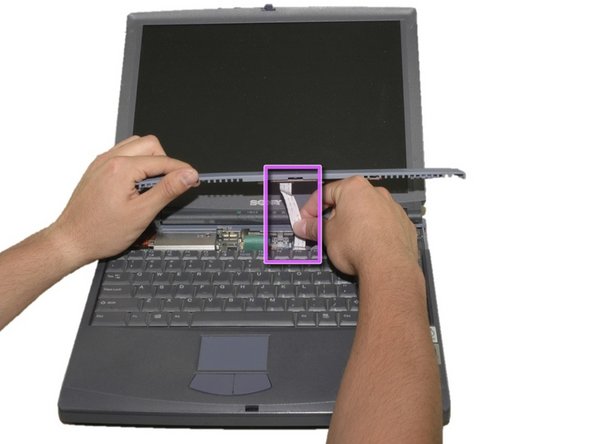
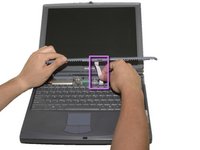
Slide the blue speaker grille (located above the keyboard) to the right and gently pull upward. The grille will still be connected by a white electrical strip.
-
Carefully pull out the white electrical strip.
-
-
-
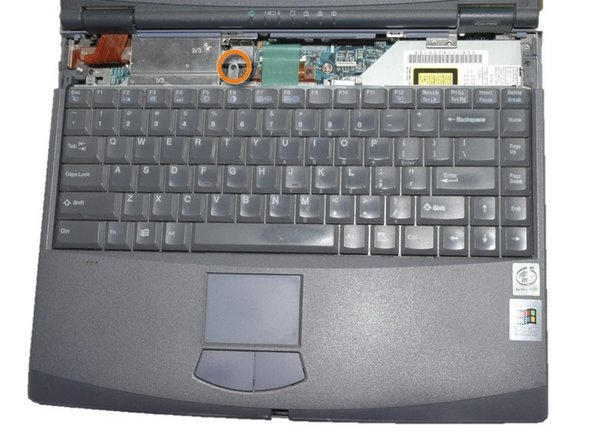
Remove the 4mm Phillips screw in the center (located to the left of the green strip).
-
Carefully pull the green strip straight up to disconnect it.
-
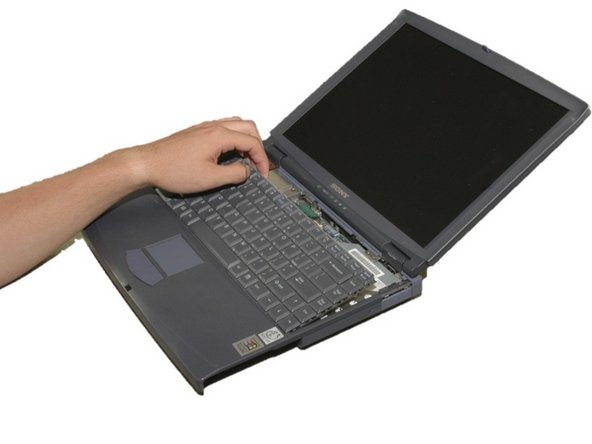
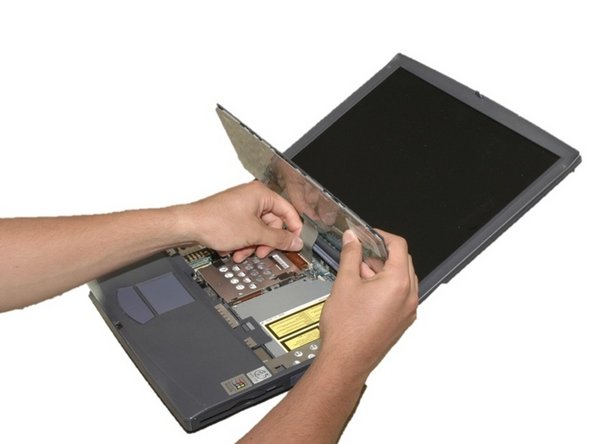
The keyboard can now be removed.
-
-
-
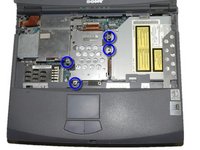
Remove the two 4mm Phillips screws in the center of the computer located on each side of the copper electrical strip.
-
-
-
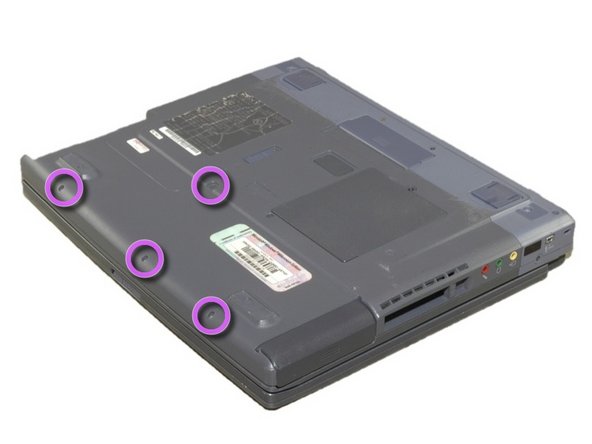
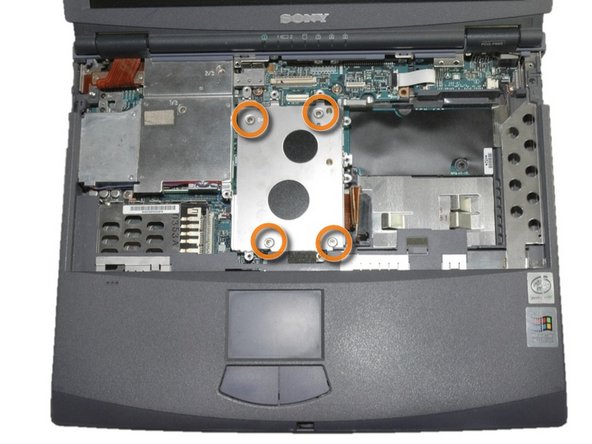
Remove the four 4mm Phillips screws around the hard drive cage.
-
Lift hard drive cage straight up.
-
Carefully disconnect the copper strip to pull out the hard drive.
-
-
-
With the hard drive removed, unscrew the four 6mm brass colored, Phillips screws under the hard drive cage
-
This will allow you to remove the hard drive mounting bracket
-
-
-
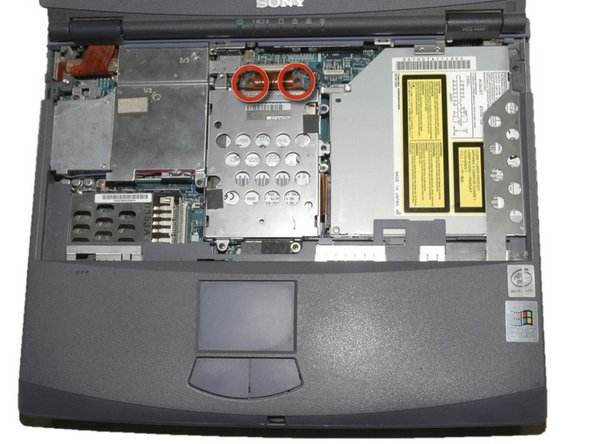
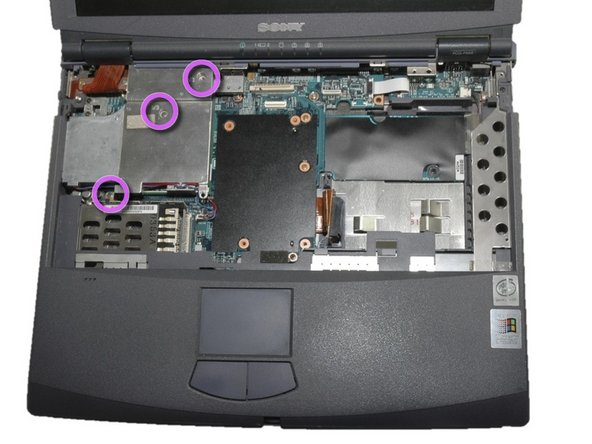
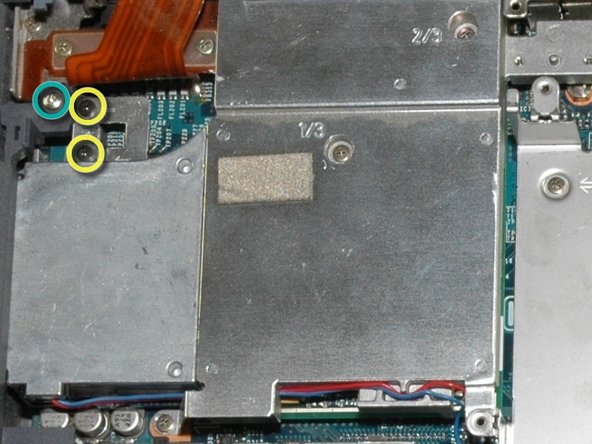
Remove the two 4mm black Phillips screws shown here.
-
Remove the 18mm silver Phillips screw shown here.
-
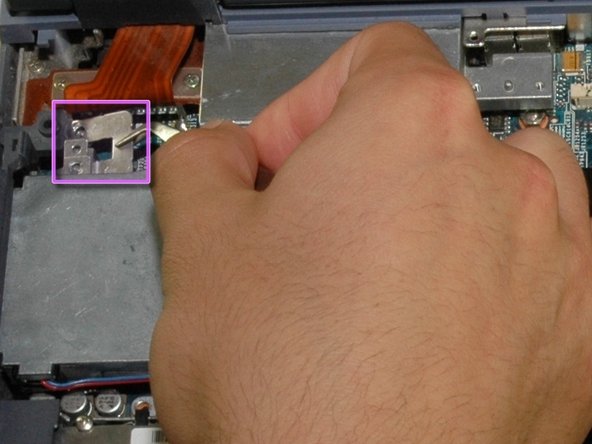
Now remove the silver tab.
-
-
-
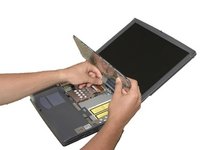
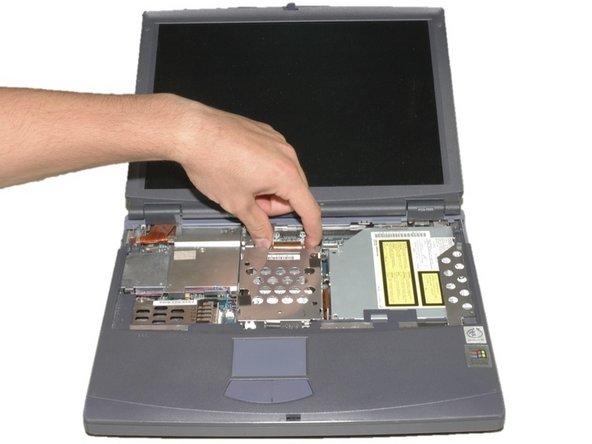
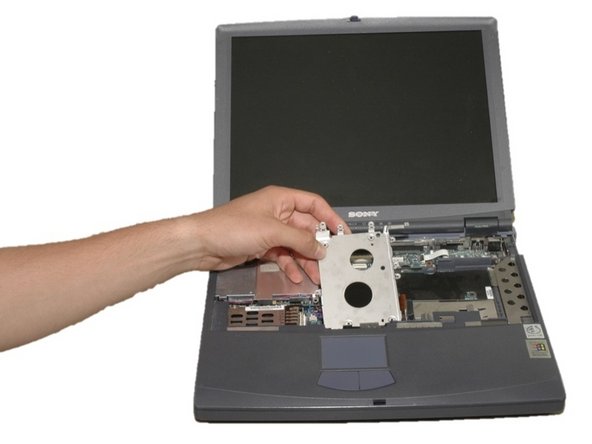
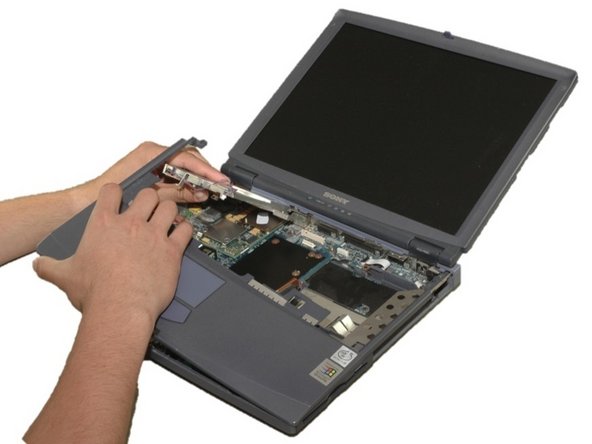
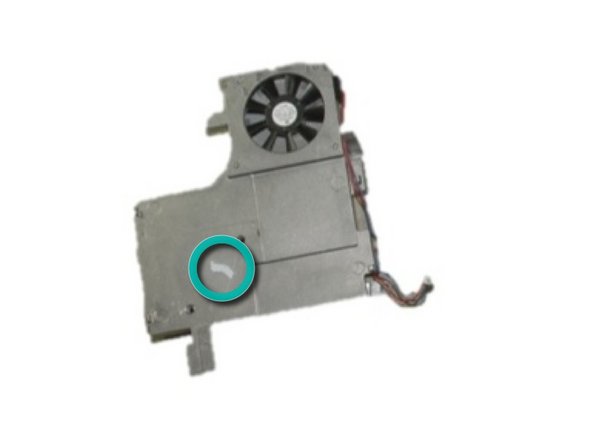
Carefully pull up and out on the metal heat sink and fan bracket.
-
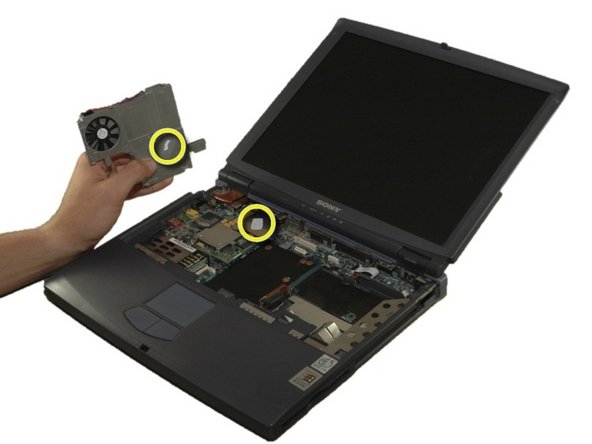
You should be able to see the thermal paste.
-
-
-
To remove thermal paste thoroughly, put isopropyl alcohol (70% or greater) on a paper towel and wipe thermal paste off. Some force may be required.
-
Apply new thermal paste to CPU.
-
-




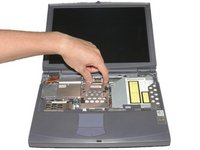
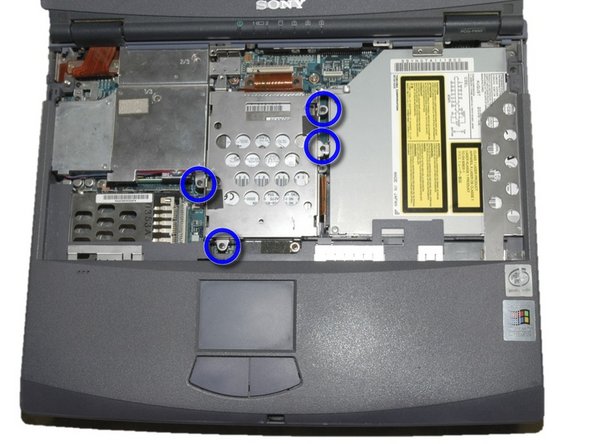
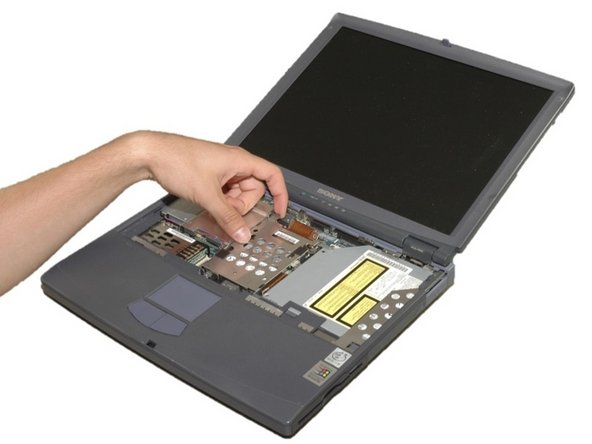
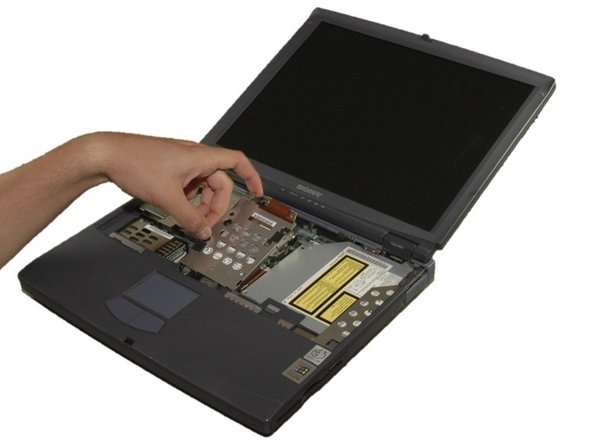
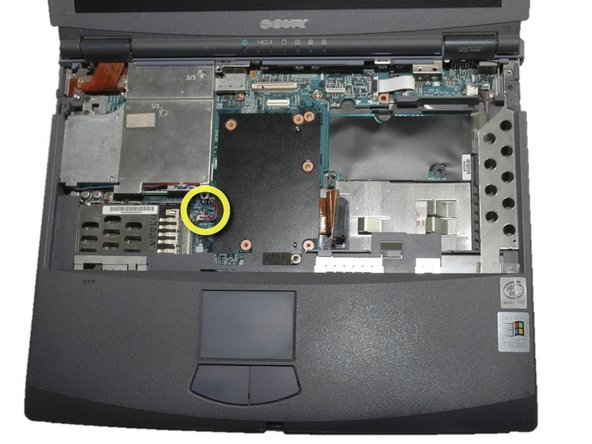
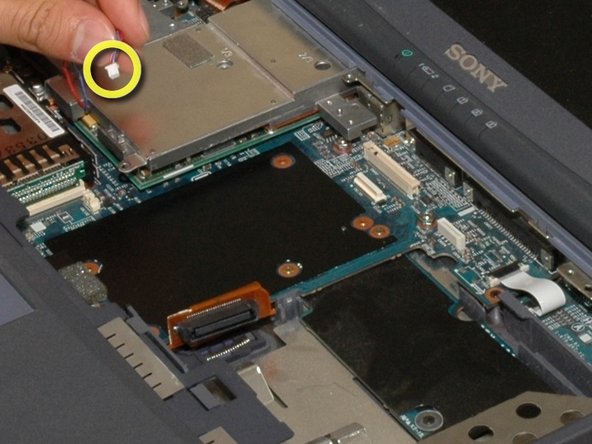
To reassemble your device, follow these instructions in reverse order.

