
Introduction
This guide will show you how to replace the Hard Drive on your Sony Vaio PCG-7A2L.
What you need
-
-
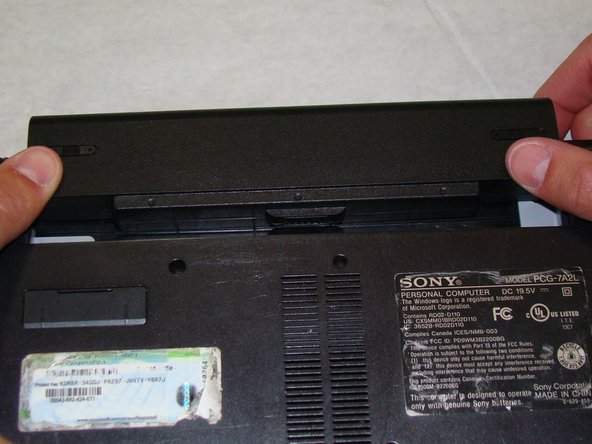
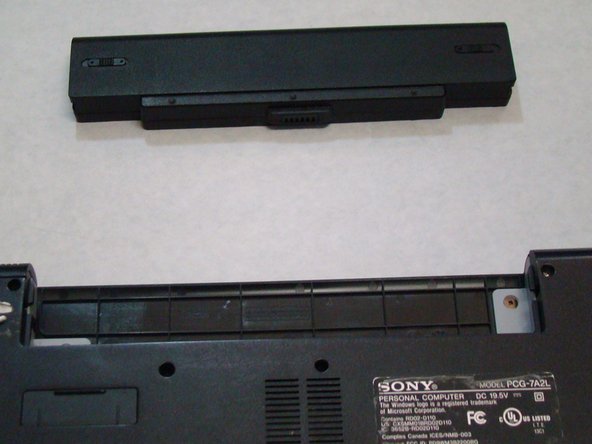
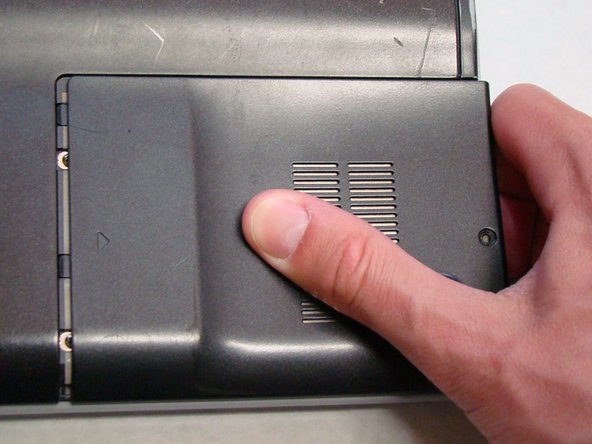
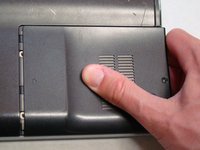
Lay the closed laptop on its screen so the bottom is facing towards you.
-
-
-
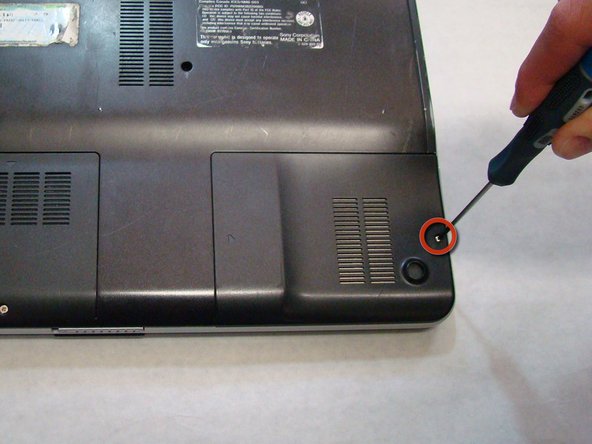
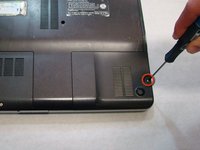
Locate and remove the screw (Length: 7.7mm) for the hard drive cover.
-
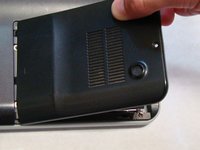
Slide the cover until it is free from the laptop case.
-
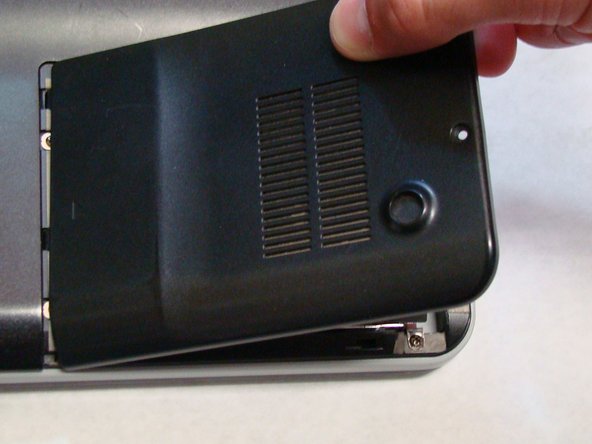
Lift the cover to remove.
-
-
-
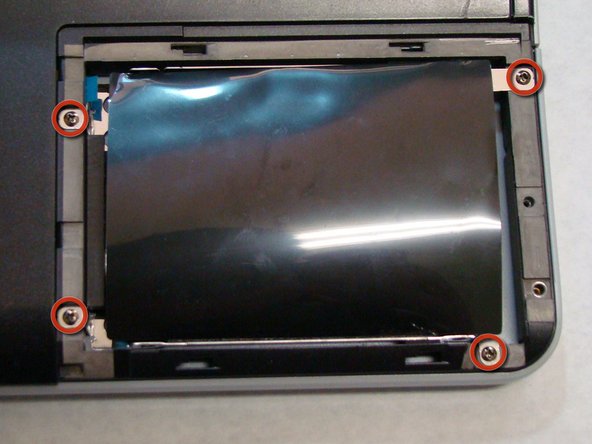
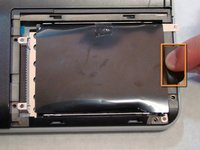
Locate and remove the four screws (Length: 7.7mm) holding the Hard Drive tray in place.
-
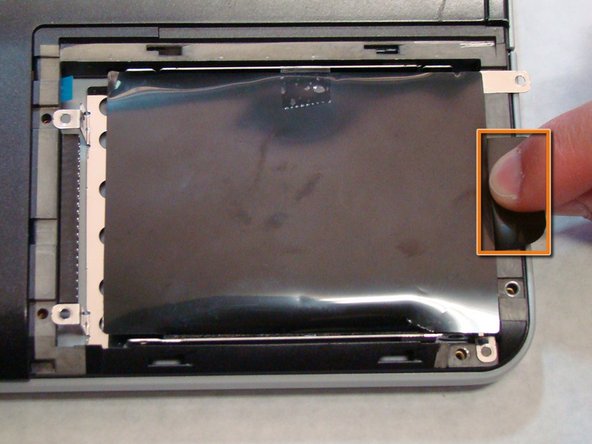
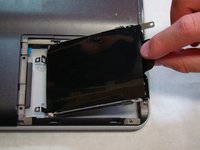
Using the tab on the tray, slide the Hard Drive away from the main body of the laptop.
-
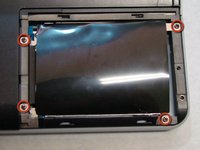
The Hard Drive should now be disconnected.
-
Lift the drive out with the tab on the tray.
-


Conclusion
To reassemble your device, follow these instructions in reverse order.
