/

Sony Vaio PCG-7A2L RAM Cover Replacement

What you need

  1. Sony Vaio PCG-7A2L RAM Cover Replacement, Sony Vaio PCG-7A2L RAM Cover Replacement: step 1, image 1 of 1
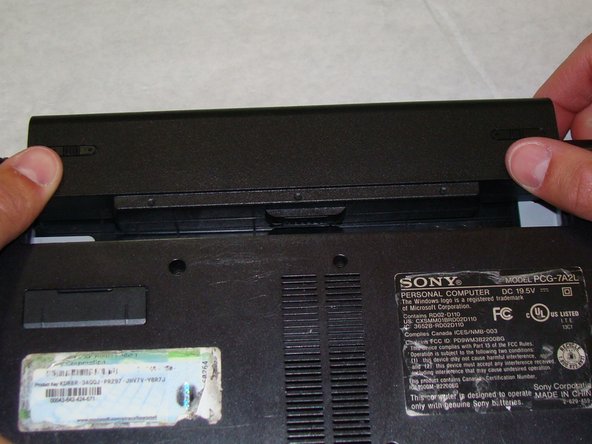
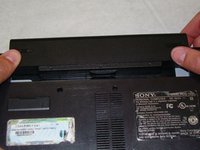
    • Lay the closed laptop on its screen so the bottom is facing towards you.

  2. Sony Vaio PCG-7A2L RAM Cover Replacement: step 2, image 1 of 1
    • Push both latches towards the center of the battery.

  3. Sony Vaio PCG-7A2L RAM Cover Replacement: step 3, image 1 of 2 Sony Vaio PCG-7A2L RAM Cover Replacement: step 3, image 2 of 2
    • Revome the battery by pushing it away from the laptop.

  4. Sony Vaio PCG-7A2L RAM Cover Replacement: step 4, image 1 of 2 Sony Vaio PCG-7A2L RAM Cover Replacement: step 4, image 2 of 2
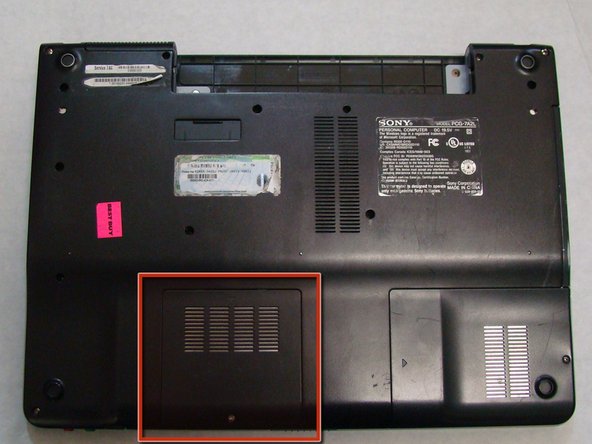
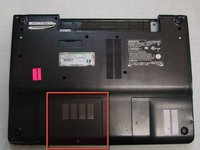
    • With the bottom of the laptop facing up, locate the RAM cover.

    • The RAM is covered by the panel with four columns of vents.

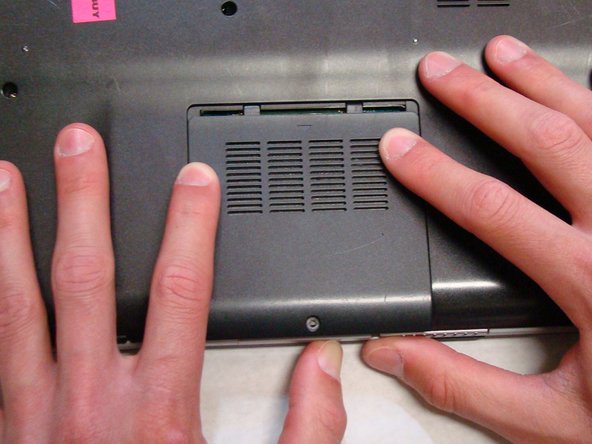
    • Locate the screw (Length: 4.8 mm) holding down the panel, which is near the edge of the laptop. Unscrew it with your phillips #0 screwdriver.

  5. Sony Vaio PCG-7A2L RAM Cover Replacement: step 5, image 1 of 3 Sony Vaio PCG-7A2L RAM Cover Replacement: step 5, image 2 of 3 Sony Vaio PCG-7A2L RAM Cover Replacement: step 5, image 3 of 3
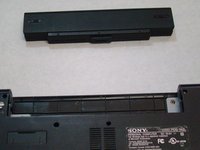
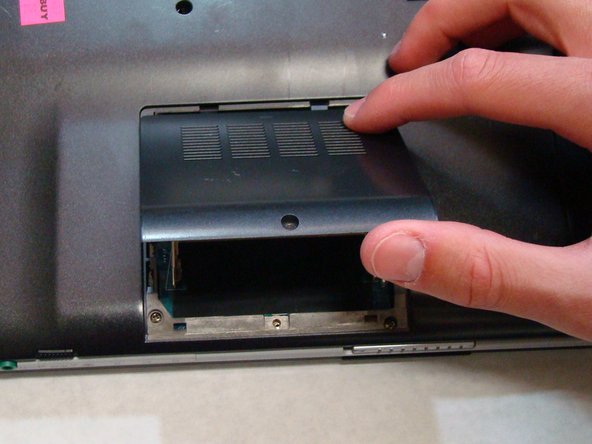
    • Use your fingers to slide the cover away from the laptop. (It will only slide a few millimeters)

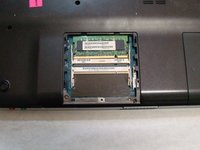
    • Once the panel is out of its locked position, it can be lifted out without any resistance.

Conclusion

To reassemble your device, follow these instructions in reverse order.

System

Member since: 09/24/09

2,562 Guides authored

0 Comments

Add Comment

View Statistics:

Past 24 Hours: 0

Past 7 Days: 0

Past 30 Days: 0

All Time: 0