/

Sony Vaio PCG-F360 Hard Drive Replacement

What you need

  1. Sony Vaio PCG-F360 Hard Drive Replacement, Sony Vaio PCG-F360 Hard Drive Replacement: step 1, image 1 of 1
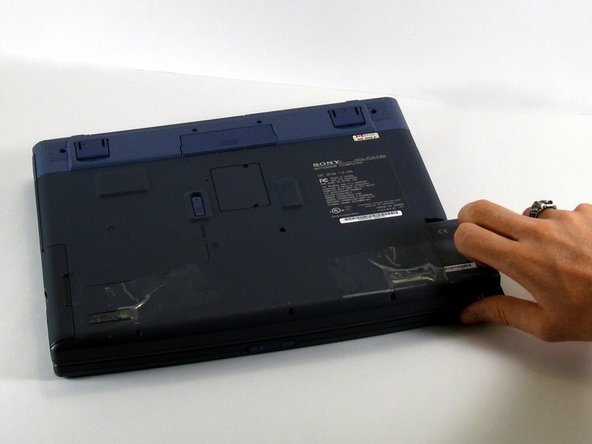
    • Position the laptop screen-side down as shown.

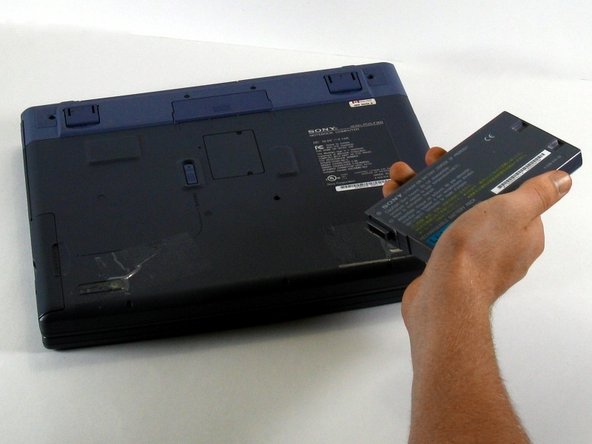
    • In this position the battery housing will be located on the right hand side.

  2. Sony Vaio PCG-F360 Hard Drive Replacement: step 2, image 1 of 1
    • Lift the panel up and then out to gain access to the battery.

  3. Sony Vaio PCG-F360 Hard Drive Replacement: step 3, image 1 of 1
    • Use the indentations to pull the old battery out.

  4. Sony Vaio PCG-F360 Hard Drive Replacement: step 4, image 1 of 1
    • The battery is now removed and it is safe to move on to uninstalling other components.

  5. Sony Vaio PCG-F360 Hard Drive Replacement: step 5, image 1 of 3 Sony Vaio PCG-F360 Hard Drive Replacement: step 5, image 2 of 3 Sony Vaio PCG-F360 Hard Drive Replacement: step 5, image 3 of 3
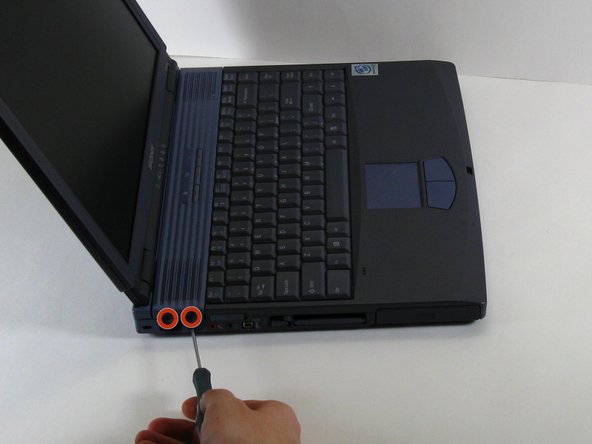
    • There are two screws on the left hand side of the laptop near the IR (Infared remote) receiver (see image). Remove them using a Phillips #00 Screwdriver.

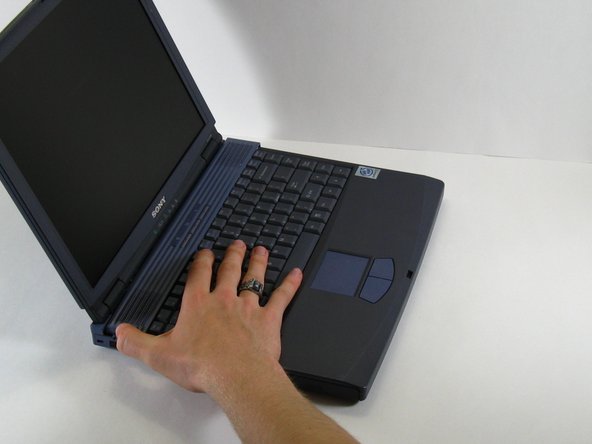
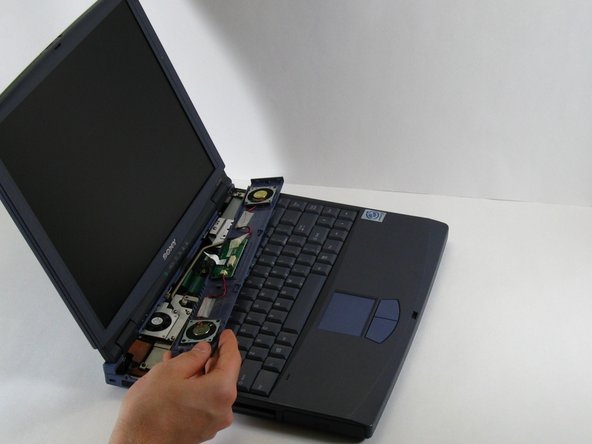
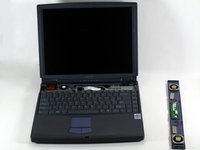
    • Slide the speaker panel towards the left, then carefully flip it over onto the keyboard.

    • Make sure not to pull the speaker panel away from the computer just yet - it is still connected!

  6. Sony Vaio PCG-F360 Hard Drive Replacement: step 6, image 1 of 3 Sony Vaio PCG-F360 Hard Drive Replacement: step 6, image 2 of 3 Sony Vaio PCG-F360 Hard Drive Replacement: step 6, image 3 of 3
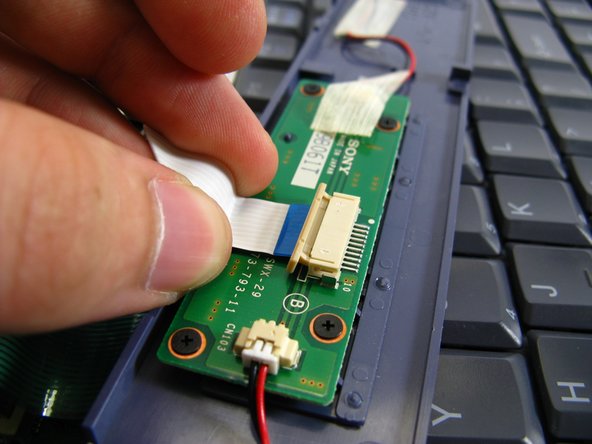
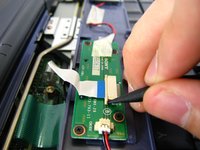
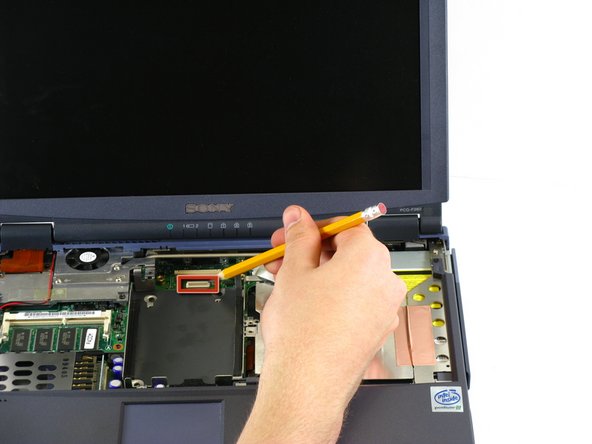
    • On the inside of the speaker panel, using a spudger, push the beige tab in the direction of the ribbon. It should only move a small amount.

    • Remove the ribbon by gently pulling on it, there should be little or no resistance.

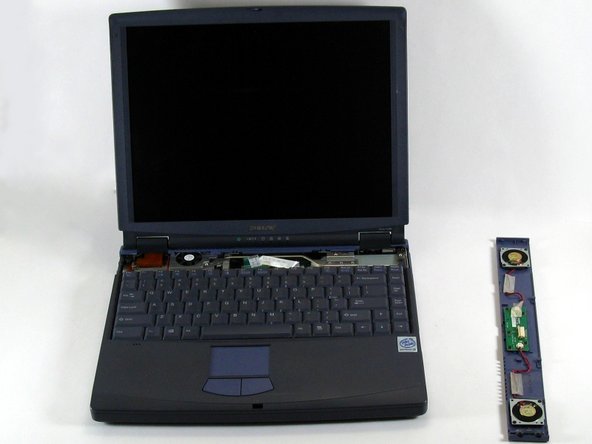
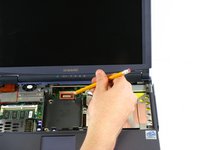
    • Now the speaker panel can be set aside.

  7. Sony Vaio PCG-F360 Hard Drive Replacement: step 7, image 1 of 2 Sony Vaio PCG-F360 Hard Drive Replacement: step 7, image 2 of 2
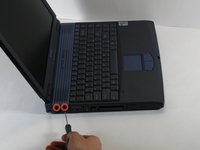
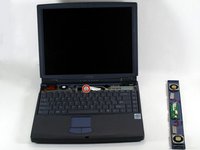
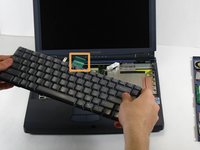
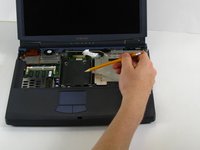
    • Remove the metal screw that will be located at the red circle.

    • Pull on the green strip, and the keyboard should come free easily.

  8. Sony Vaio PCG-F360 Hard Drive Replacement: step 8, image 1 of 2 Sony Vaio PCG-F360 Hard Drive Replacement: step 8, image 2 of 2
    • We had a bit of a surprise when we opened our Sony. The hard drive was missing! While this is common practice when disposing of or selling a computer, it means that we're unable to show you what the hard drive looks inside the laptop.

    • If a hard drive was present, it would attach to the motherboard by the shown connector.

Conclusion

To reassemble your device, follow these instructions in reverse order.

System

Member since: 09/24/09

2,562 Guides authored

0 Comments

Add Comment

View Statistics:

Past 24 Hours: 0

Past 7 Days: 0

Past 30 Days: 0

All Time: 0