Sony Vaio VGN-S260 Hard Drive Replacement

What you need

    1. Sony Vaio VGN-S260 Hard Drive Replacement, Sony Vaio VGN-S260 Hard Drive Replacement: step 1, image 1 of 3 Sony Vaio VGN-S260 Hard Drive Replacement, Sony Vaio VGN-S260 Hard Drive Replacement: step 1, image 2 of 3 Sony Vaio VGN-S260 Hard Drive Replacement, Sony Vaio VGN-S260 Hard Drive Replacement: step 1, image 3 of 3
      • Flip the laptop over so the Vaio logo is facing down

      • Locate the battery at the top and Find the release and unlock slides on the battery

      • Slide the unlock tab to the unlock position

      • Slide the release tab in the direction of the arrow, i.e. towards the unlock tab

      Add Comment

    2. Sony Vaio VGN-S260 Hard Drive Replacement: step 2, image 1 of 2 Sony Vaio VGN-S260 Hard Drive Replacement: step 2, image 2 of 2
      • With the tabs still in the unlock position, slide the battery away from the main case.

      Add Comment

    3. Sony Vaio VGN-S260 Hard Drive Replacement: step 3, image 1 of 2 Sony Vaio VGN-S260 Hard Drive Replacement: step 3, image 2 of 2
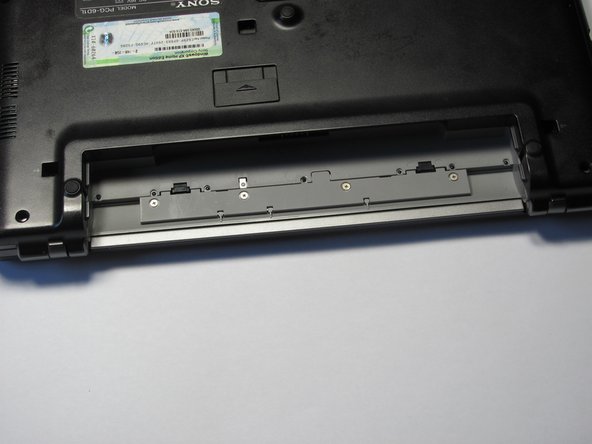
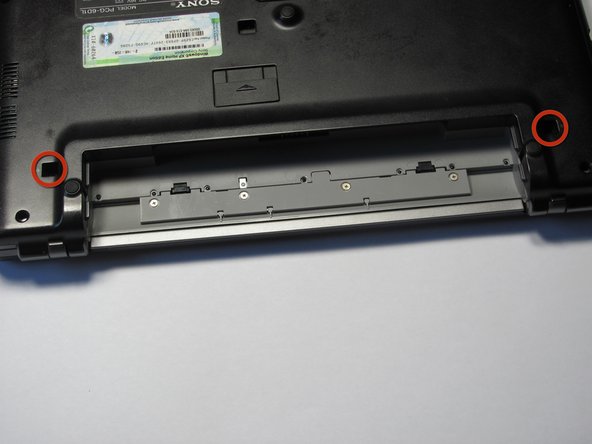
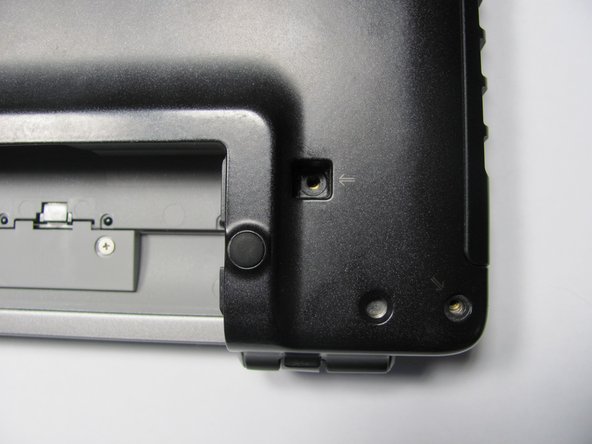
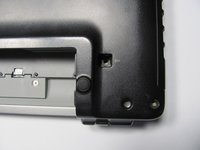
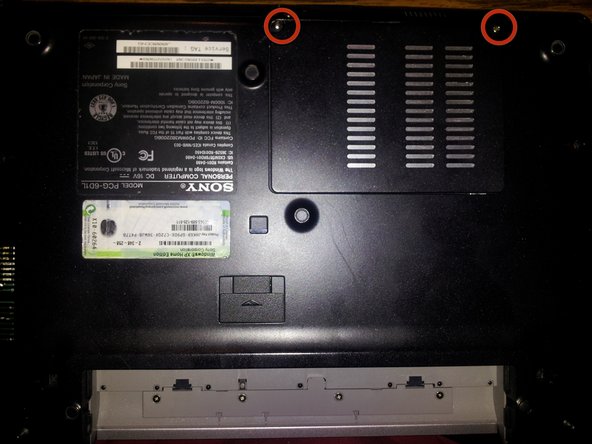
      • Flip the computer over so the Vaio logo is facedown

      • Unscrew the 2 screws next to the battery

      Add Comment

    4. Sony Vaio VGN-S260 Hard Drive Replacement: step 4, image 1 of 1
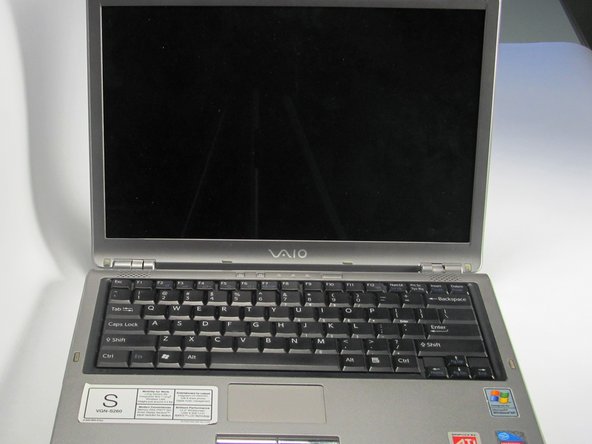
      • Flip the computer over again so the Vaio logo is face up

      • Open the lid

      Add Comment

    5. Sony Vaio VGN-S260 Hard Drive Replacement: step 5, image 1 of 2 Sony Vaio VGN-S260 Hard Drive Replacement: step 5, image 2 of 2
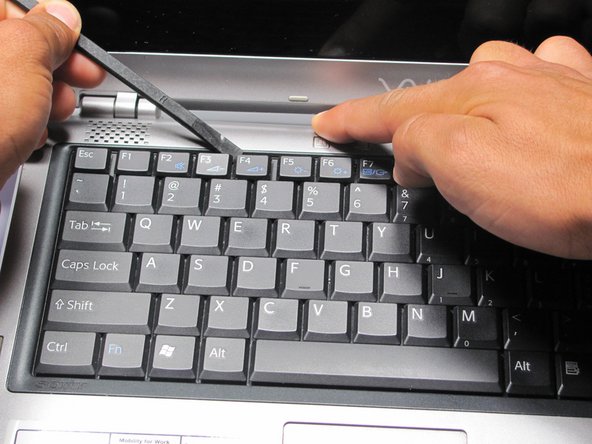
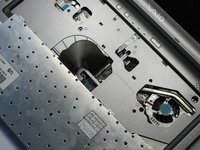
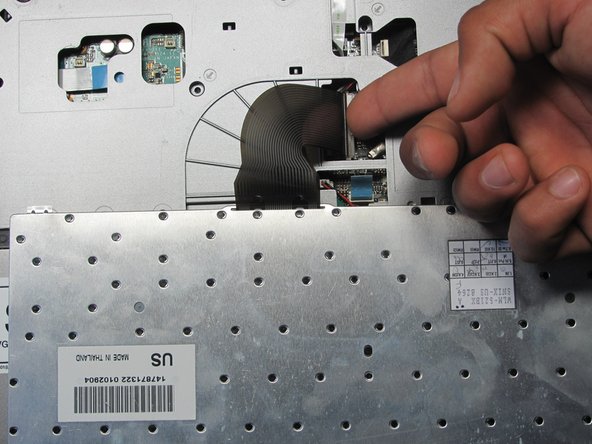
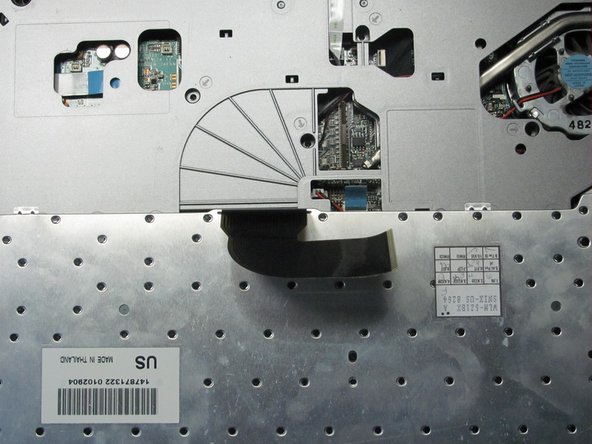
      • Press down on the outer gray shell around the keyboard

      • Use the spudger to gently lift keyboard

      • Do not pull up the keyboard too far as it is attached to a ribbon underneath

      Add Comment

    6. Sony Vaio VGN-S260 Hard Drive Replacement: step 6, image 1 of 2 Sony Vaio VGN-S260 Hard Drive Replacement: step 6, image 2 of 2
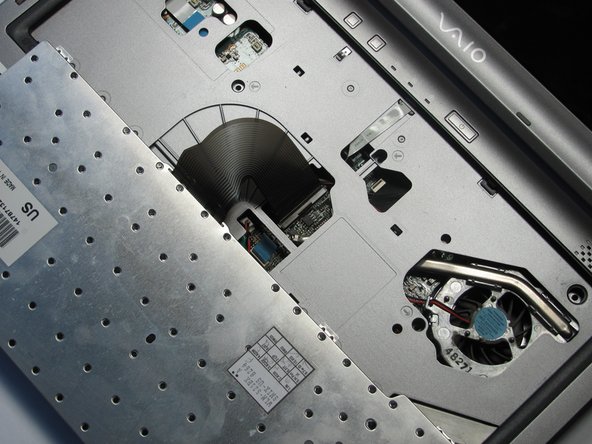
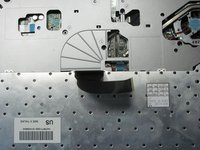
      • Lift up lever underneath the ribbon to detach the keyboard.

      Add Comment

    7. Sony Vaio VGN-S260 Hard Drive Replacement: step 7, image 1 of 1
      • Remove memory/wireless compartment cover

      Add Comment

    8. Sony Vaio VGN-S260 Hard Drive Replacement: step 8, image 1 of 3 Sony Vaio VGN-S260 Hard Drive Replacement: step 8, image 2 of 3 Sony Vaio VGN-S260 Hard Drive Replacement: step 8, image 3 of 3
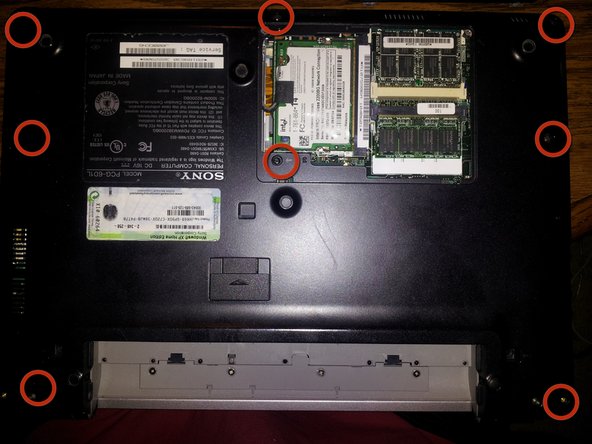
      • Flip so the Vaio Logo is face down

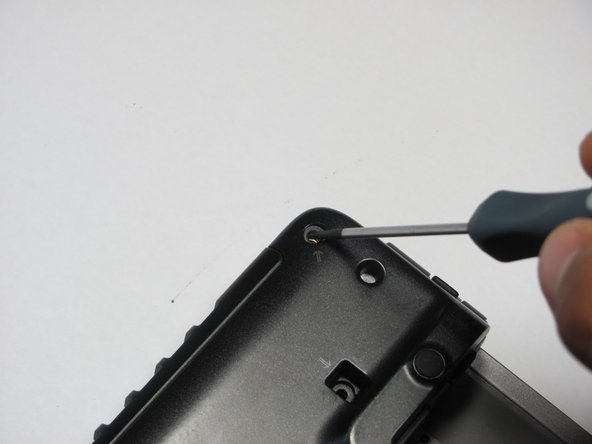
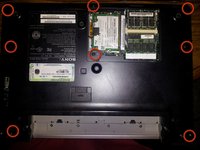
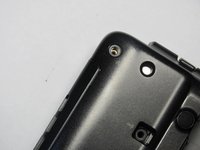
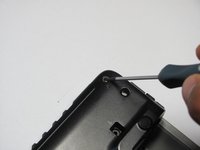
      • Locate and remove a total of 8 screws on the bottom.

      Add Comment

    9. Sony Vaio VGN-S260 Hard Drive Replacement: step 9, image 1 of 1
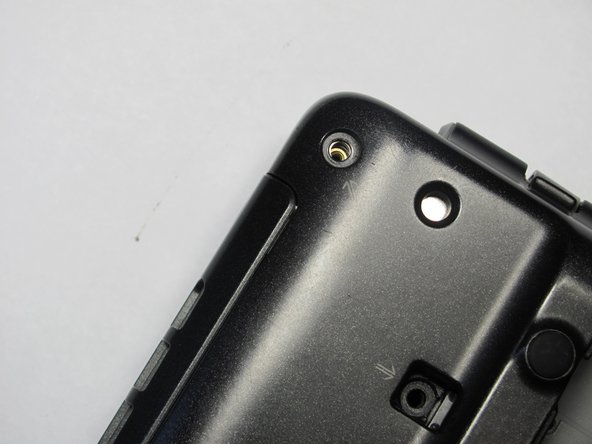
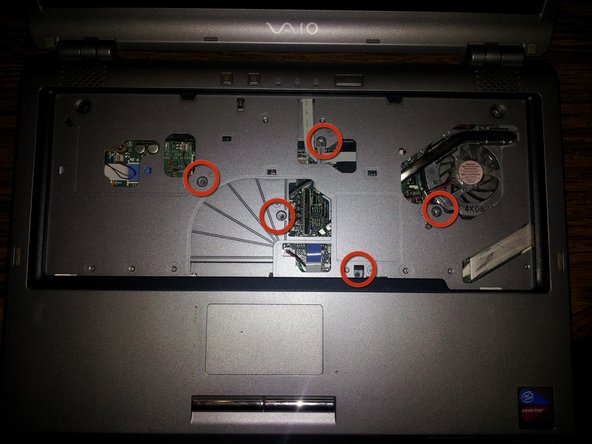
      • Find and remove 5 screws (they all have arrows next to them) from cover

      Add Comment

    10. Sony Vaio VGN-S260 Hard Drive Replacement: step 10, image 1 of 3 Sony Vaio VGN-S260 Hard Drive Replacement: step 10, image 2 of 3 Sony Vaio VGN-S260 Hard Drive Replacement: step 10, image 3 of 3
      • Flip the laptop over so the Vaio logo is face up

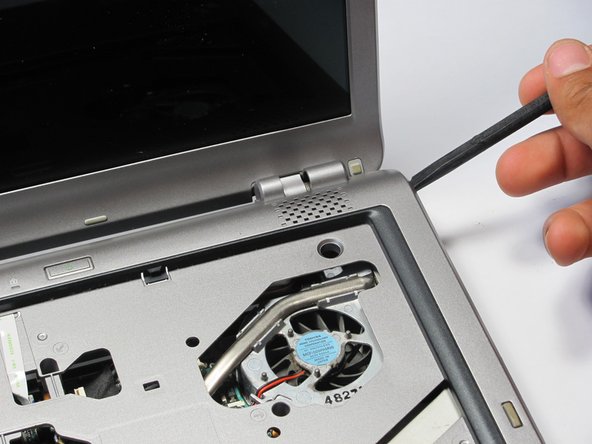
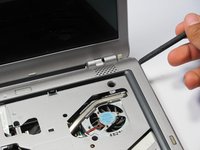
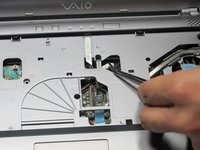
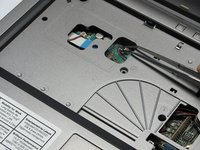
      • Use the spudger to pop up the upper casing

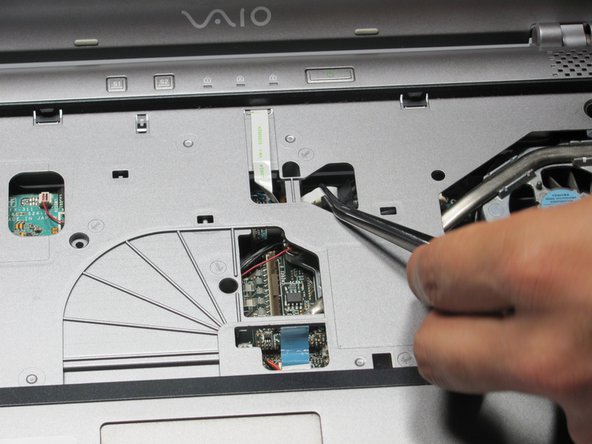
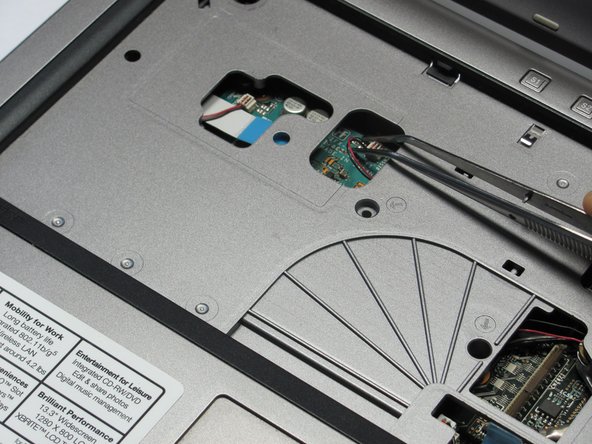
      • Do not lift too much as the Uppercasing is attached to wires underneath

      • Remove the wires that are attaching the uppercasing to the motherboard

      Add Comment

    11. Sony Vaio VGN-S260 Hard Drive Replacement: step 11, image 1 of 1
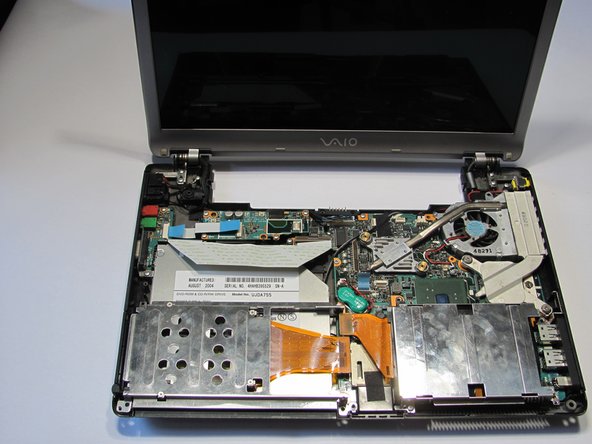
      • Remove the uppercasing

      Add Comment

    12. Sony Vaio VGN-S260 Hard Drive Replacement: step 12, image 1 of 2 Sony Vaio VGN-S260 Hard Drive Replacement: step 12, image 2 of 2
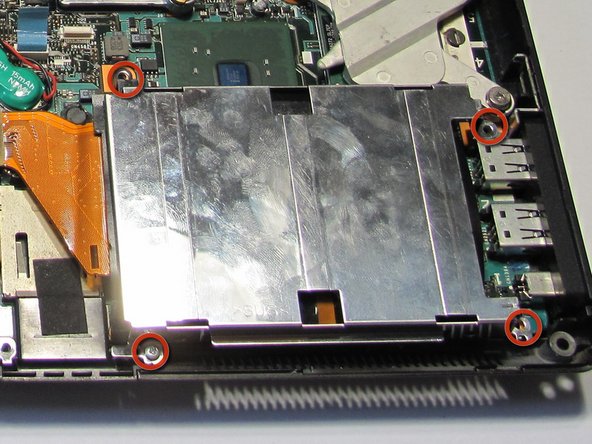
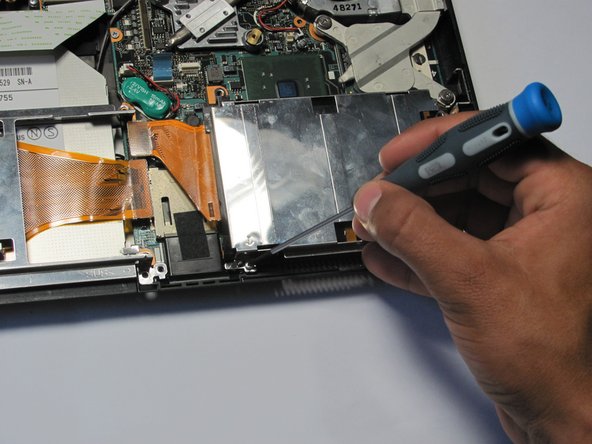
      • Locate the screws holding the hard drive casing in place.

      • Remove the screws

      Add Comment

    13. Sony Vaio VGN-S260 Hard Drive Replacement: step 13, image 1 of 1
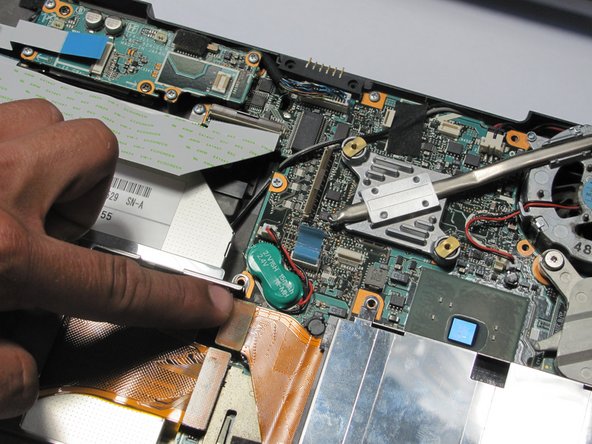
      • Find orange ribbon that is connected to the hard drive.

      • Find the holder of the ribbon and pop the ribbon off from it

      Add Comment

    14. Sony Vaio VGN-S260 Hard Drive Replacement: step 14, image 1 of 1
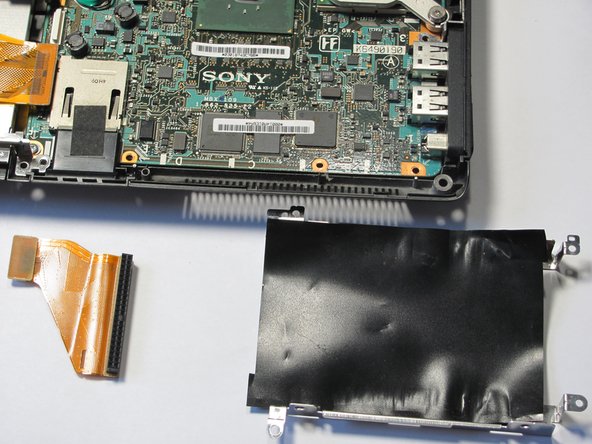
      • Remove the casing and the orange ribbon

      Add Comment

Conclusion

To reassemble your device, follow these instructions in reverse order.

Cancel: I did not complete this guide.

System

Member since: 09/24/09

2,562 Guides authored

0 Guide Comments

Add Comment

View Statistics:

Past 24 Hours: 0

Past 7 Days: 0

Past 30 Days: 2

All Time: 61