
Introduction
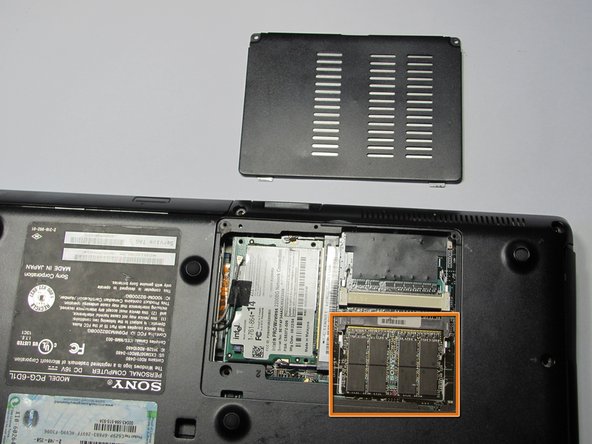
How to get out the RAM of your Sony Vaio VGN-S260
What you need
-
-
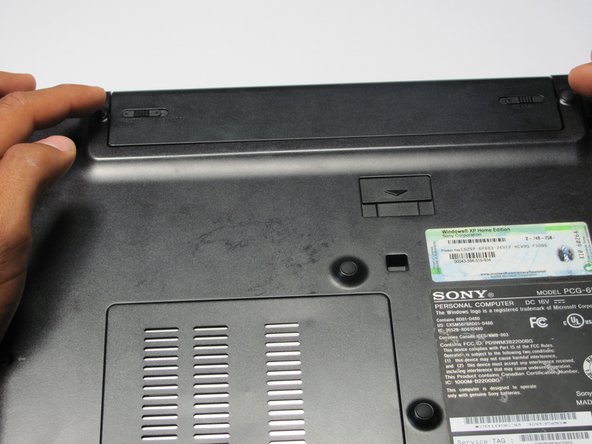
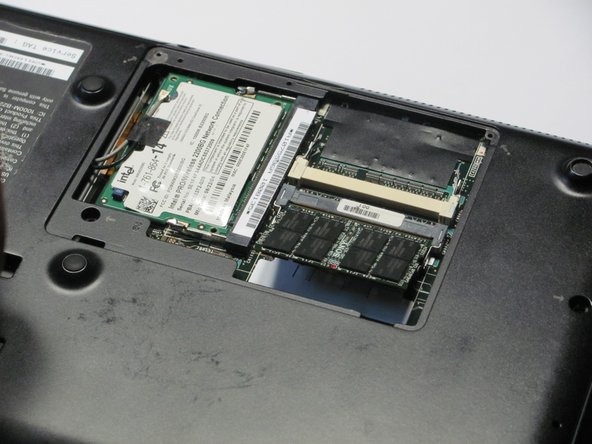
Flip the laptop over so the Vaio logo is facing down
-
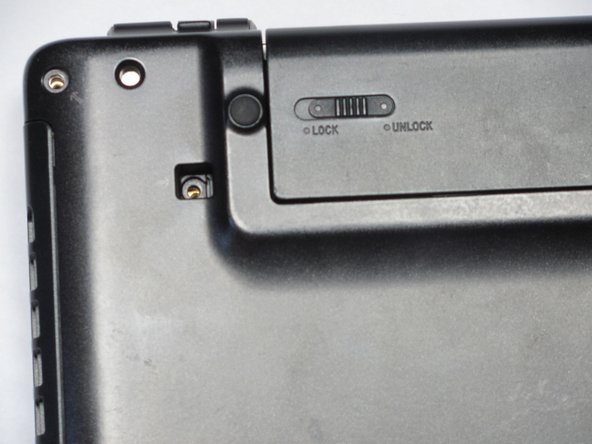
Locate the battery at the top and Find the release and unlock slides on the battery
-
Slide the unlock tab to the unlock position
-
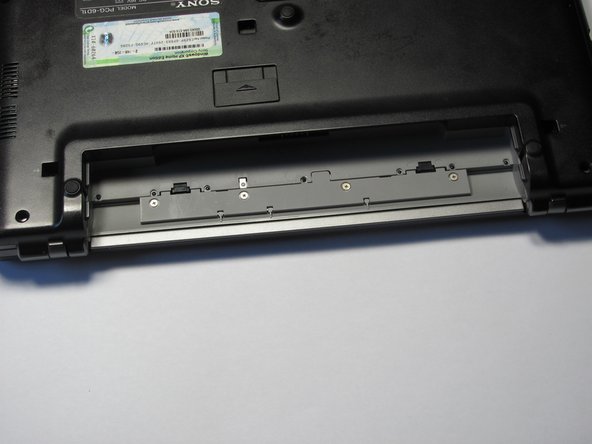
Slide the release tab in the direction of the arrow, i.e. towards the unlock tab
-
-
-
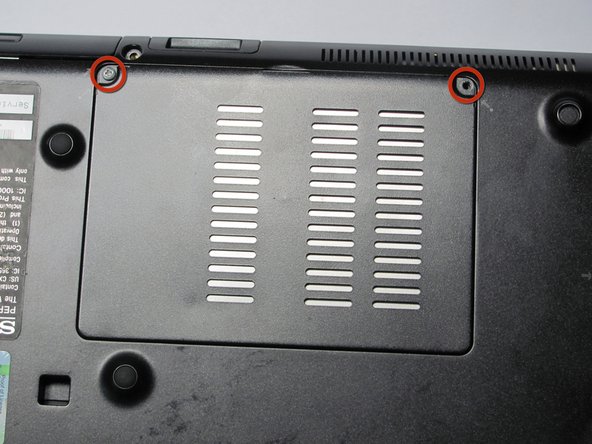
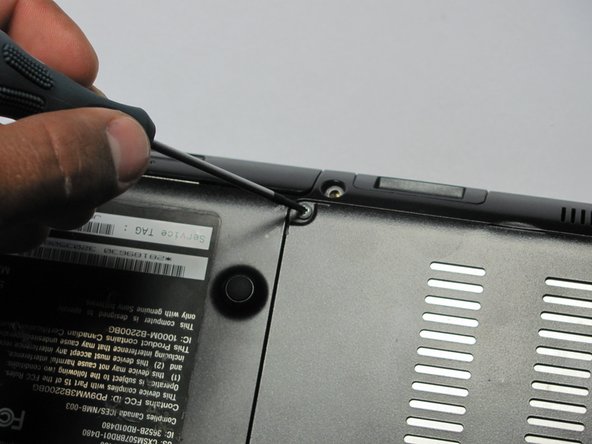
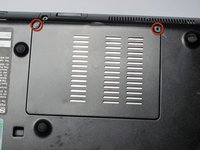
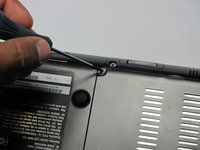
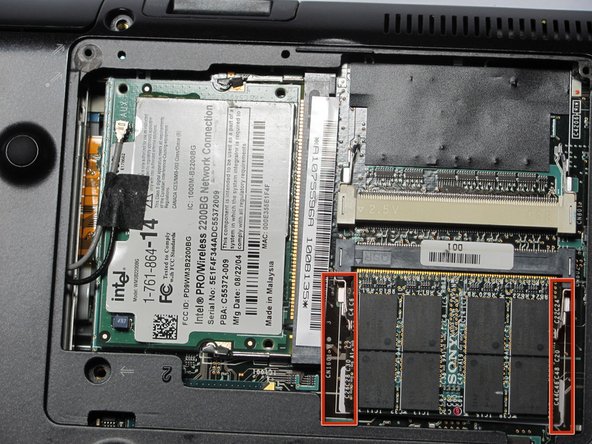
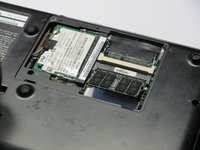
With the laptop still flipped over with the Vaio logo facedown, locate the screws for the RAM
-
Remove the screws
-


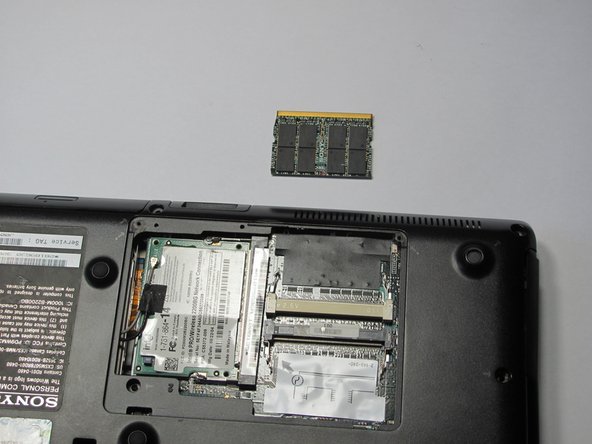
Conclusion
To reassemble your device, follow these instructions in reverse order.
