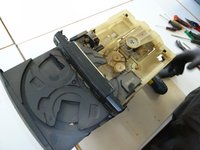
Stereo System

What you need

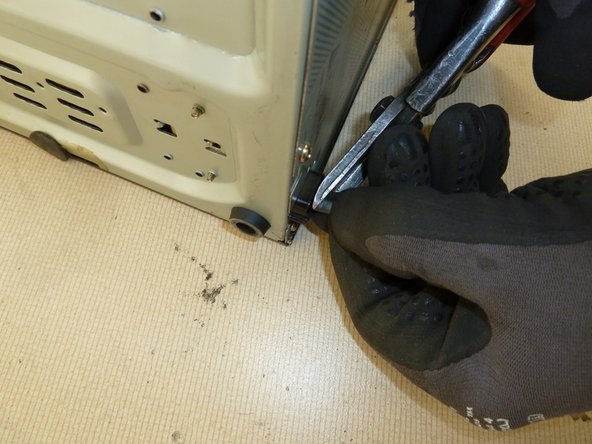
    1. Stereo System, Stereo System: step 1, image 1 of 2 Stereo System, Stereo System: step 1, image 2 of 2
      • Remove the tapes, in case there are any left inside.

      • Cut off the power cable.

      Add Comment

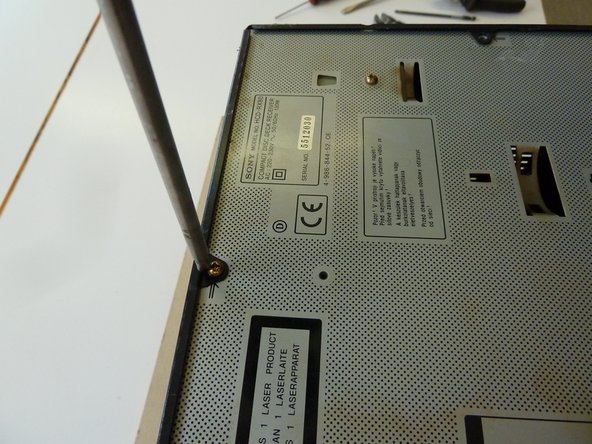
    2. Stereo System: step 2, image 1 of 3 Stereo System: step 2, image 2 of 3 Stereo System: step 2, image 3 of 3
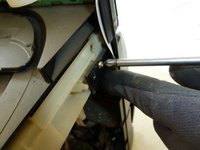
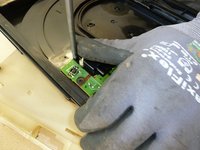
      • Remove all the screws from the case.

      Add Comment

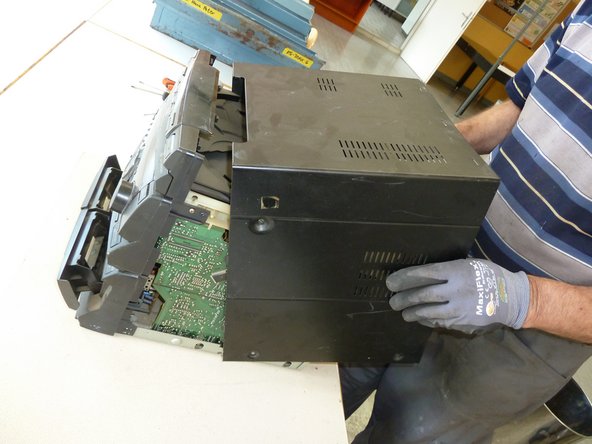
    3. Stereo System: step 3, image 1 of 2 Stereo System: step 3, image 2 of 2
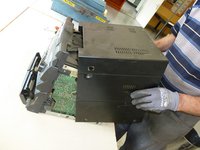
      • Remove the case.

      • Fold metal cases for better storage.

      Add Comment

    4. Stereo System: step 4, image 1 of 3 Stereo System: step 4, image 2 of 3 Stereo System: step 4, image 3 of 3
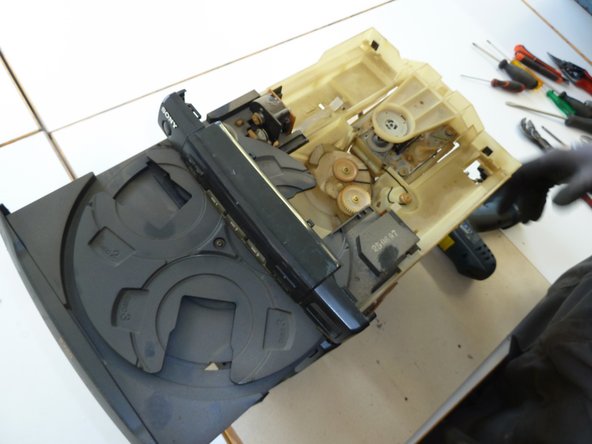
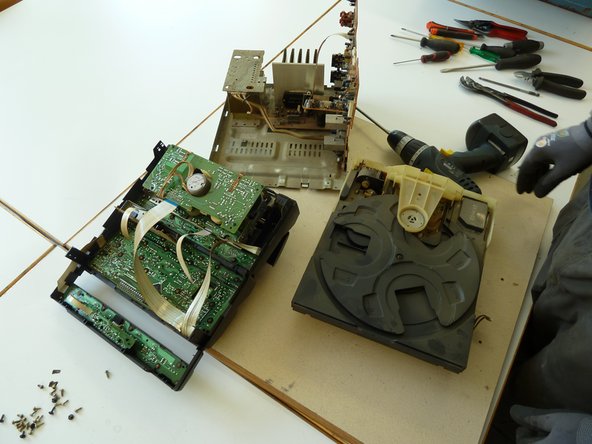
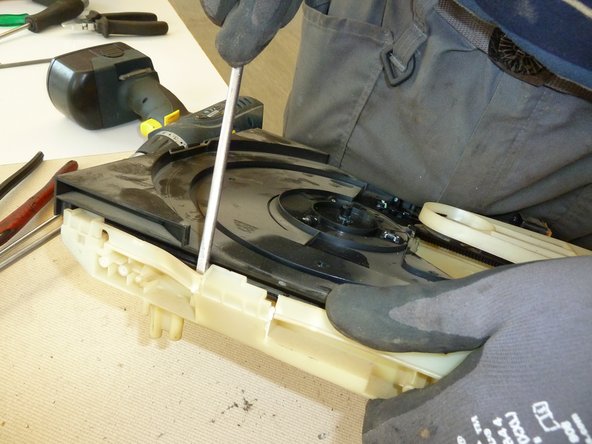
      • Remove the screws from the CD deck.

      • Remove the CD deck.

      • Seperate the large parts.

      Add Comment

    5. Stereo System: step 5, image 1 of 3 Stereo System: step 5, image 2 of 3 Stereo System: step 5, image 3 of 3
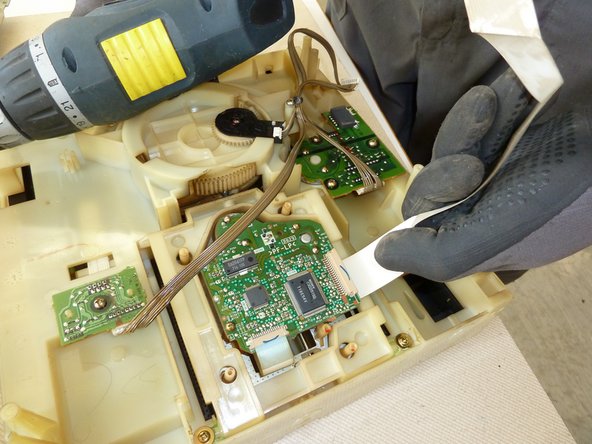
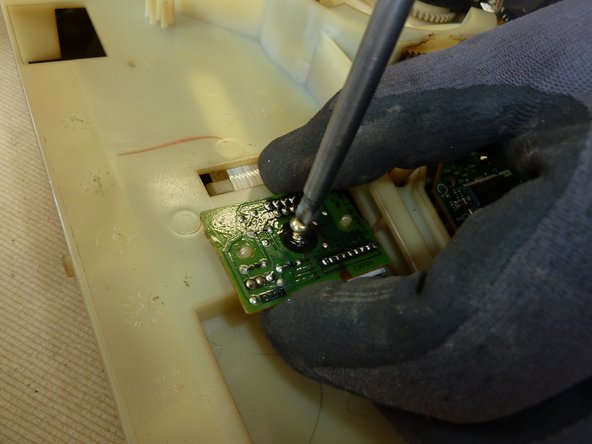
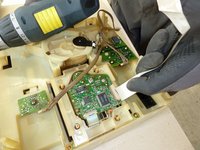
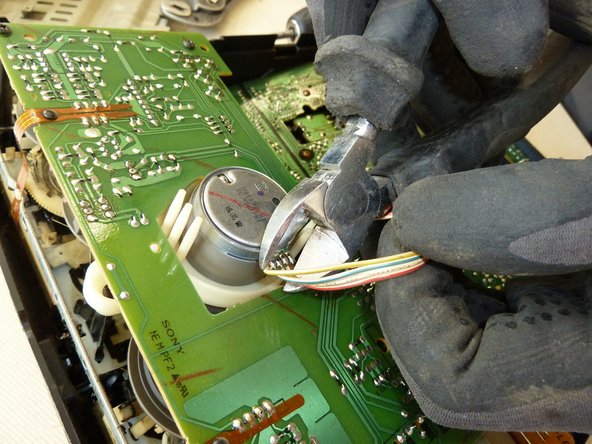
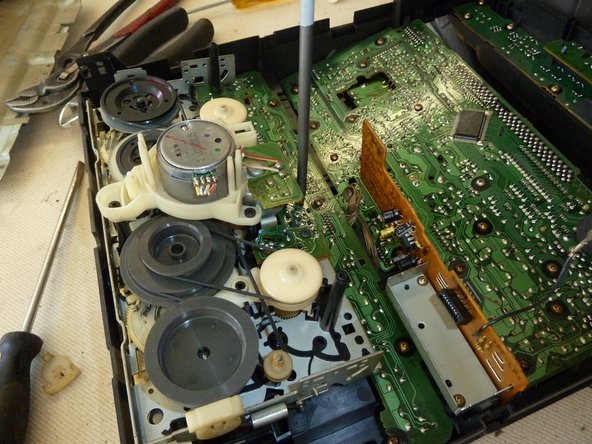
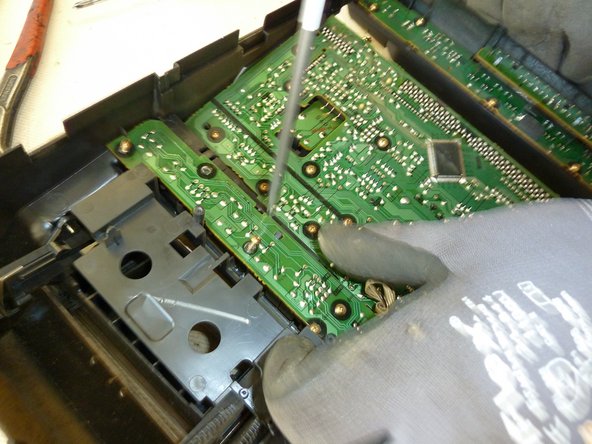
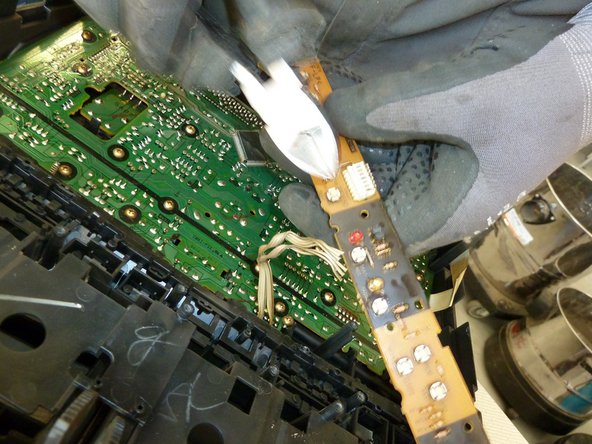
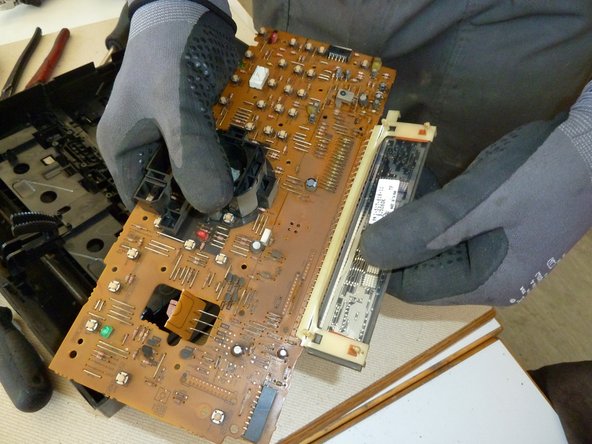
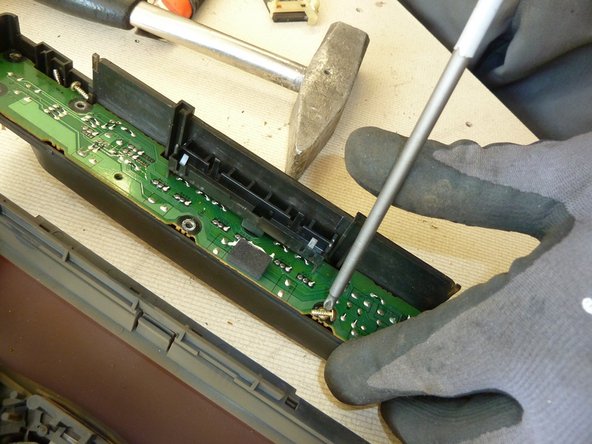
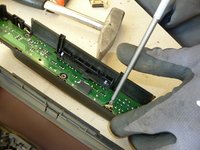
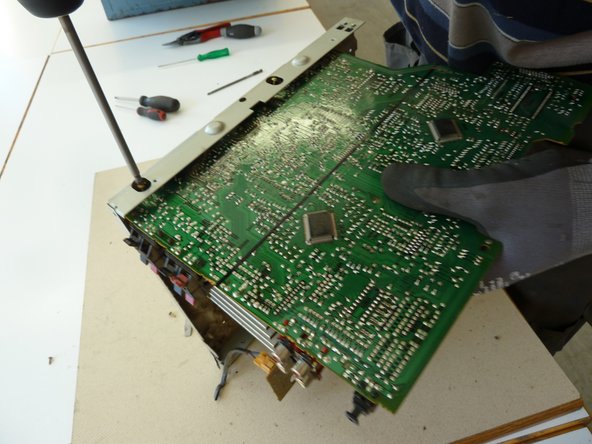
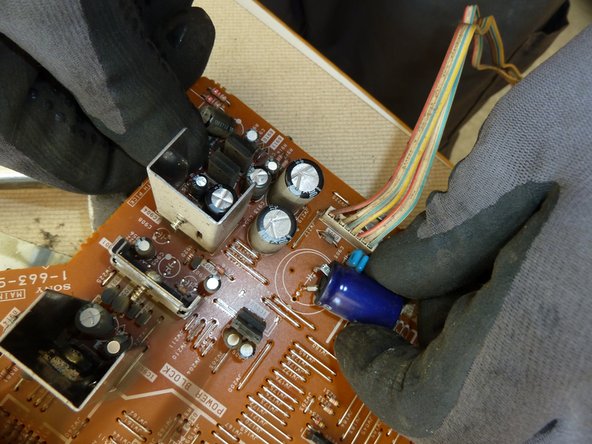
      • Remove the wires from the PWBs.

      • Unscrew the PWBs and remove them.

      Add Comment

    6. Stereo System: step 6, image 1 of 1
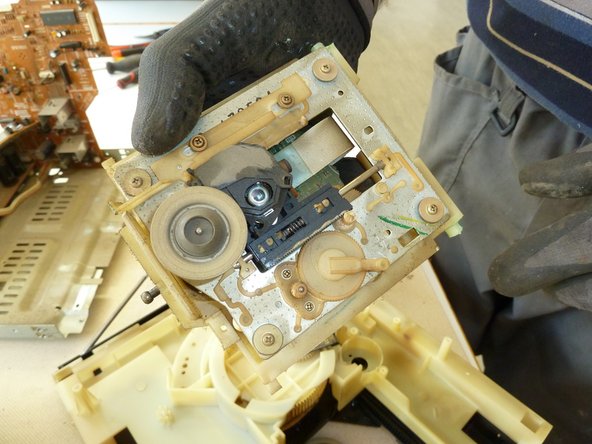
      • Remove the CD drive.

      Add Comment

    7. Stereo System: step 7, image 1 of 2 Stereo System: step 7, image 2 of 2
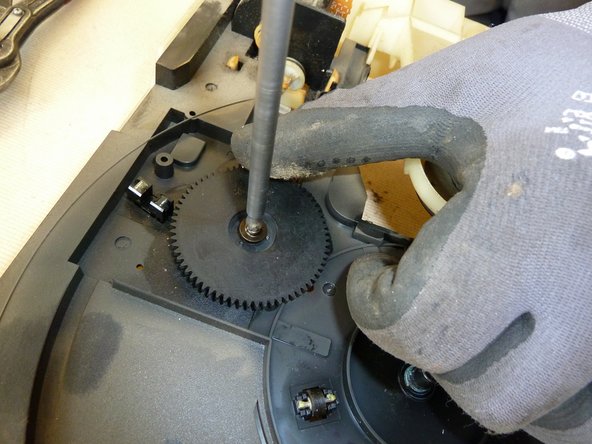
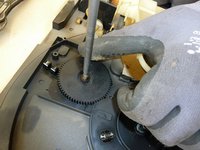
      • Unscrew the cog from the motor.

      • Pry off the case of the motor.

      Add Comment

    8. Stereo System: step 8, image 1 of 2 Stereo System: step 8, image 2 of 2
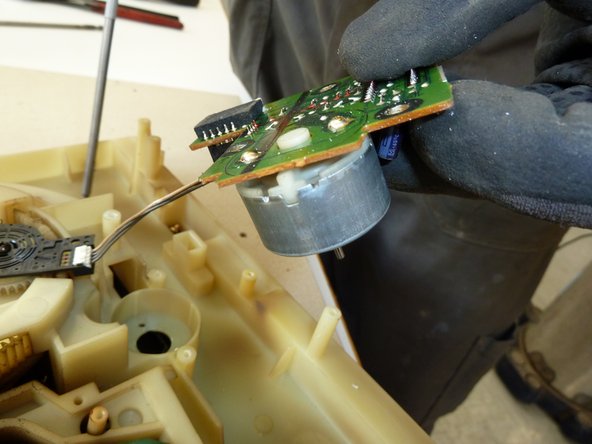
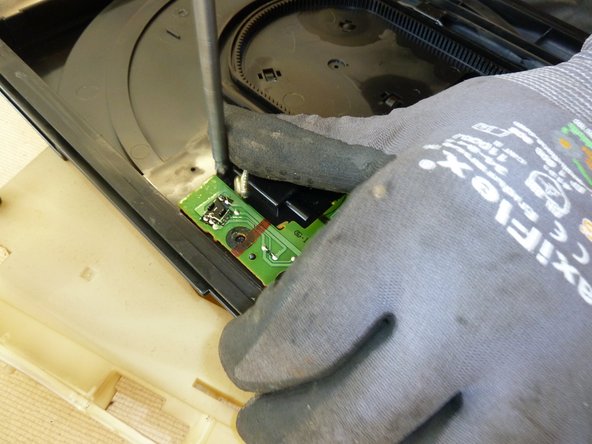
      • Unscrew the PWB and remove it.

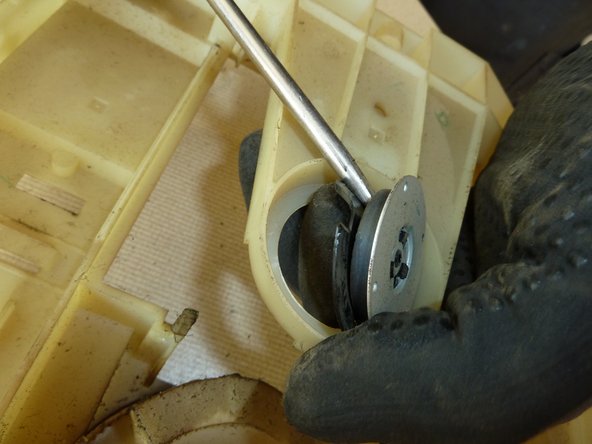
      • Remove the magnet from the motor.

      Add Comment

    9. Stereo System: step 9, image 1 of 2 Stereo System: step 9, image 2 of 2
      • Cut the wires.

      • Remove all the screws from the PWB.

      Add Comment

    10. Stereo System: step 10, image 1 of 2 Stereo System: step 10, image 2 of 2
      • Unscrew the PWB of the display.

      • Cut off the wires of the display PWB.

      Add Comment

    11. Stereo System: step 11, image 1 of 2 Stereo System: step 11, image 2 of 2
      • Bend off the display.

      • Cut off the display.

      Add Comment

    12. Stereo System: step 12, image 1 of 2 Stereo System: step 12, image 2 of 2
      • Unscrew the display and lever it off.

      Add Comment

    13. Stereo System: step 13, image 1 of 2 Stereo System: step 13, image 2 of 2
      • Unscrew the frame.

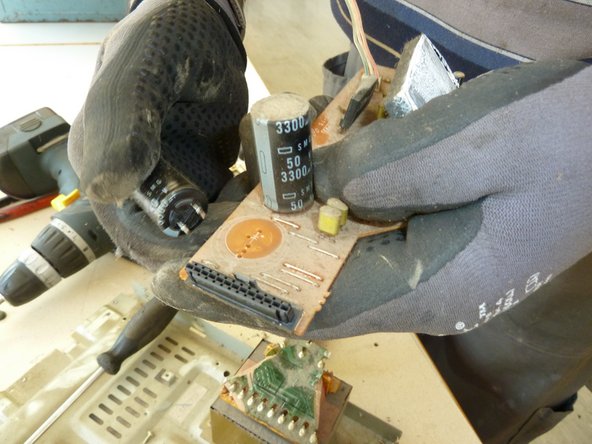
      • Remove any large capacitor.

      Add Comment

    14. Stereo System: step 14, image 1 of 3 Stereo System: step 14, image 2 of 3 Stereo System: step 14, image 3 of 3
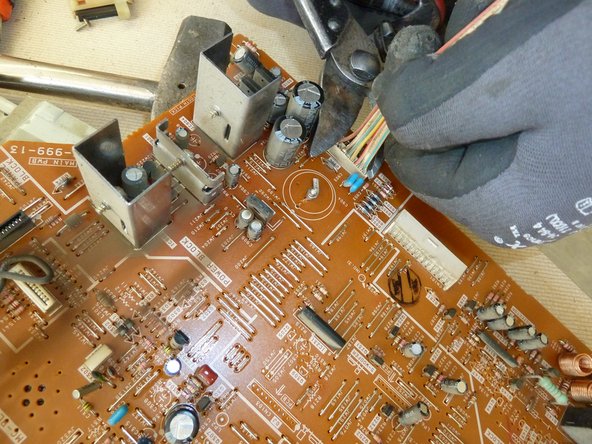
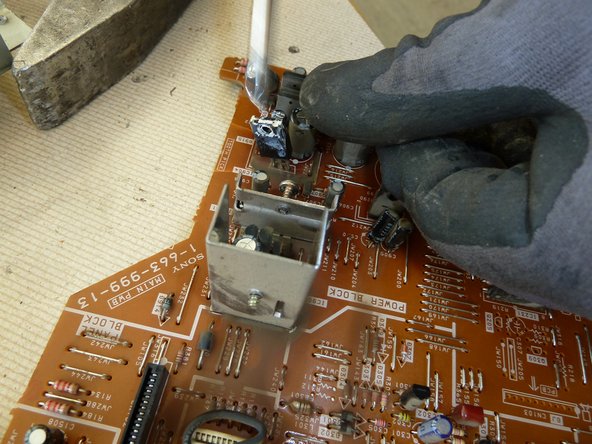
      • Cut the wires off the PWB.

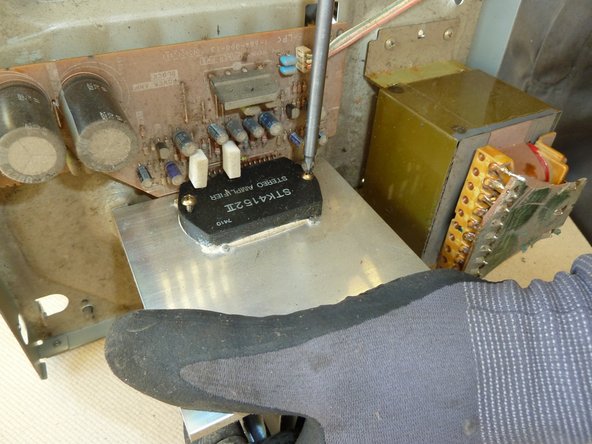
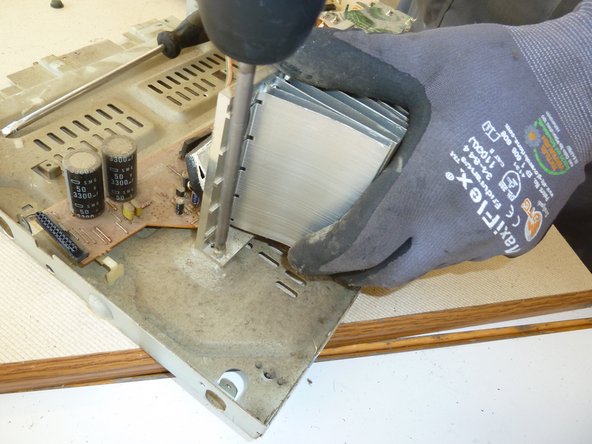
      • Remove the screws from the aluminium heat sinks.

      Add Comment

    15. Stereo System: step 15, image 1 of 3 Stereo System: step 15, image 2 of 3 Stereo System: step 15, image 3 of 3
      • Unscrew and remove the remaining heat sinks.

      • Again, remove any other large capacitors.

      Add Comment

    16. Stereo System: step 16, image 1 of 2 Stereo System: step 16, image 2 of 2
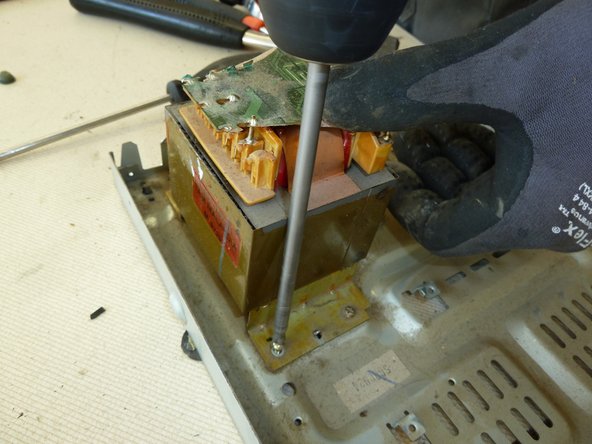
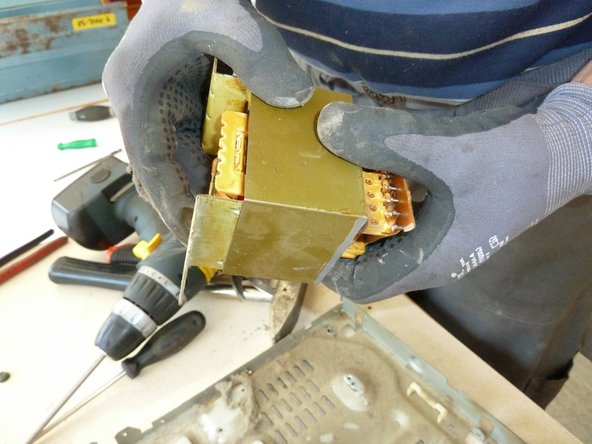
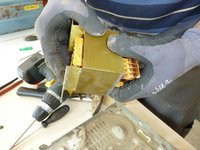
      • Unscrew and remove the coil.

      Add Comment

    17. Stereo System: step 17, image 1 of 1
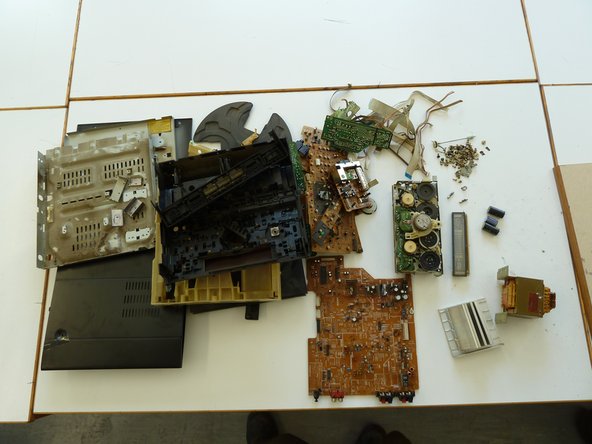
      • Separate the remaining materials according to their type and go on with the appropriate data sheet (e.g. aluminium, ferrous metals, plastic, further PWBs, etc.).

      • Make sure the plastic parts are completely free of metal pieces.

      Add Comment

Finish Line

Cancel: I did not complete this guide.

Tobias Isakeit

Member since: 03/15/18

21 Guides authored

0 Guide Comments

Add Comment

View Statistics:

Past 24 Hours: 0

Past 7 Days: 0

Past 30 Days: 1

All Time: 145