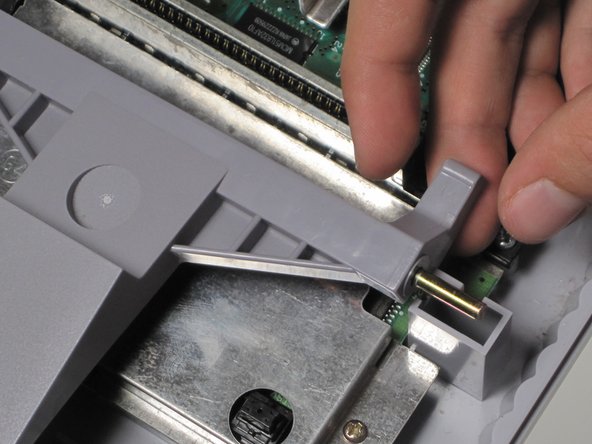
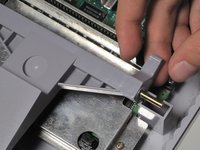
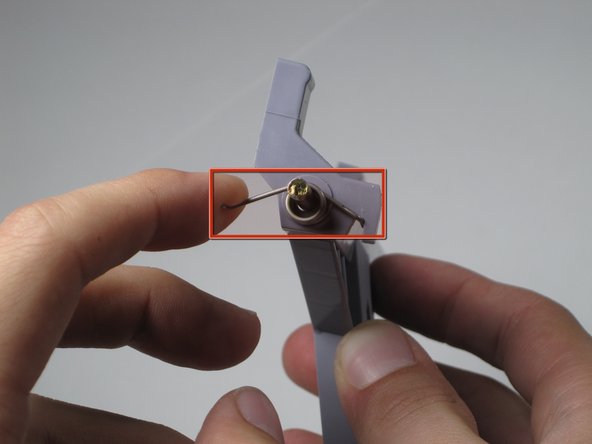
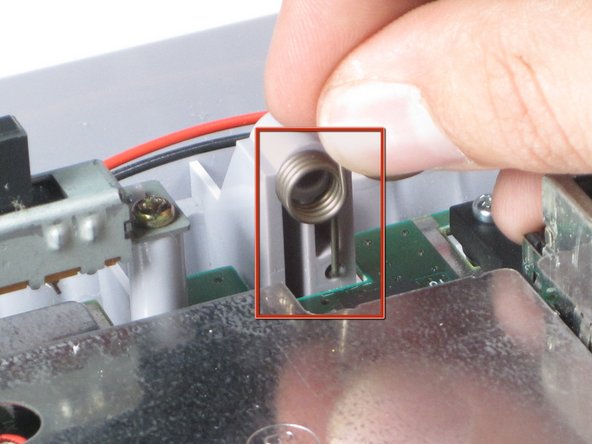
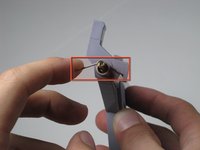
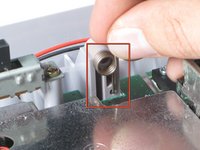
Super Nintendo Eject Button Replacement

What you need

  1. Super Nintendo Eject Button Replacement, Super Nintendo Eject Button Replacement: step 1, image 1 of 1
    • Remove the six screws located on the underside of the system using the Gamebit 4.5mm screwdriver.

  2. Super Nintendo Eject Button Replacement: step 2, image 1 of 3 Super Nintendo Eject Button Replacement: step 2, image 2 of 3 Super Nintendo Eject Button Replacement: step 2, image 3 of 3
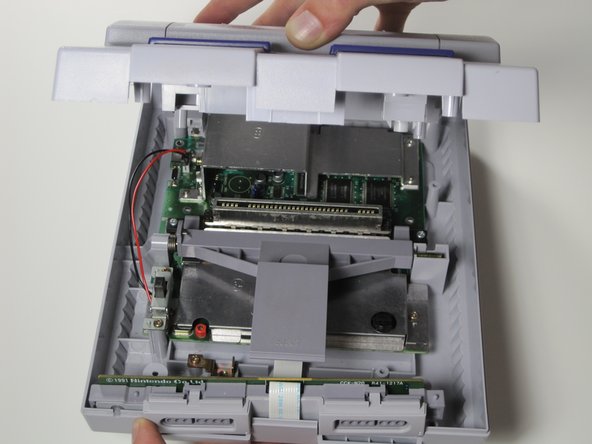
    • Carefully flip the unit back over.

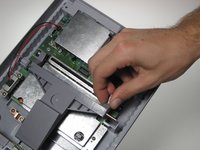
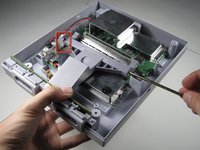
    • Locate the seam. Lift and separate the upper half of the case from the lower half of the case.

  3. Super Nintendo Eject Button Replacement: step 3, image 1 of 2 Super Nintendo Eject Button Replacement: step 3, image 2 of 2
    • Lift the right side of the eject lever out of the housing.

  4. Super Nintendo Eject Button Replacement: step 4, image 1 of 3 Super Nintendo Eject Button Replacement: step 4, image 2 of 3 Super Nintendo Eject Button Replacement: step 4, image 3 of 3
    • Pull the metal bar out through the right side of the eject lever.

    • Make sure to keep track of the spring located on the left side of the lever as it may shoot off when removing the metal bar.

    • When reassembling, the procedure becomes more difficult due to the spring (marked red). We recommend that one person hold the spring in place (picture 3) while another person slides the metal bar back into the left housing, and slide the eject lever onto the metal bar.

Conclusion

To reassemble your device, follow the instructions in reverse order.

System

Member since: 09/24/09

2,562 Guides authored

0 Comments

Add Comment

View Statistics:

Past 24 Hours: 0

Past 7 Days: 0

Past 30 Days: 1

All Time: 74