
-
-
Place the TV screen side-down.
-
Using PH#2 screwdriver, begin to loose the screws of the back-casing (highlighted in green boxes).
-
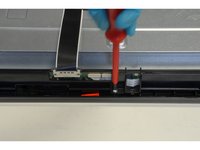
Using PH#1 screwdriver, finish loosening the last two screws which are located in the connectors' square.
-
Manually pry open the back-casing from the front-frame.
-
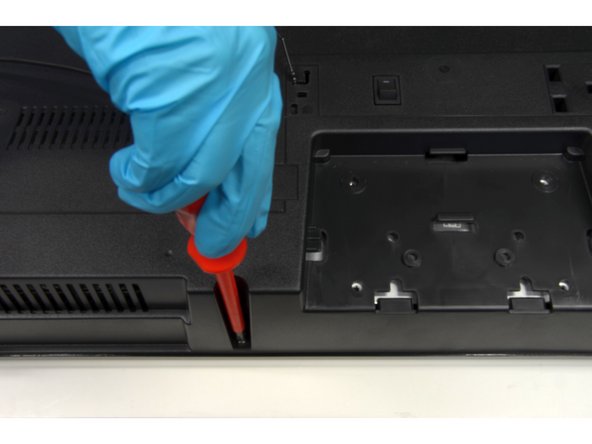
Disconnect connectors from cables and switchers.
-
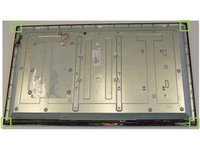
Remove the plastic back-casing.
-
-
-
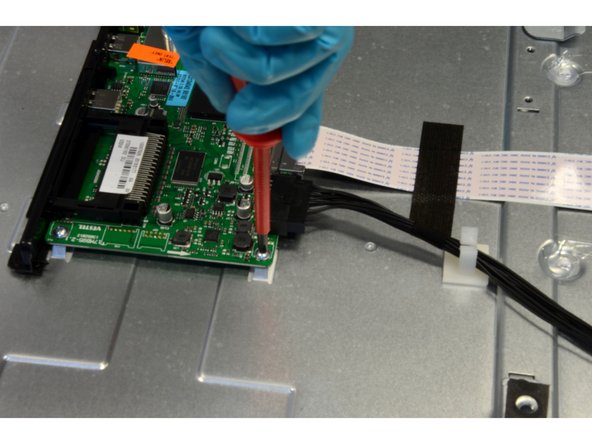
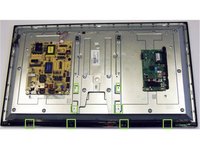
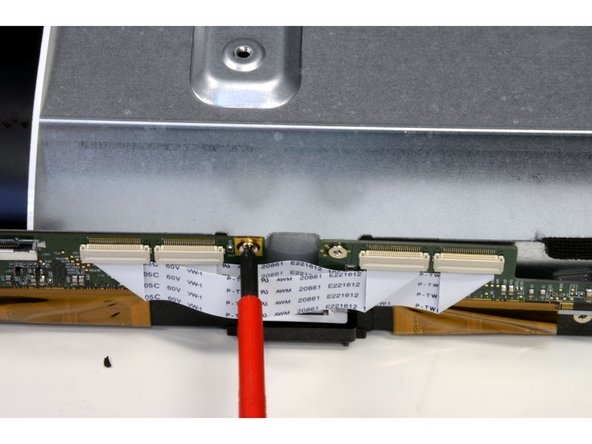
Remove cables: Disconnect four connectors (highlighted in red boxes) and two clips, and trip off the tapes used to fix cables to the metal casing.
-
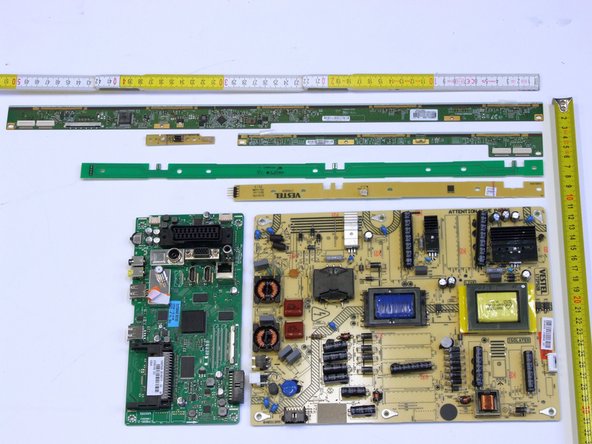
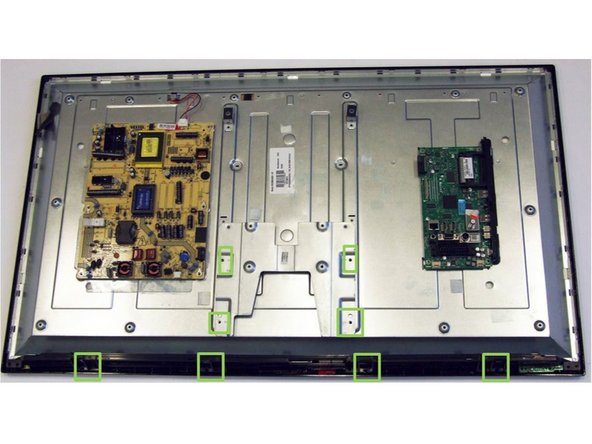
Remove Printed Circuit Boards (PCB): Using PH#1 screwdriver, begin to loose the ten screws (highlighted in green boxes).
-
-
-
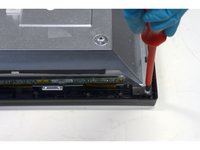
Using PH#2 screwdriver, loose eight screws of plastic and metal mountings used to protect different PCBs.
-
-
-
Using PH#1 screwdriver, loose the four screws of each corner (highlighted in green boxes).
-
Manually pull the front-frame out levering the fiftteen clips.
-
-
-
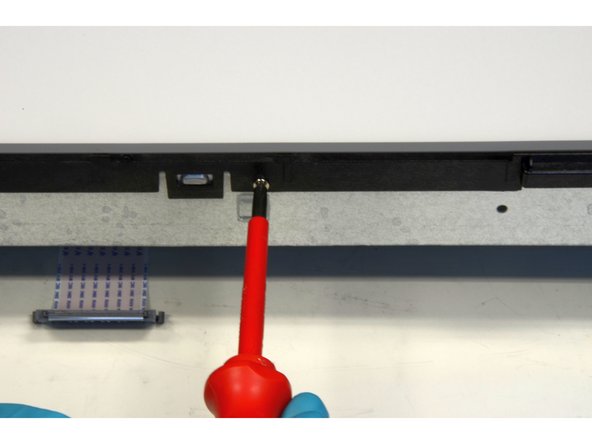
Using PH#2 screwdriver, loose six screws that fix the LCD PCBs to the back metal-casing.
-
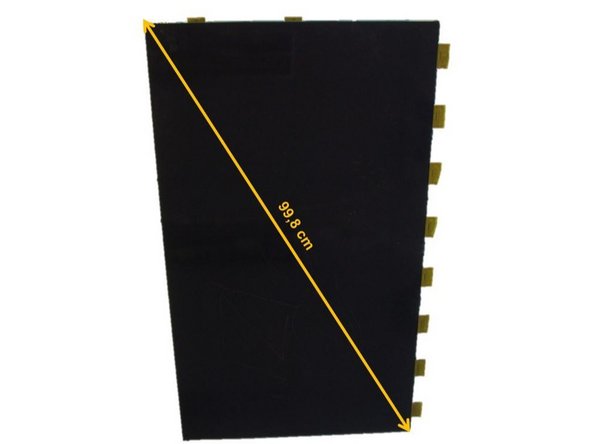
Carefully turn the screen up and remove the freed LCD panel.
-
-
-
Using PH#1 screwdriver, begin to loose the eighteen screws located in the exterior of the inner frame.
-
Starting from the right corner, continue to work your way counterclockwise.
-
Manually pull the frame off by levering the twenty-five clips.
-
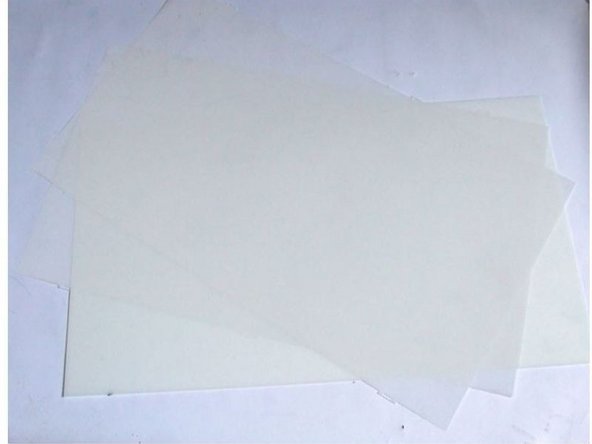
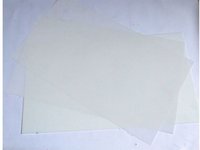
Remove the already exposed polarized foils.
-
-
-
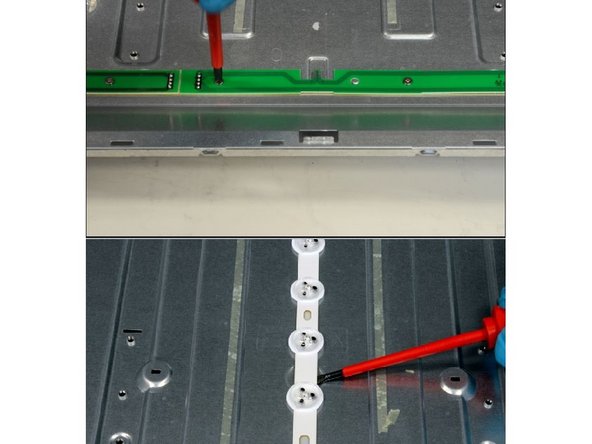
Using PH#1 screwdriver, loose the five screws of the two connection PCBs.
-
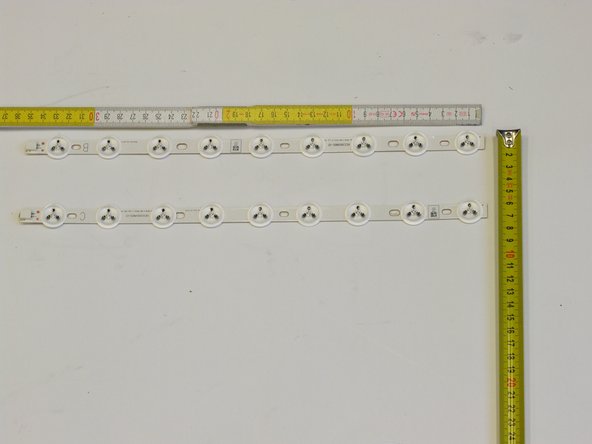
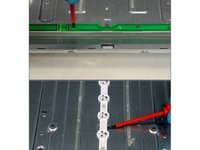
Using slotted screwdriver, lever the LED PCBs one by one.
-


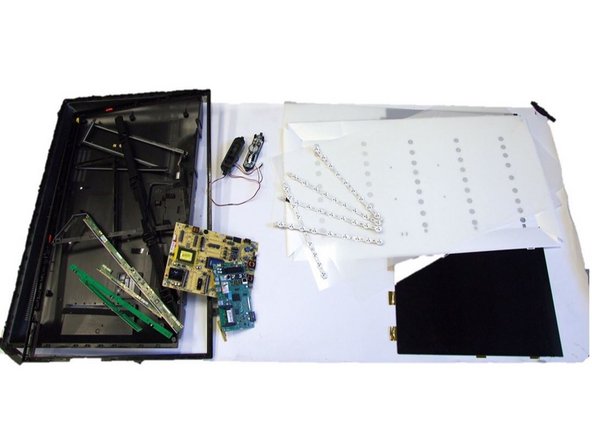
Finish Line