Introduction
Dismantling and Recycling Centre (DRZ)
Katharina Lenz, Vienna / Austria
Health & Safety
Dismantling doesn't include any harmful steps. Nonetheless workers should wear personal protection equipment like gloves, goggles, apron and robust shoes.
Note: This is a general guide for most toasters. As the construction can differ, the dismantling steps mentioned below can vary in their order. However, the described steps show what parts the removal should focus on.
What you need
-
-
-
Cut the power cable. Dispose of the plug separately as mixed waste.
-
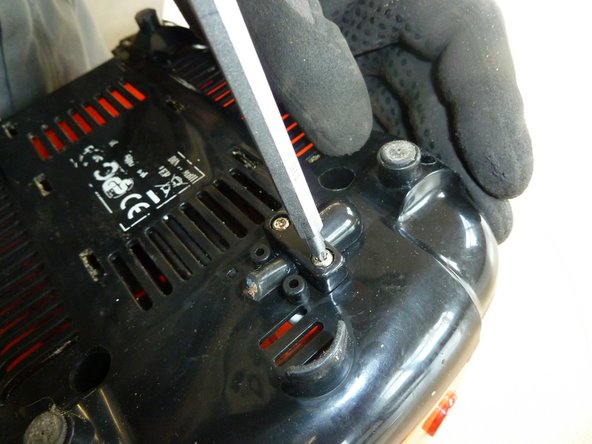
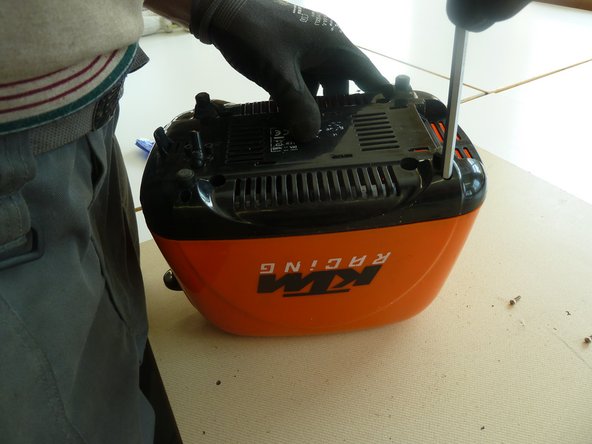
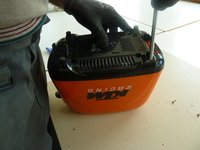
Remove the screws near the power cable on the bottom side of the toaster.
-
-
-
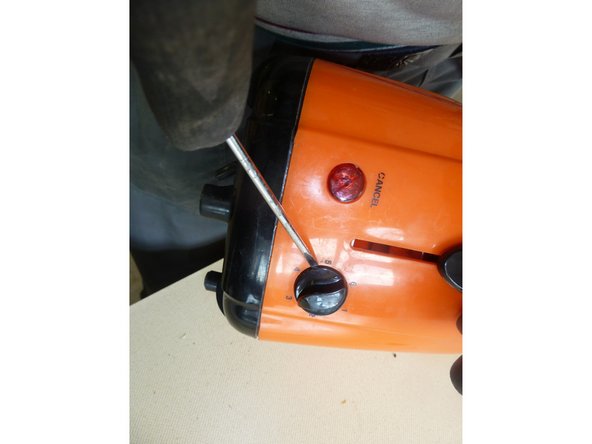
Remove the screws from the bottom.
-
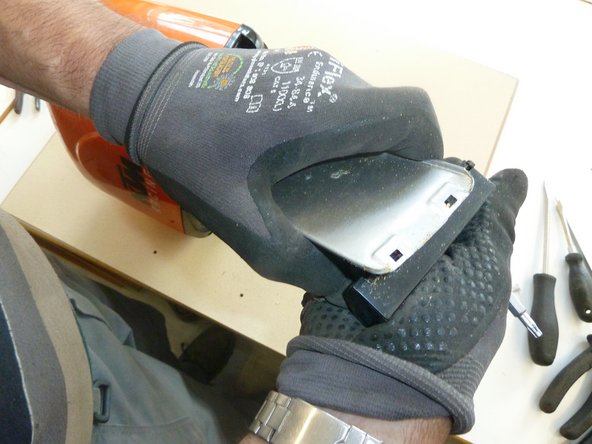
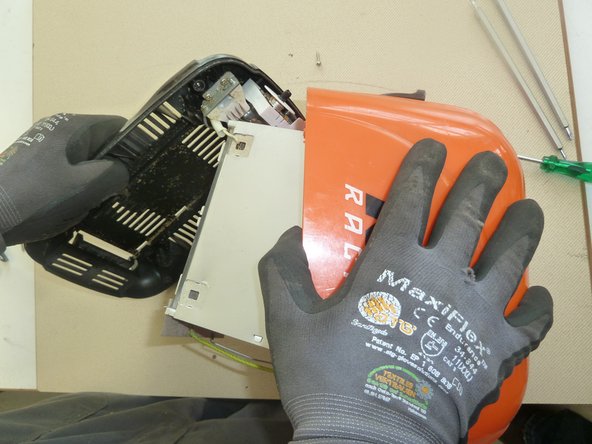
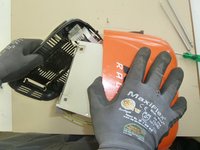
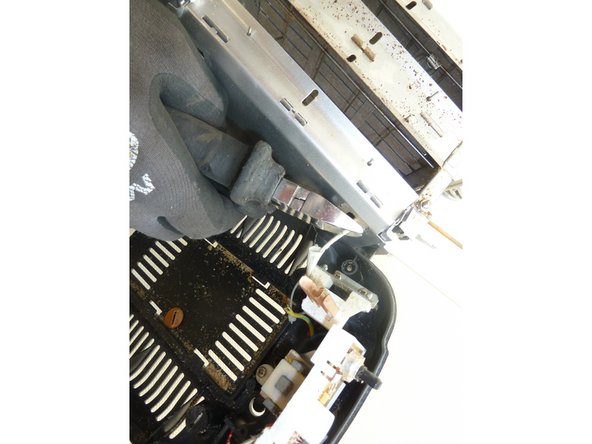
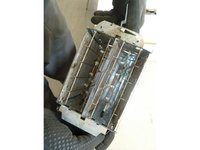
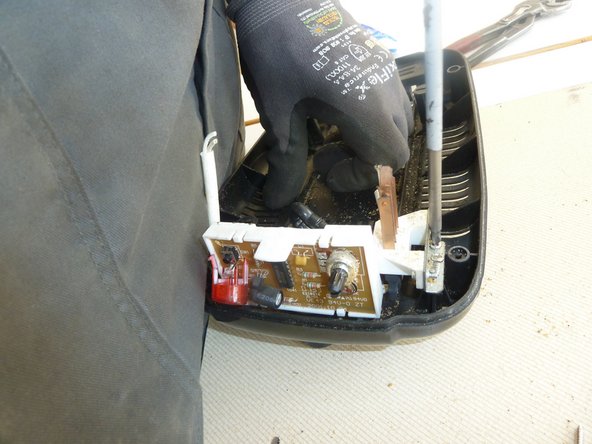
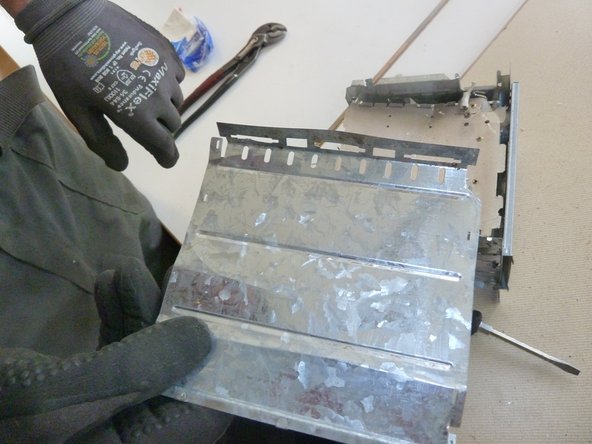
Remove the bottom of the housing and take out the heating unit.
-
-
-
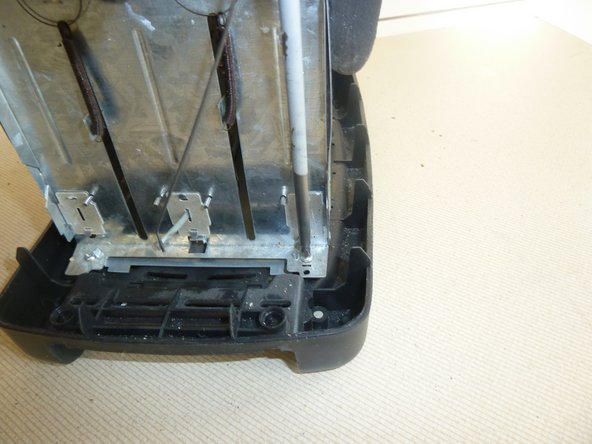
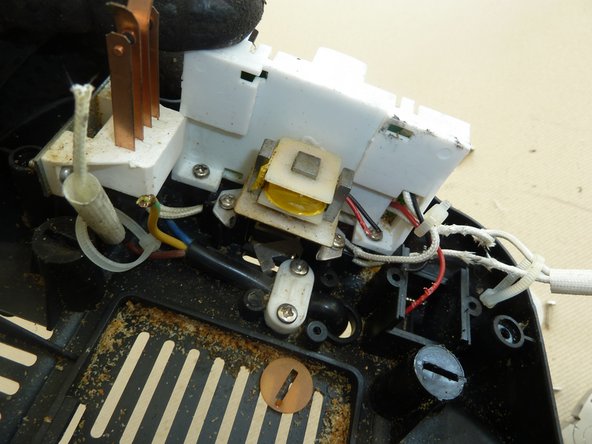
Remove the screws connecting the heating unit and the bottom cover.
-
Cut the cable of the heating unit.
-
Remove the heating unit.
-
-
-
Remove the cardboard pieces.
-
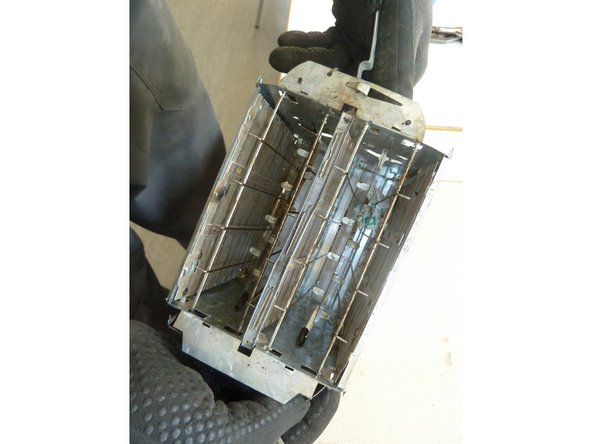
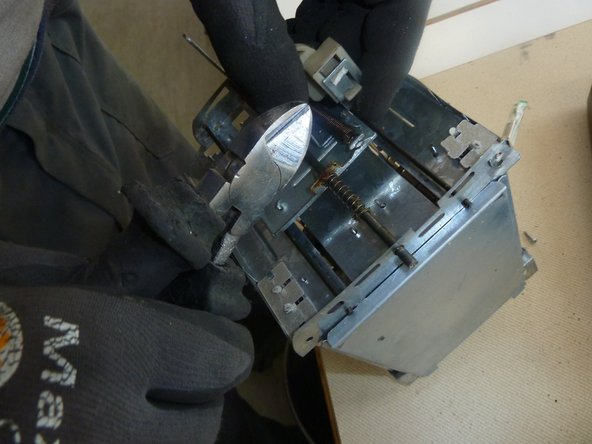
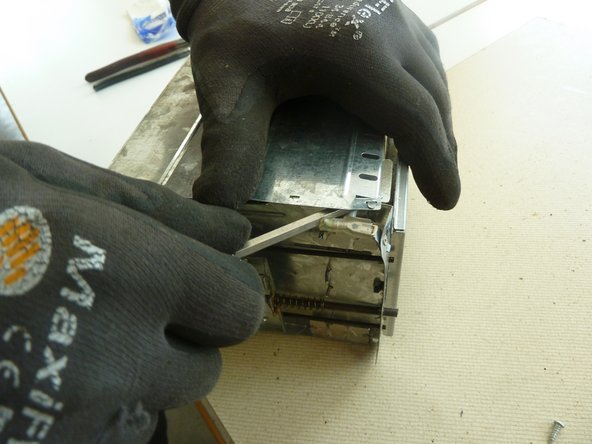
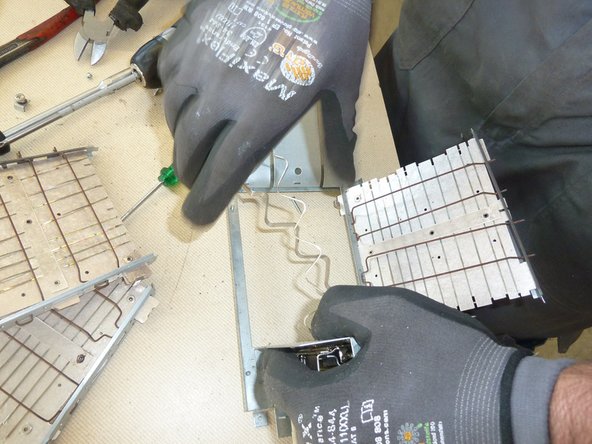
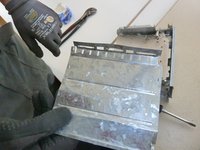
Bend open the heating unit and separate the metal.
-
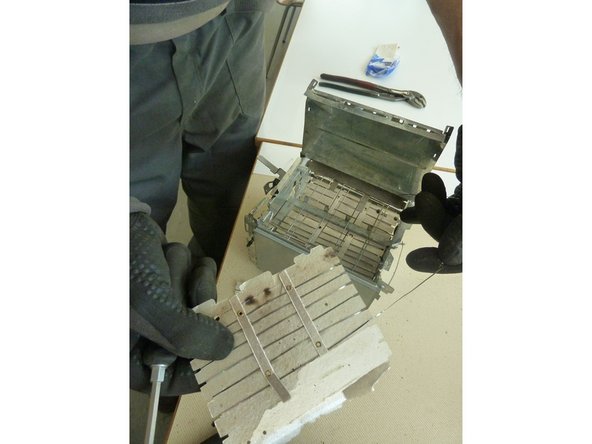
remove the coils from the cardboards.
-
-
-
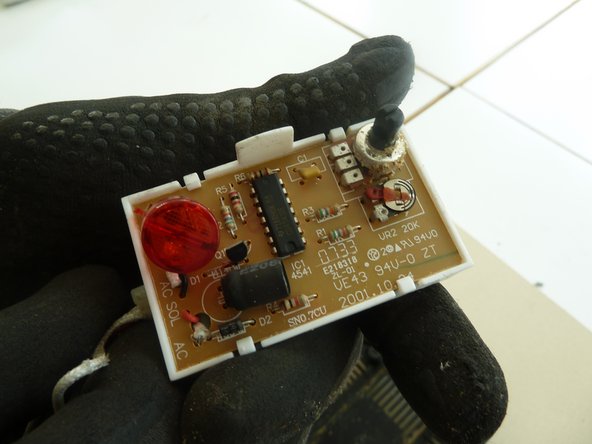
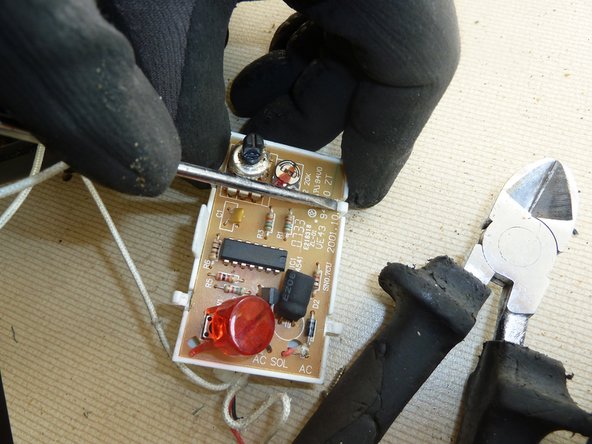
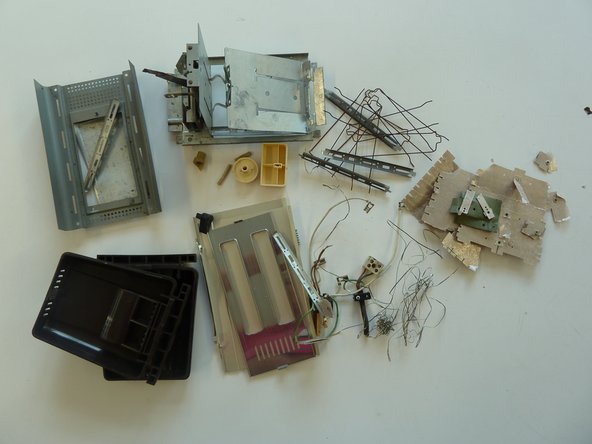
Separate the remaining materials according to their type and go on with the appropriate data sheet (e.g. ferrous metals, plastic, further PWBs, etc.)
-
Make sure the plastic parts are completely free of metal pieces.
-
-