
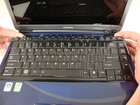
Toshiba Satellite M305D-S4829 Keyboard Replacement

Last updated on Apr 11, 2016
Views: 37
View statistics:
- Past 24 Hours:
- 0
- Past 7 Days:
- 0
- Past 30 Days:
- 3
- All Time:
- 37
Comments: 0
No one has left comments on this guide. Will you be first?
Go to guide commentsCompleted: 0 1
No one has marked this guide "completed." Will you be the first?
1 person has marked this guide "completed." It's you — great job!
Favorites: 0 1
No one has favorited (and subscribed to) this guide. Will you be the first?
1 person has favorited (and subscribed to) this guide — and that's you!
What you need
-
-
-
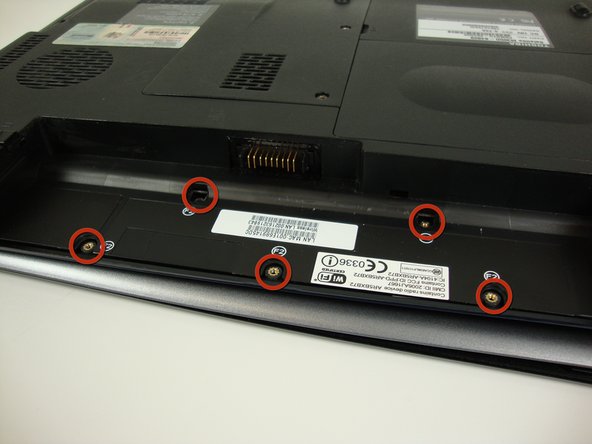
Unlatch the battery by pushing outward on both latches.
-
-
-
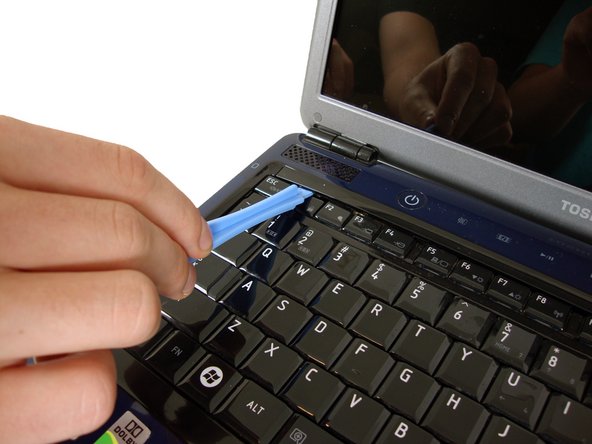
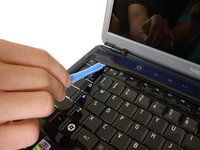
Insert the plastic opening tool above the F1 key.
-
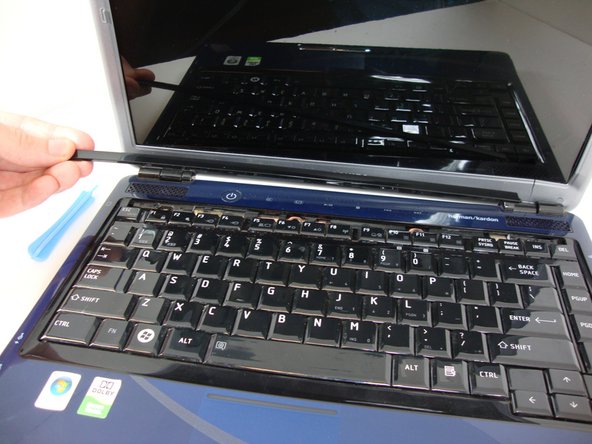
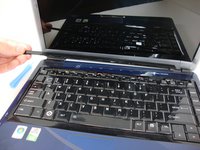
Apply upward pressure until the black plastic strip snaps off. The entire strip will easily come off from left to right.
-
-
-
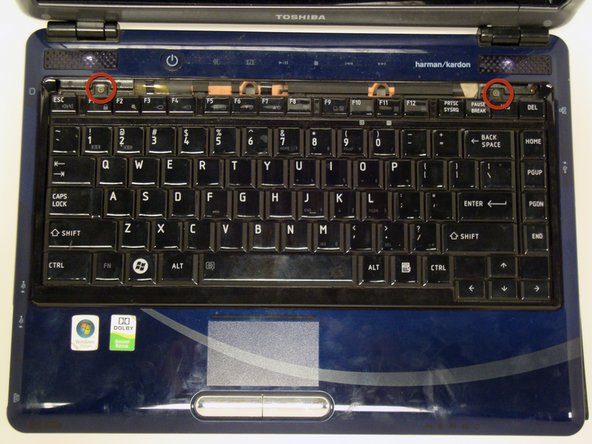
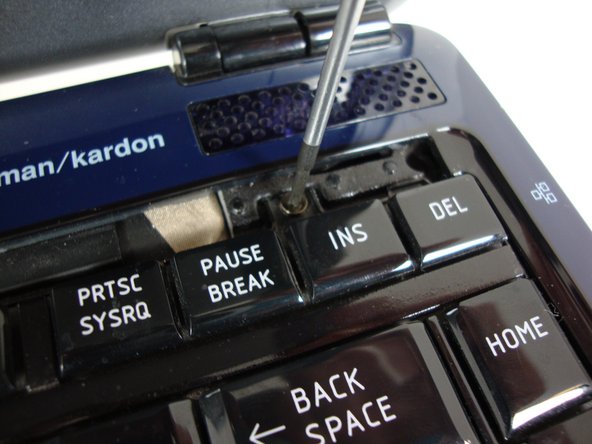
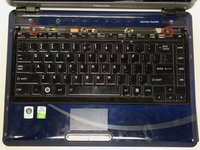
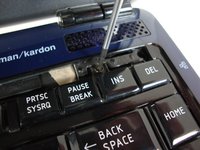
Find the screws above the F1 and INS keys.
-
Unscrew both screws with a Phillips #0 screwdriver.
-
-
-
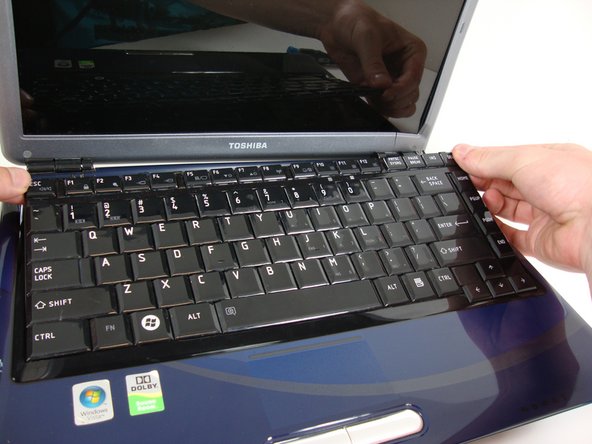
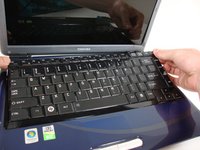
Slowly lift the top edge of the keyboard out with your fingers.
-
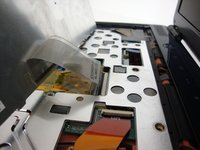
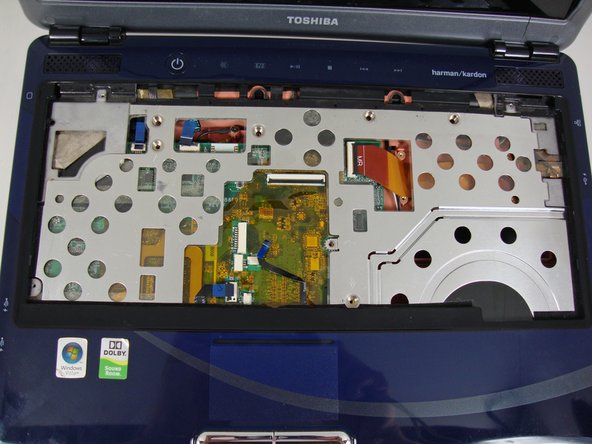
The ribbon cable located on the back of the keyboard will become accessible.
-
-
-
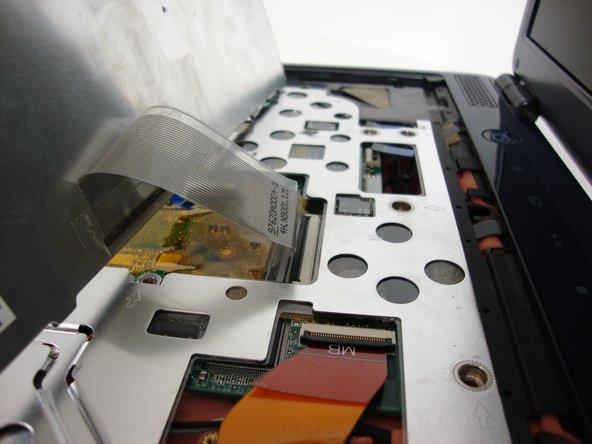
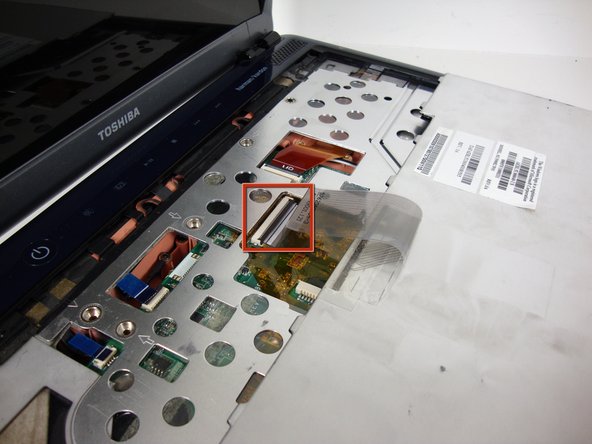
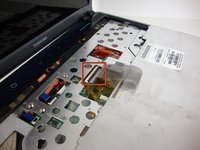
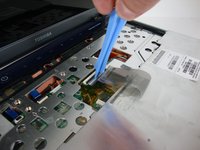
Locate the black ribbon cable flap.
-
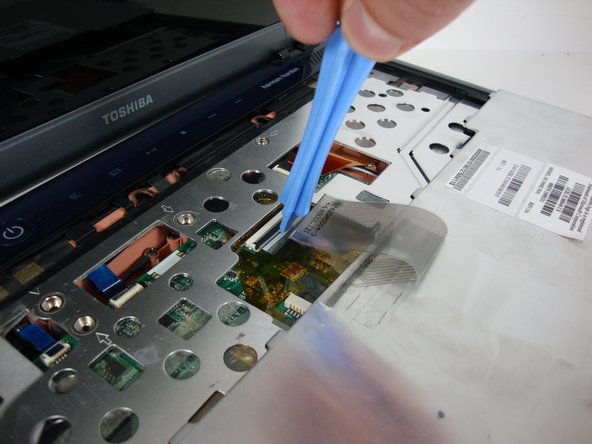
Detach flap with plastic opening tool. The ribbon cable will become free.
-
-


To reassemble your device, follow these instructions in reverse order.

