
-
-
Place the TV screen side-down.
-
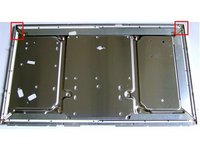
Using PH#2 screwdriver, begin to loose the twenty-one screws of the back-casing (highlighted in green boxes).
-
Work your way around the TV until you can pull the back cover off.
-
-
-
Remove cables: Disconnect all fifteen connectors (highlighted in red boxes) and separate the tapes used to fix cables to the metal-casing.
-
Remove Printed Circuit Boards (PCBs):
-
Using PH#2 screwdriver, begin to loose the four screws of the protective metal mounting (highlighted in green boxes).
-
Using PH#1 screwdriver, continue to loose the rest of the twenty screws that fix the PCB to the metal-casing.
-
-
-
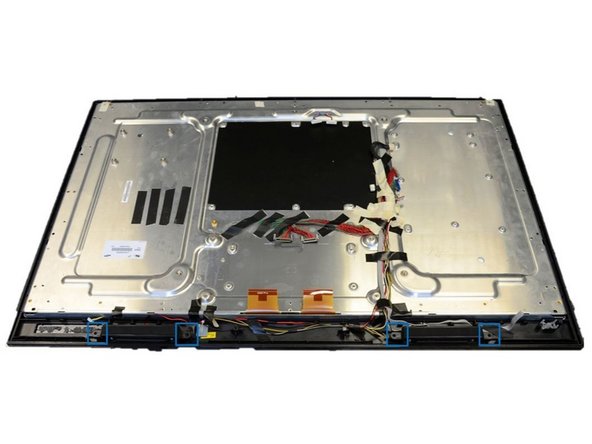
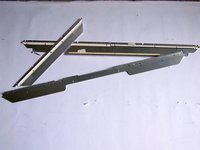
Remove the speakers by extracting them manually from their mountings (blue boxes).
-
-
-
Place the TV screen side-up.
-
Remove the front-frame that is already exposed.
-
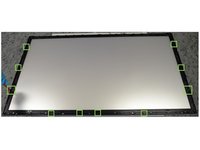
Using PH#1 screwdriver, begin to loose the twelve screws of the inner frame from the left corner (green boxes).
-
Continue to work your way around the frame counterclockwise until you can pull the frame off.
-
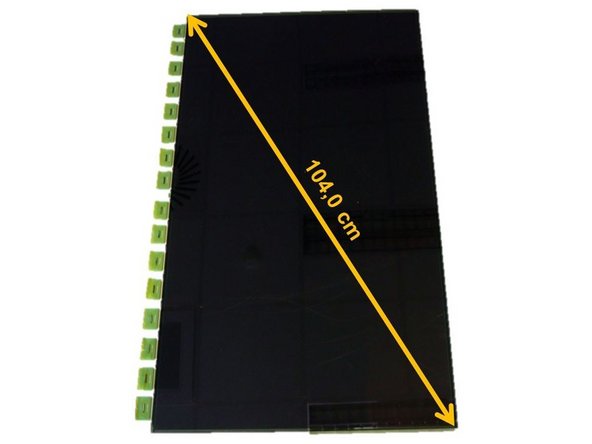
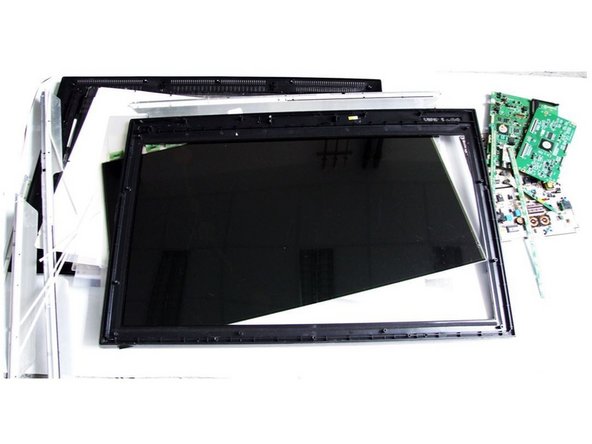
Remove the already exposed LCD panel.
-
-
-
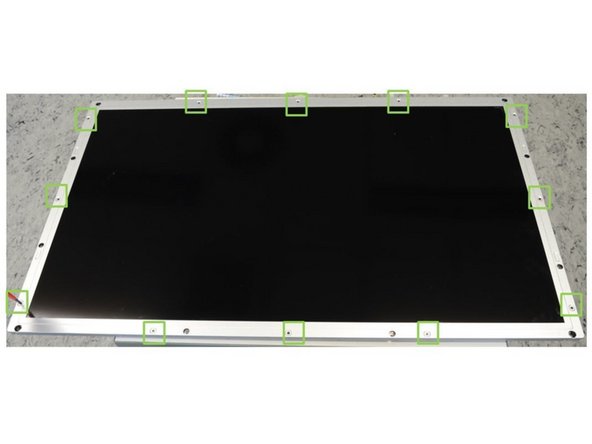
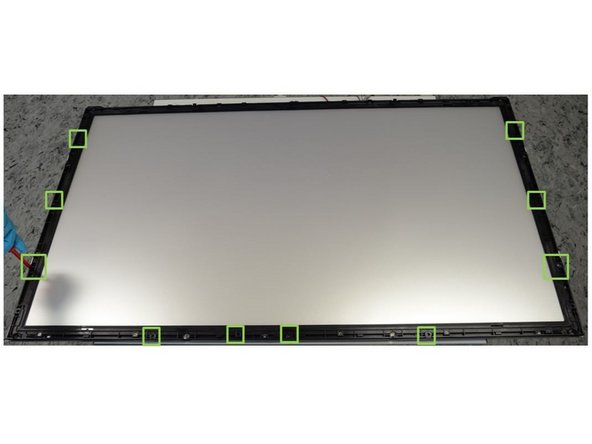
Using PH#1 screwdriver, begin to loose the ten screws of the plastic frame from the left corner (green boxes).
-
Continue to work your way around the frame counterclockwise until you can pull it off.
-
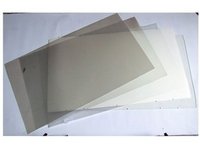
Remove the already exposed polarized foils.
-
-
-
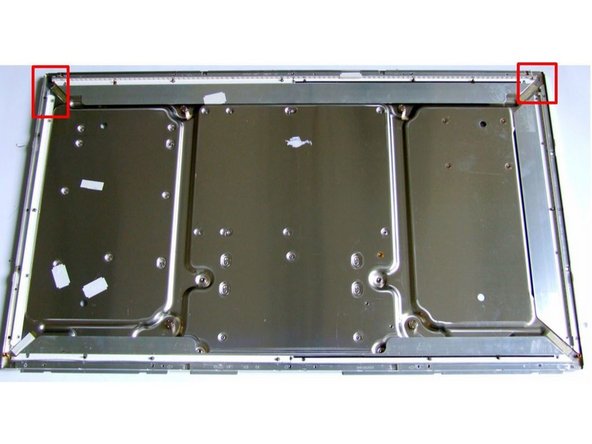
Use your fingers to pry open the cable connectors (red boxes).
-
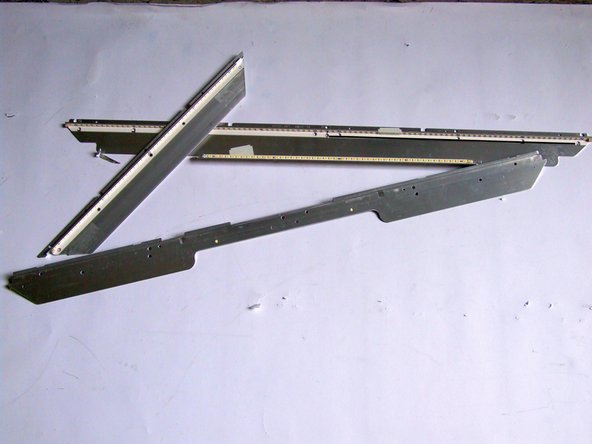
Using PH#1 screwdriver, loose the eighteen screws and obtain the metal-mountings where the LED PCBs are located.
-
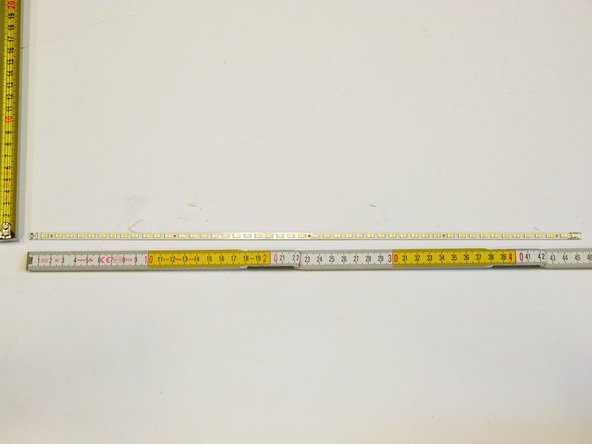
Using PH#0 screwdriver, loose five screws per each of the six LED PCBs.
-
Then, use slotted screwdriver to pry open the PCB strips from the metal-mountings. Note that this step is destructive.
-


Finish Line