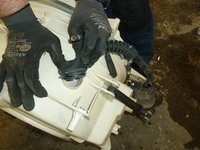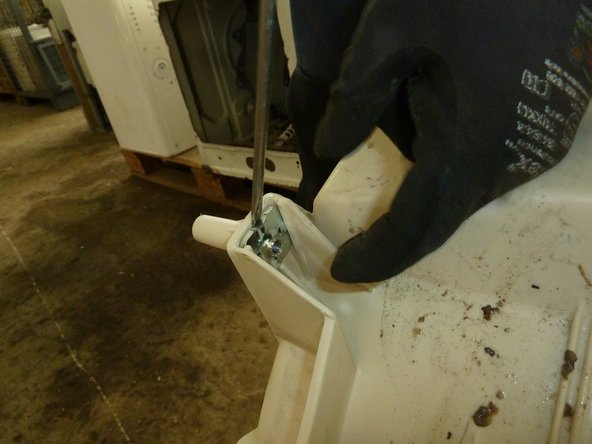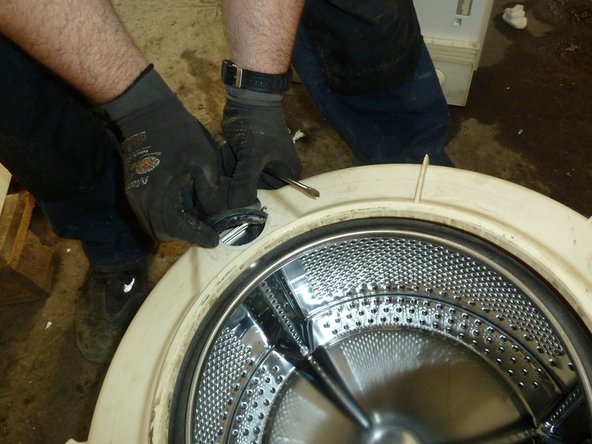
Washing Machine

What you need

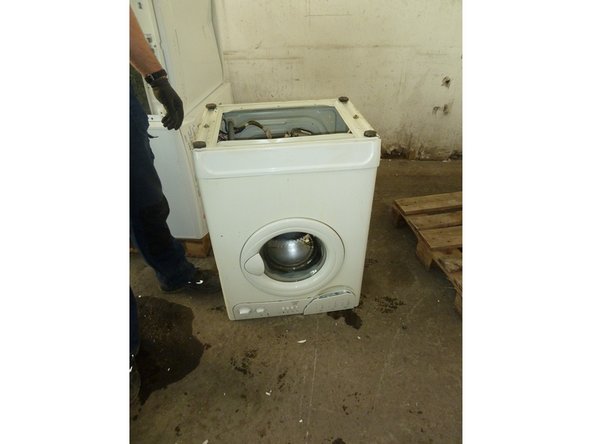
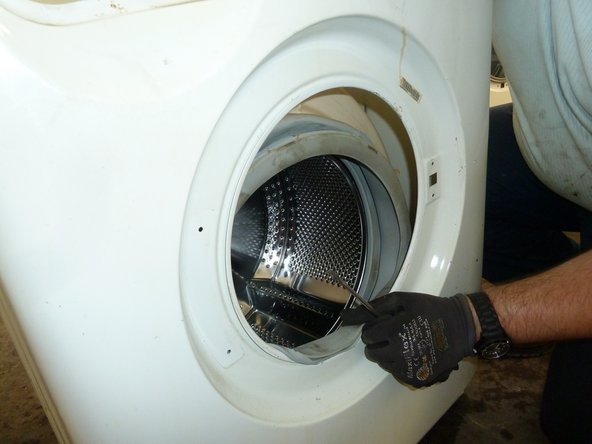
    1. Washing Machine, Disassembling Washing Machines: step 1, image 1 of 1
      • Start with the washing machine in an upright position.

      Add Comment

    2. Washing Machine: step 2, image 1 of 1
      • Cut off the power supply cable. Dispose of the plug separately (mixed waste).

      Add Comment

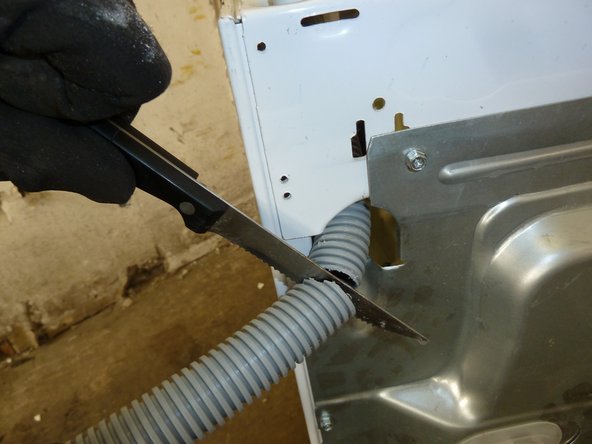
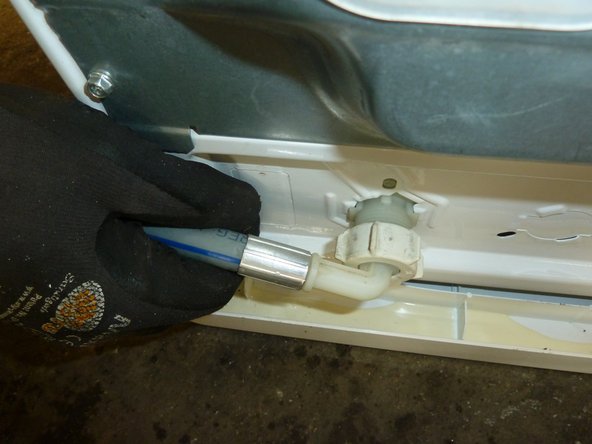
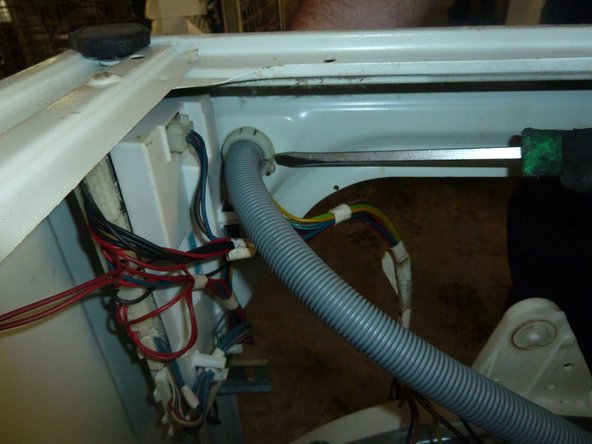
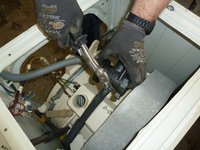
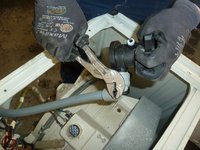
    3. Washing Machine: step 3, image 1 of 2 Washing Machine: step 3, image 2 of 2
      • Cut off and remove the water hoses (careful – they might still contain water!).

      Add Comment

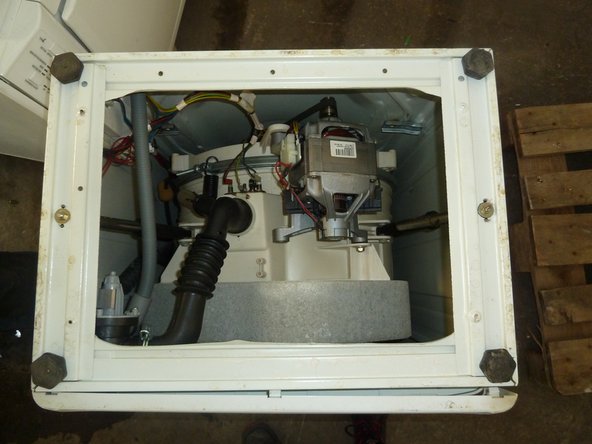
    4. Washing Machine: step 4, image 1 of 2 Washing Machine: step 4, image 2 of 2
      • Turn the machine upside down and open the bottom panel (if there is one).

      Add Comment

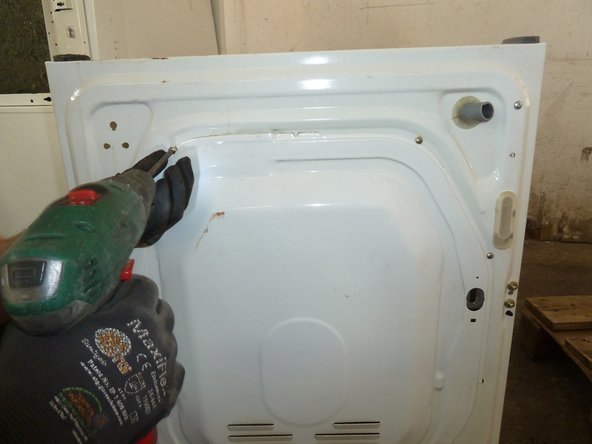
    5. Washing Machine: step 5, image 1 of 1
      • Remove the rear cover by unscrewing it.

      Add Comment

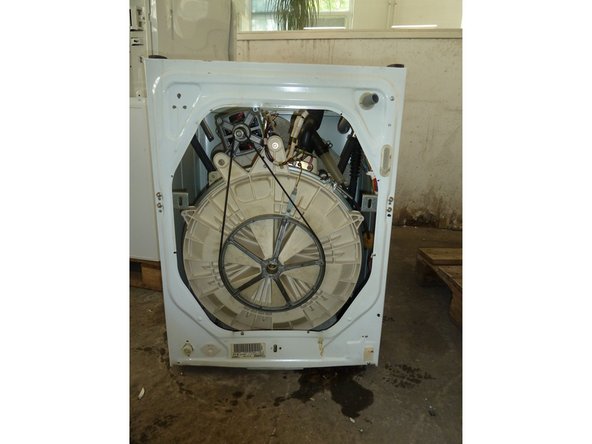
    6. Washing Machine: step 6, image 1 of 2 Washing Machine: step 6, image 2 of 2
      • Remove the V-belt.

      Add Comment

    7. Washing Machine: step 7, image 1 of 1
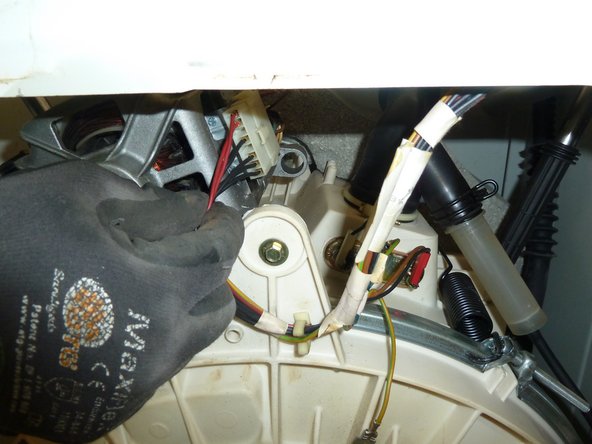
      • Unplug all wires.

      Add Comment

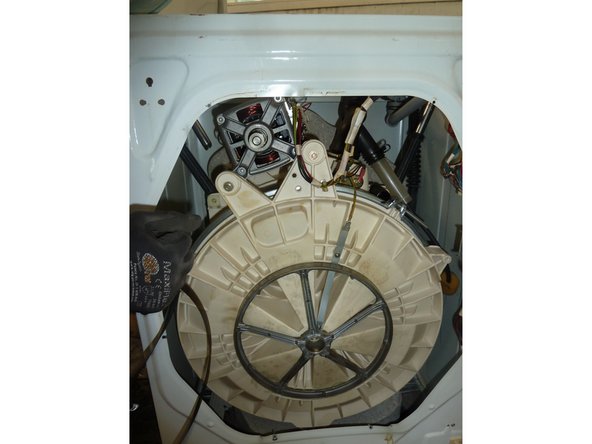
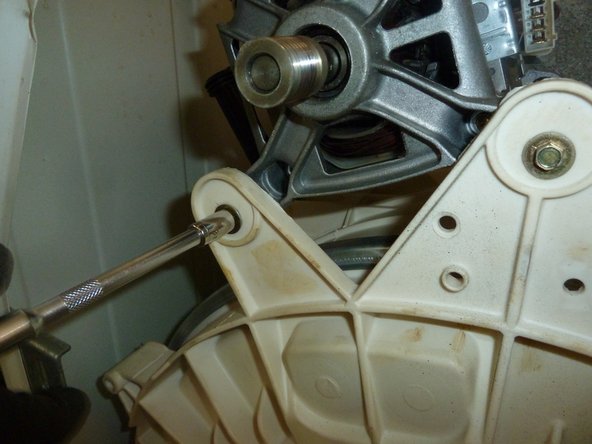
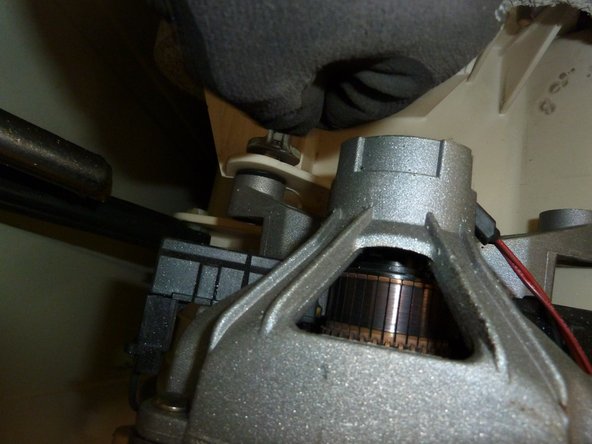
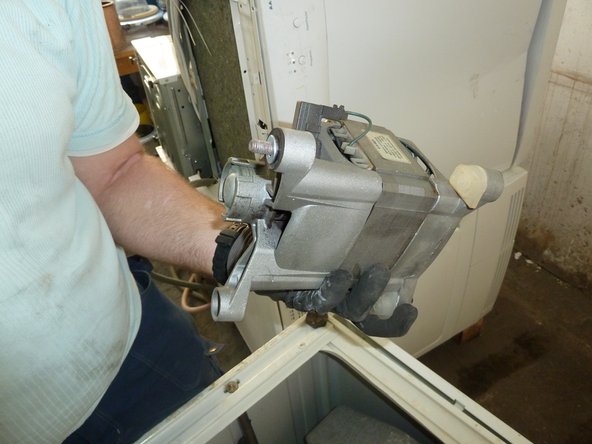
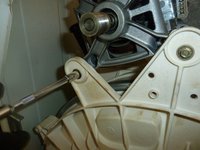
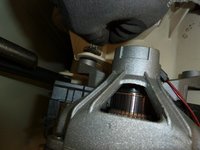
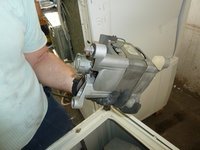
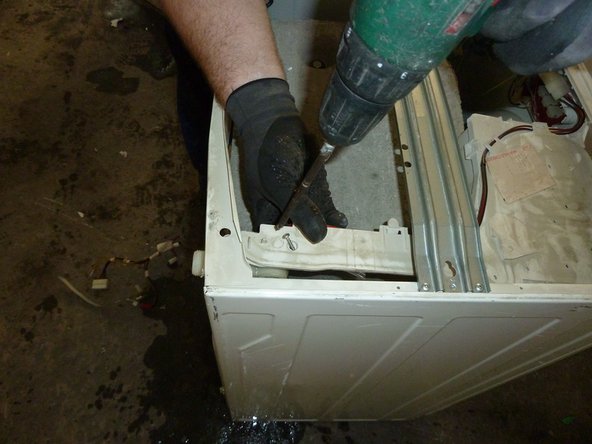
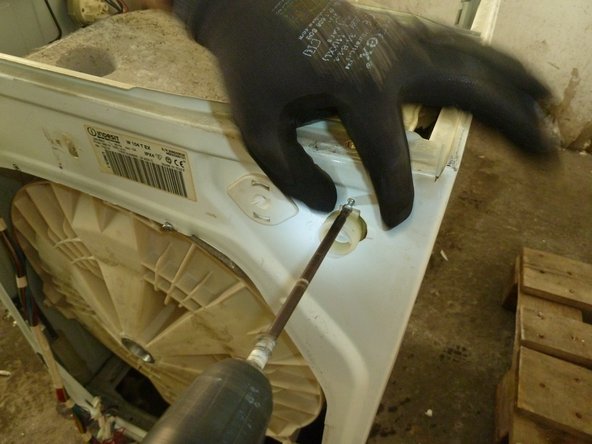
    8. Washing Machine: step 8, image 1 of 3 Washing Machine: step 8, image 2 of 3 Washing Machine: step 8, image 3 of 3
      • Unscrew the motor from the outside and the inside; then, remove it.

      Add Comment

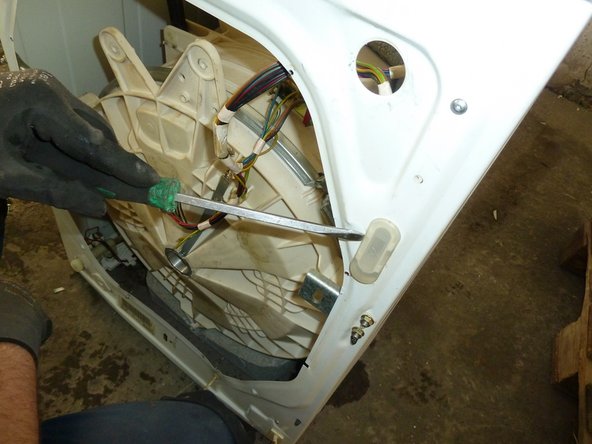
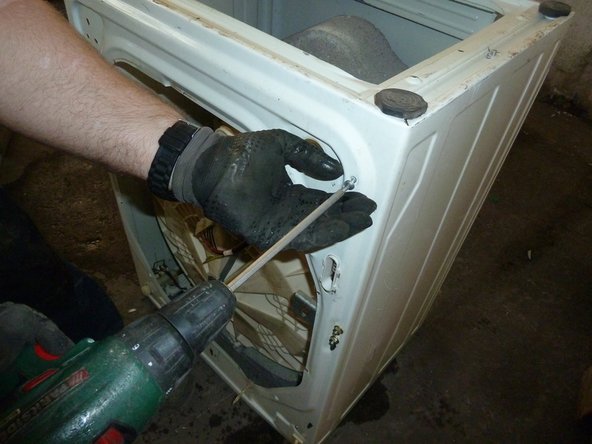
    9. Washing Machine: step 9, image 1 of 2 Washing Machine: step 9, image 2 of 2
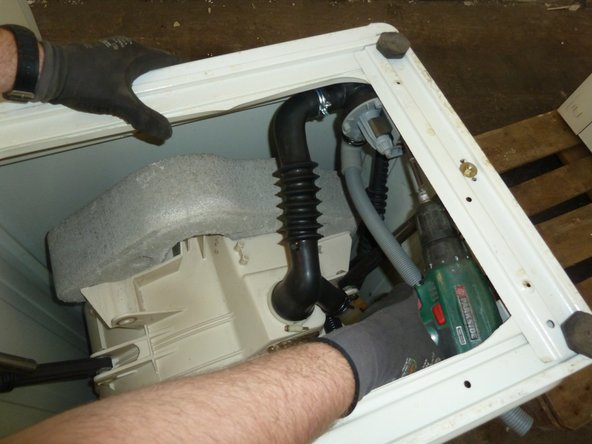
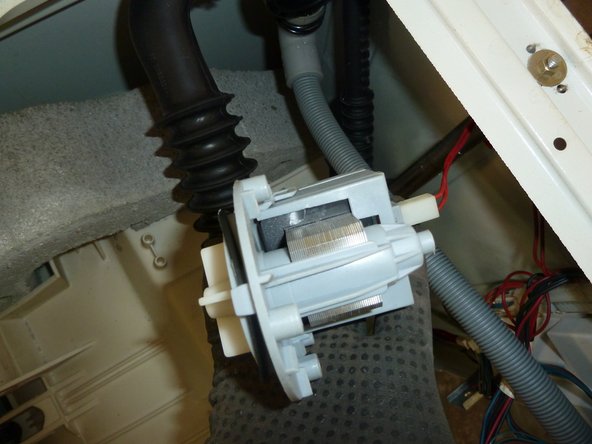
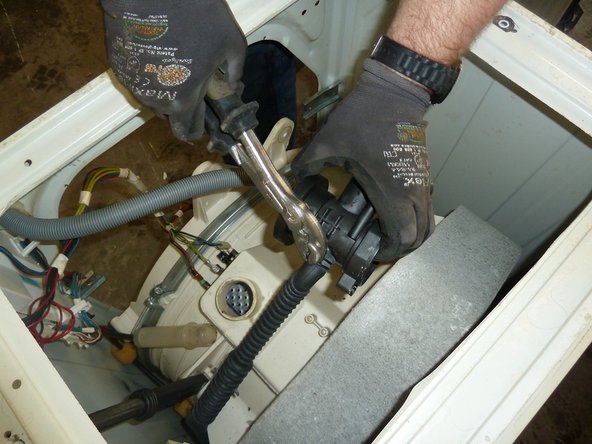
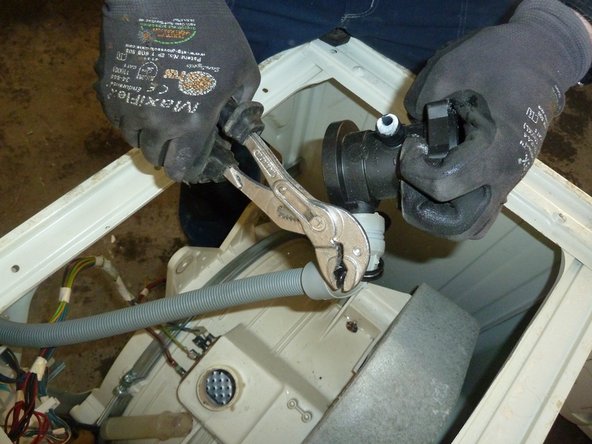
      • Unscrew and remove the water pump.

      Add Comment

    10. Washing Machine: step 10, image 1 of 2 Washing Machine: step 10, image 2 of 2
      • Remove the copper coils from the inside of the water pump.

      Add Comment

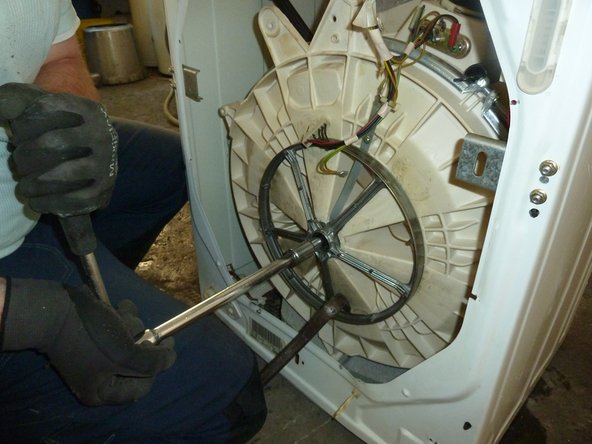
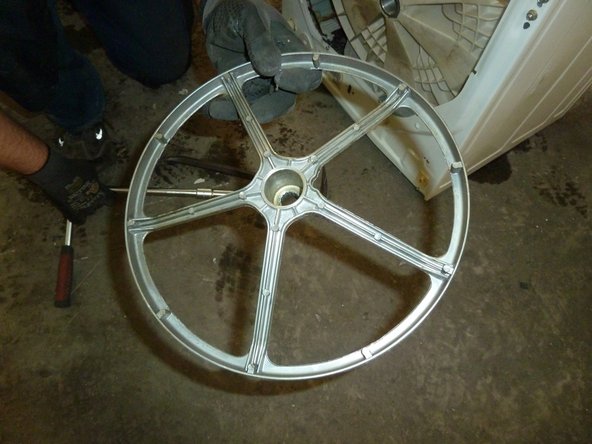
    11. Washing Machine: step 11, image 1 of 2 Washing Machine: step 11, image 2 of 2
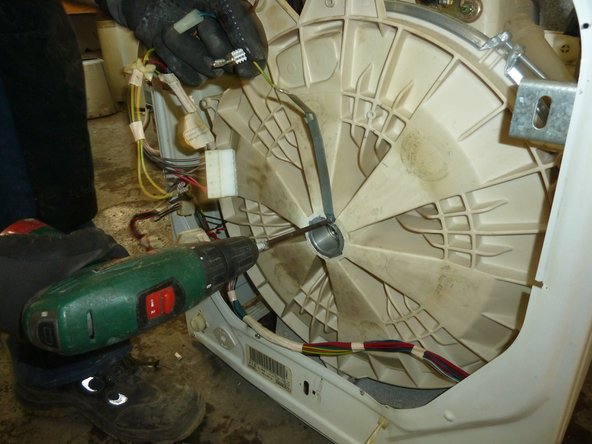
      • Unscrew and remove the aluminium drive wheel.

      Add Comment

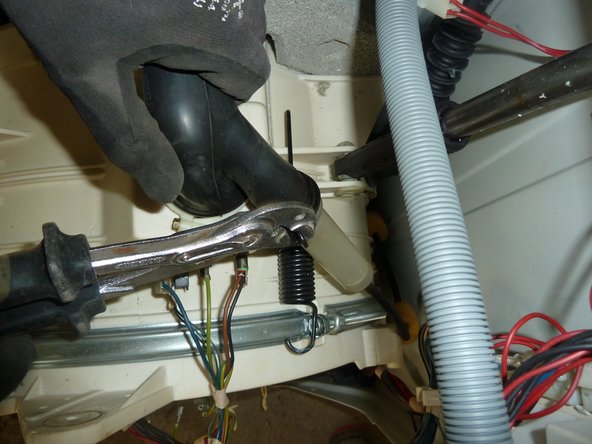
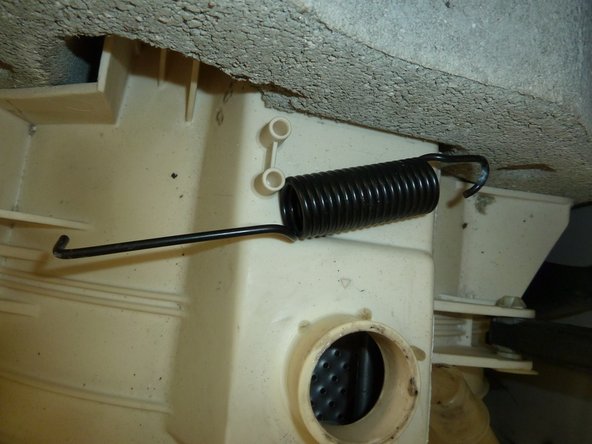
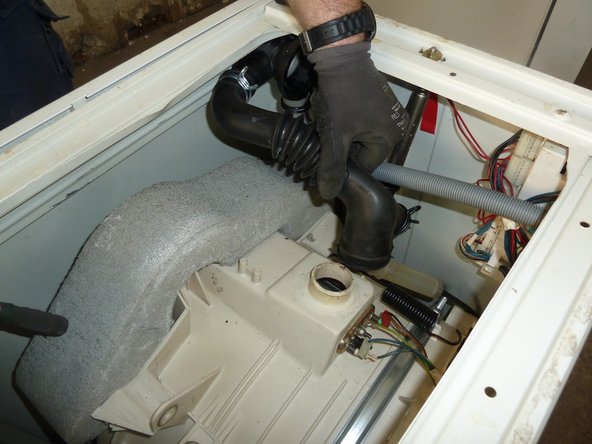
    12. Washing Machine: step 12, image 1 of 2 Washing Machine: step 12, image 2 of 2
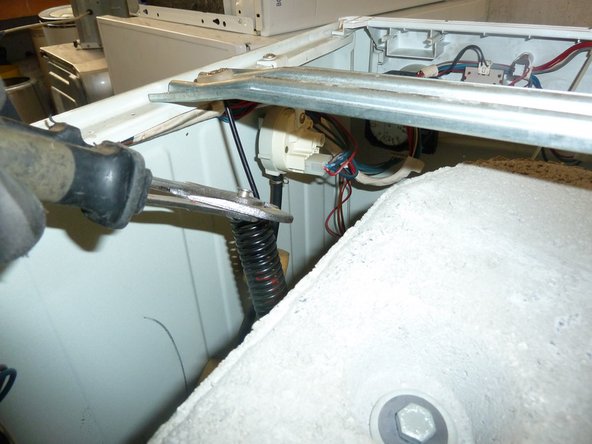
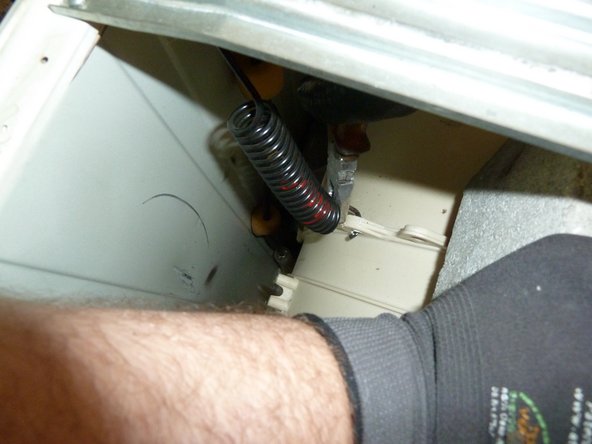
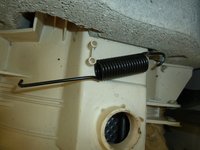
      • Cut and remove the springs holding the drum.

      Add Comment

    13. Washing Machine: step 13, image 1 of 1
      • Unplug and remove the water pipe.

      Add Comment

    14. Washing Machine: step 14, image 1 of 1
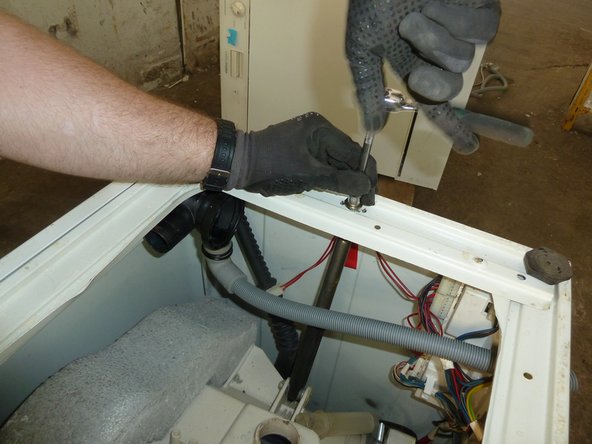
      • Unscrew the buffer.

      Add Comment

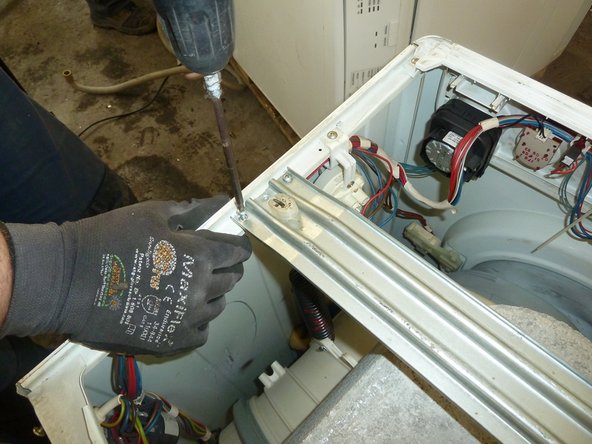
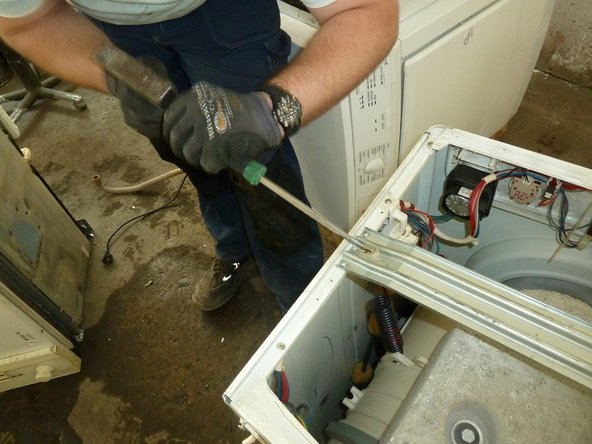
    15. Washing Machine: step 15, image 1 of 1
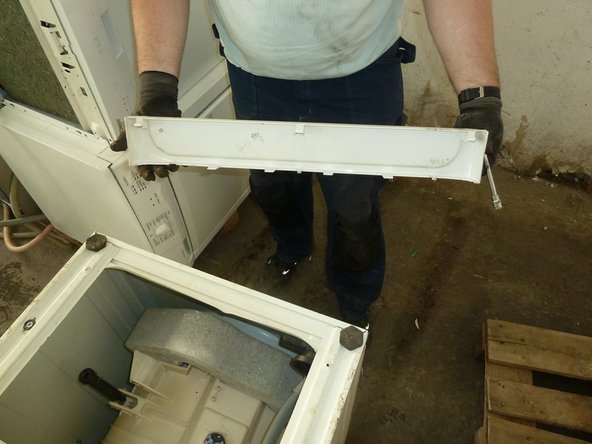
      • Remove the bottom front cover.

      Add Comment

    16. Washing Machine: step 16, image 1 of 2 Washing Machine: step 16, image 2 of 2
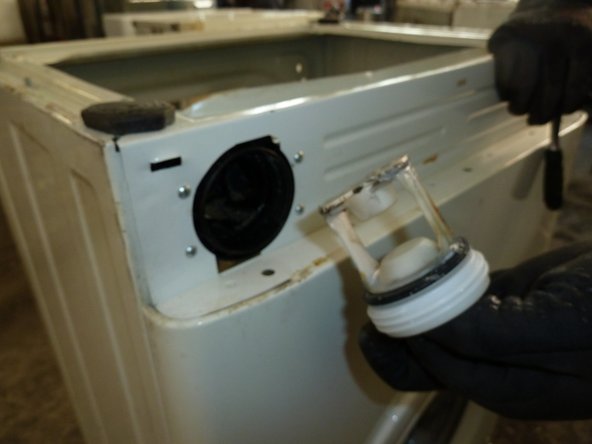
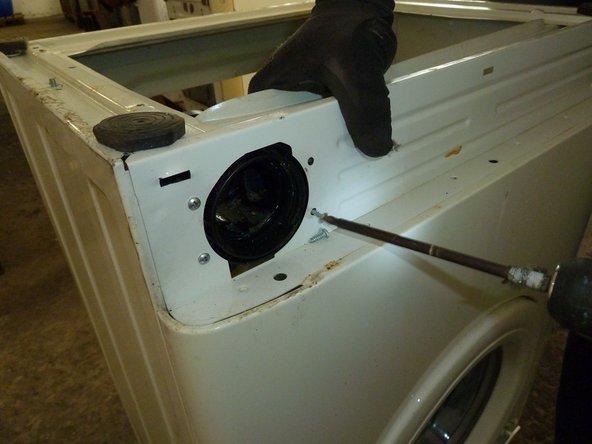
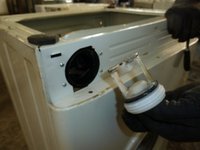
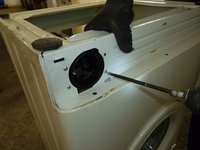
      • Remove the lint collector and unscrew its fixture.

      Add Comment

    17. Washing Machine: step 17, image 1 of 3 Washing Machine: step 17, image 2 of 3 Washing Machine: step 17, image 3 of 3
      • Remove all internal water hoses.

      Add Comment

    18. Washing Machine: step 18, image 1 of 2 Washing Machine: step 18, image 2 of 2
      • Unscrew the back cover.

      Add Comment

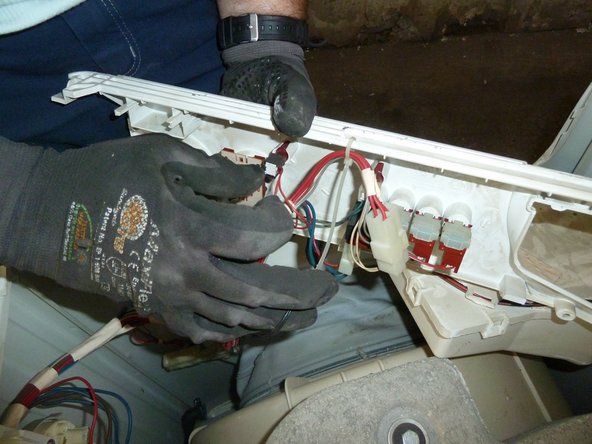
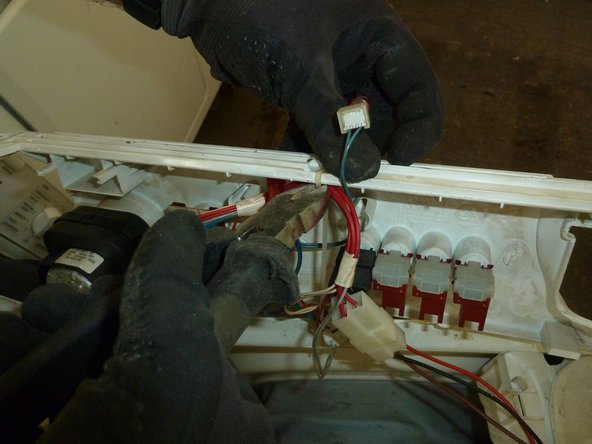
    19. Washing Machine: step 19, image 1 of 2 Washing Machine: step 19, image 2 of 2
      • Unclip all wires.

      Add Comment

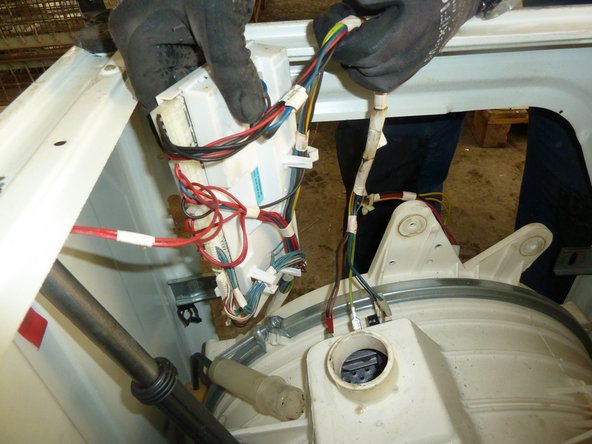
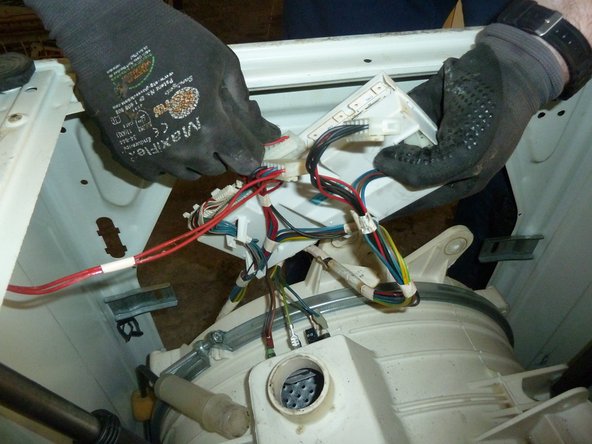
    20. Washing Machine: step 20, image 1 of 2 Washing Machine: step 20, image 2 of 2
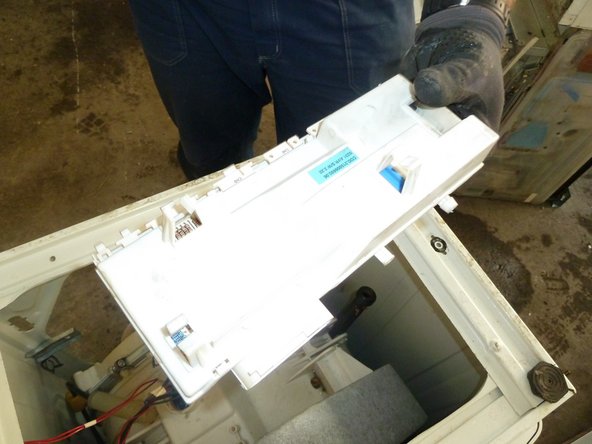
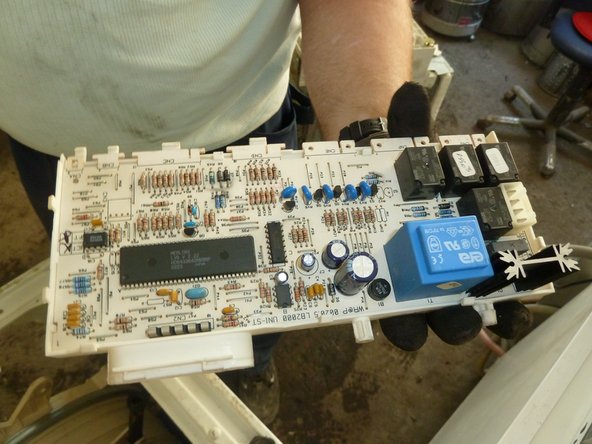
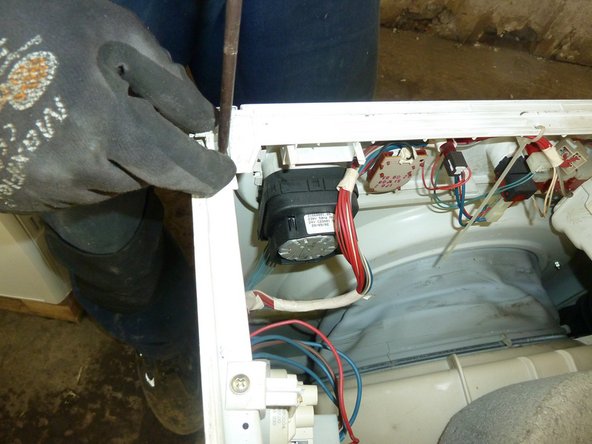
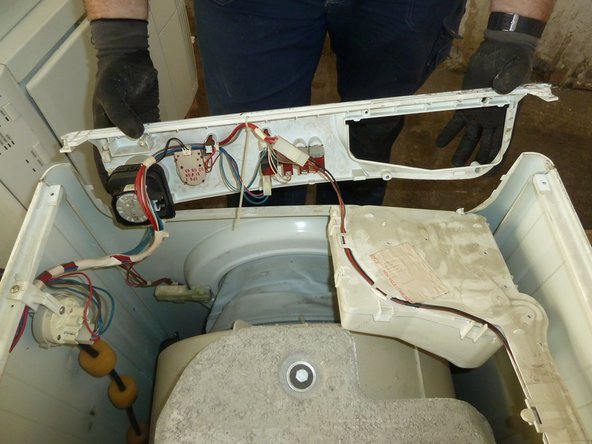
      • Remove the switch panel.

      Add Comment

    21. Washing Machine: step 21, image 1 of 1
      • Unscrew the grounding wire.

      Add Comment

    22. Washing Machine: step 22, image 1 of 1
      • Turn the machine bottom down again.

      Add Comment

    23. Washing Machine: step 23, image 1 of 1
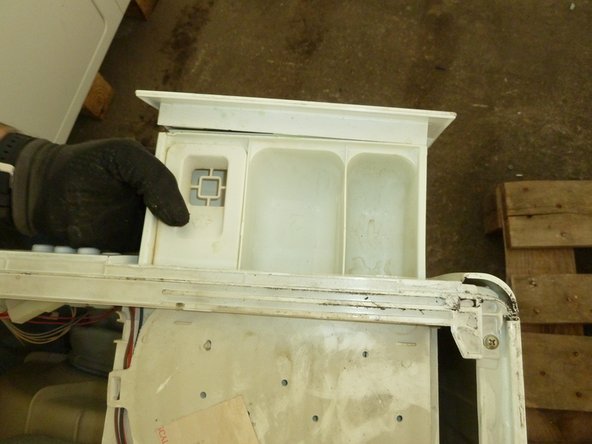
      • Remove the washing agent drawer.

      Add Comment

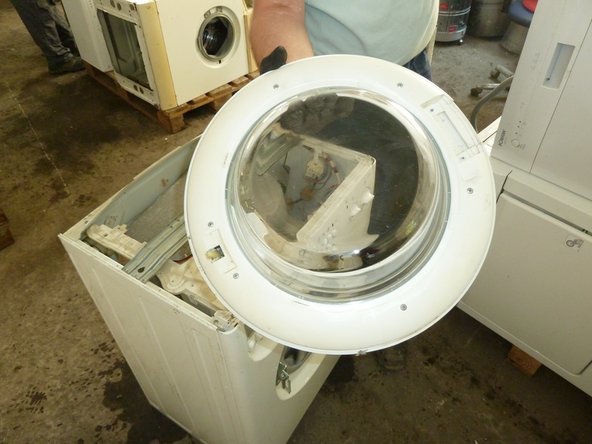
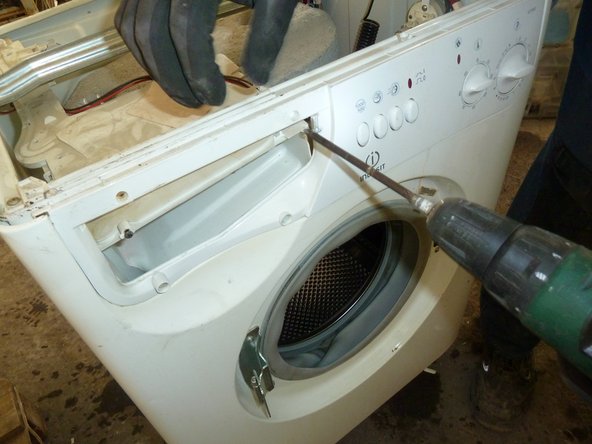
    24. Washing Machine: step 24, image 1 of 2 Washing Machine: step 24, image 2 of 2
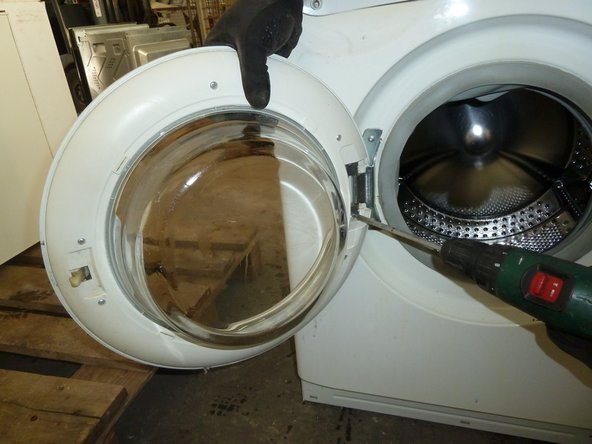
      • Unscrew and remove the door.

      Add Comment

    25. Washing Machine: step 25, image 1 of 1
      • Unscrew the washing agent drawer chest.

      Add Comment

    26. Washing Machine: step 26, image 1 of 2 Washing Machine: step 26, image 2 of 2
      • Unscrew the plastic part from the inside and outside.

      Add Comment

    27. Washing Machine: step 27, image 1 of 2 Washing Machine: step 27, image 2 of 2
      • Remove the remaining springs that hold the drum.

      Add Comment

    28. Washing Machine: step 28, image 1 of 2 Washing Machine: step 28, image 2 of 2
      • Unscrew and remove the metal bar.

      Add Comment

    29. Washing Machine: step 29, image 1 of 2 Washing Machine: step 29, image 2 of 2
      • Unscrew and remove the switchboard.

      Add Comment

    30. Washing Machine: step 30, image 1 of 2 Washing Machine: step 30, image 2 of 2
      • Unclip and cut all wires.

      Add Comment

    31. Washing Machine: step 31, image 1 of 1
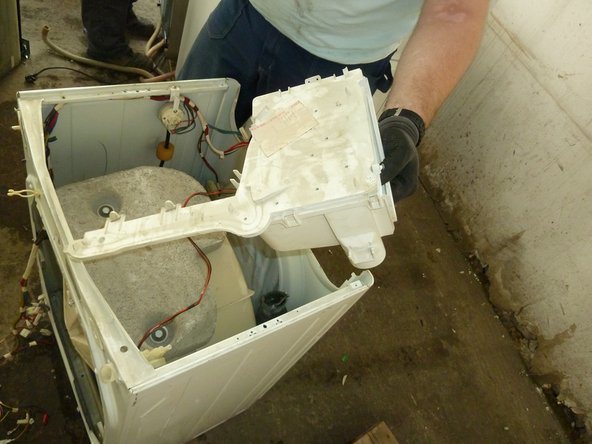
      • Remove plastic parts.

      Add Comment

    32. Washing Machine: step 32, image 1 of 1
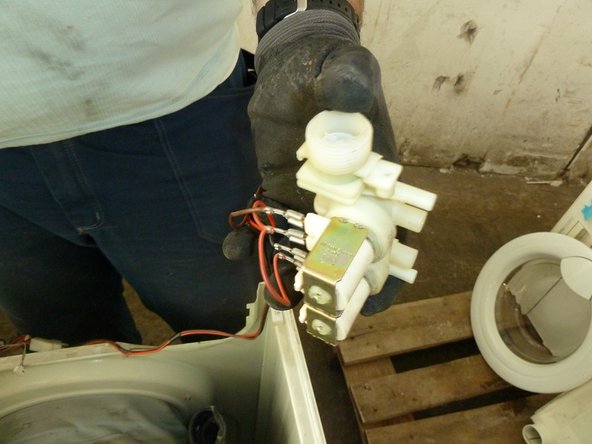
      • Remove the magnet valves.

      Add Comment

    33. Washing Machine: step 33, image 1 of 2 Washing Machine: step 33, image 2 of 2
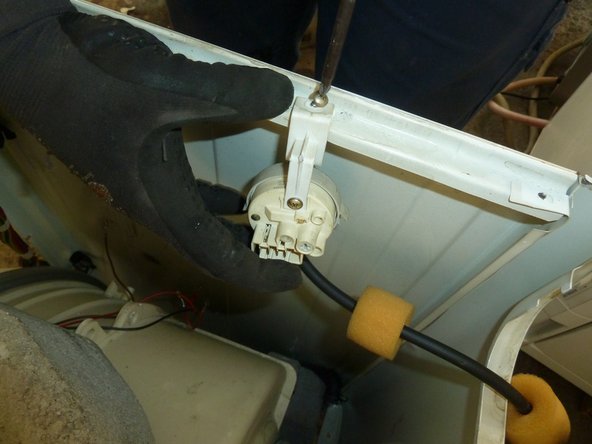
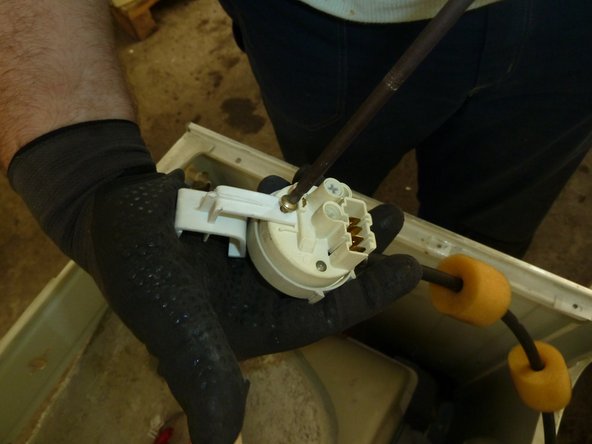
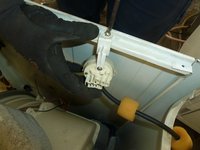
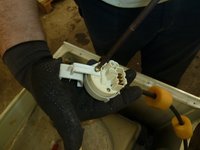
      • Unscrew and remove the pressure switch.

      Add Comment

    34. Washing Machine: step 34, image 1 of 1
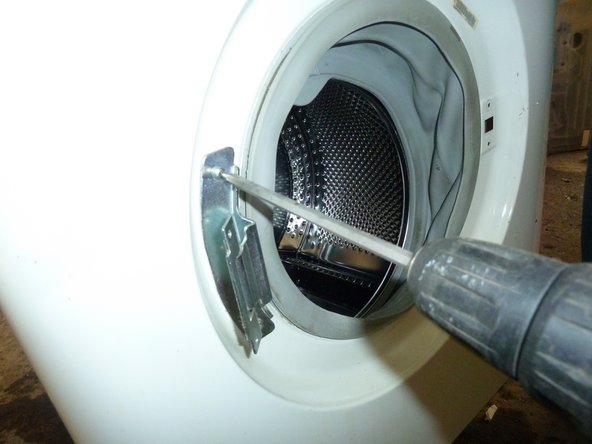
      • Unscrew the door fixture.

      Add Comment

    35. Washing Machine: step 35, image 1 of 1
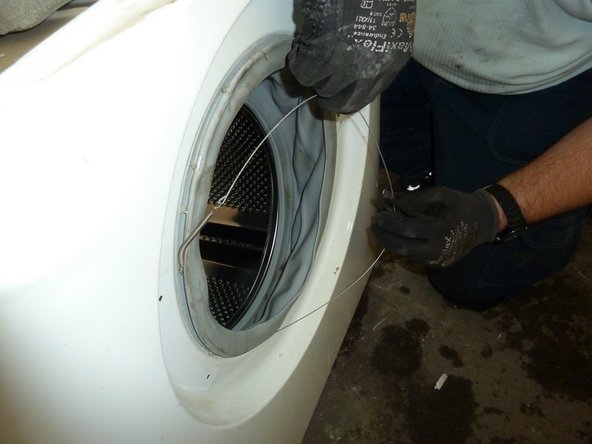
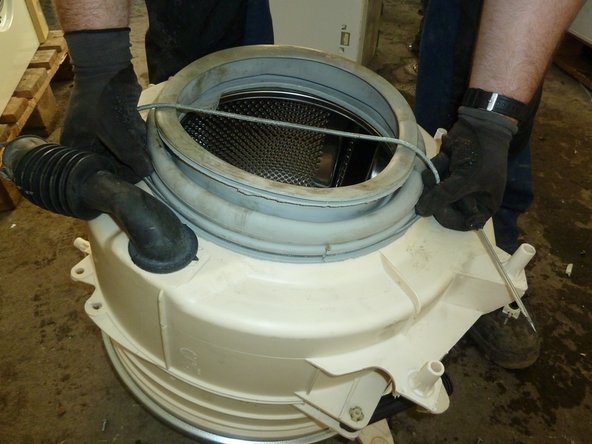
      • Remove the slim spring around the door opening. (It holds the rubber sealing in place).

      Add Comment

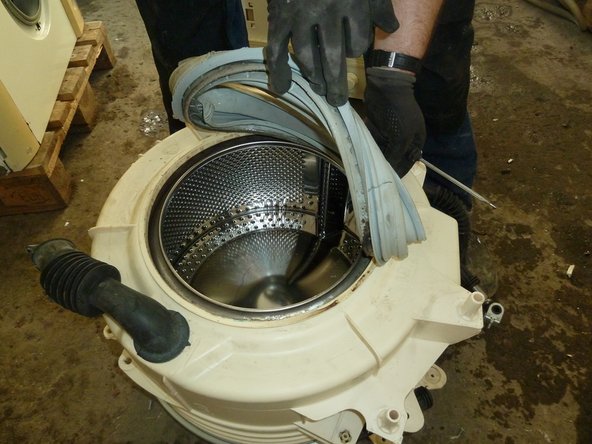
    36. Washing Machine: step 36, image 1 of 1
      • Now, remove the rubber sealing.

      Add Comment

    37. Washing Machine: step 37, image 1 of 2 Washing Machine: step 37, image 2 of 2
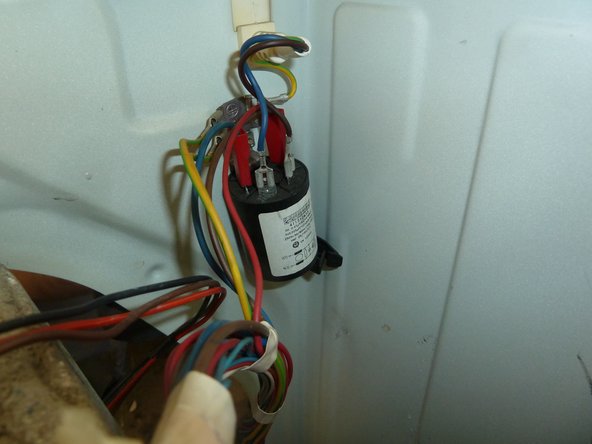
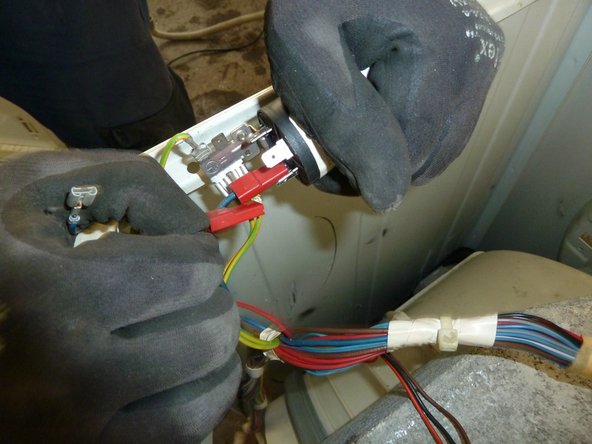
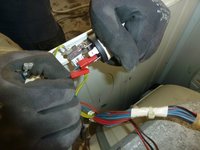
      • Remove the capacitor and unclip all wires, being careful not to touch the terminals as this could lead to a potentially dangerous electrical discharge.

      Add Comment

    38. Washing Machine: step 38, image 1 of 2 Washing Machine: step 38, image 2 of 2
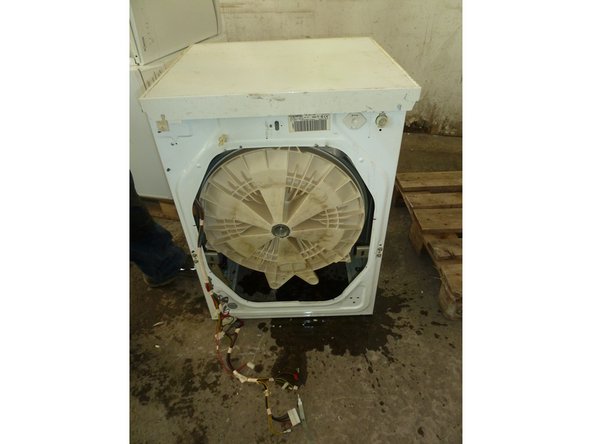
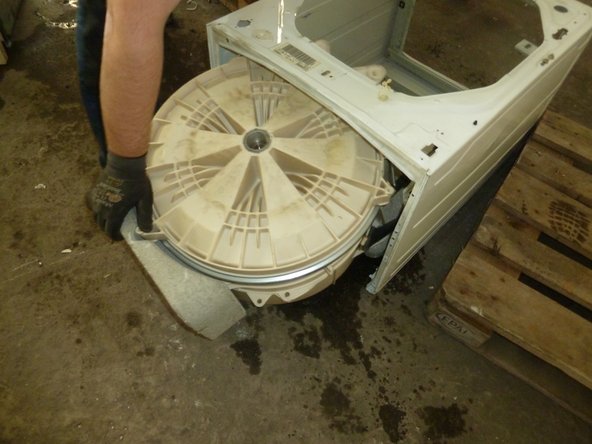
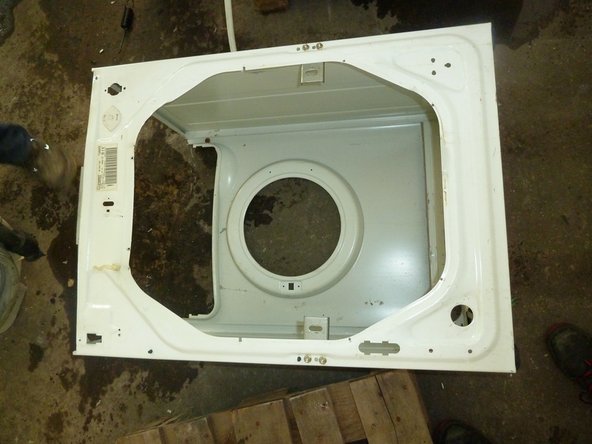
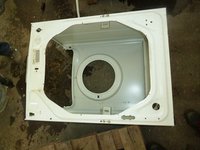
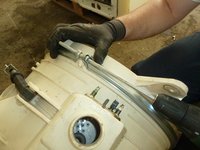
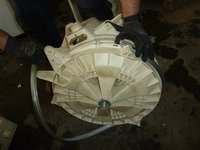
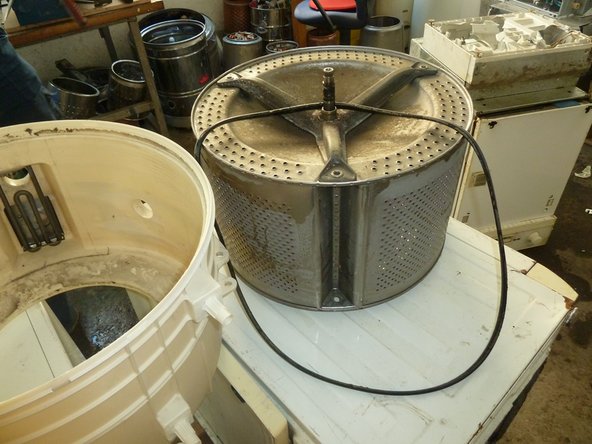
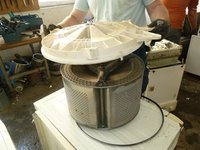
      • Tilt the machine and remove the drum.

      • Now, the metal case should be empty.

      Add Comment

    39. Washing Machine: step 39, image 1 of 2 Washing Machine: step 39, image 2 of 2
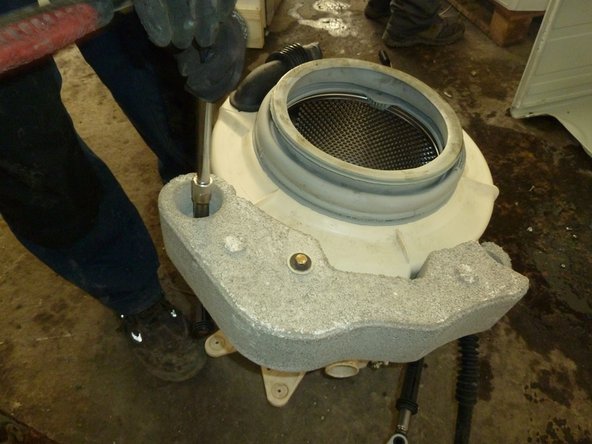
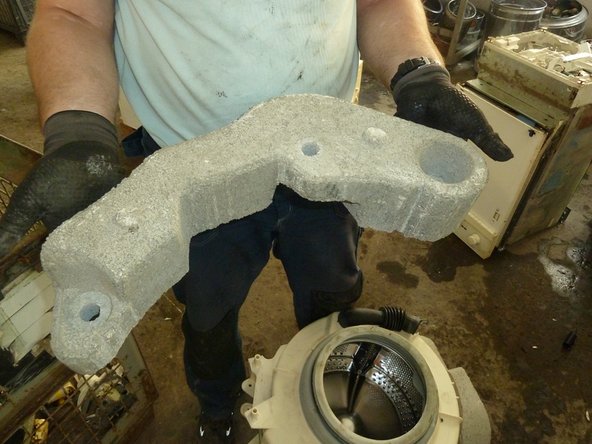
      • Remove the concrete weight.

      Add Comment

    40. Washing Machine: step 40, image 1 of 2 Washing Machine: step 40, image 2 of 2
      • Again, remove the spring around the drum, and the rubber sealing.

      Add Comment

    41. Washing Machine: step 41, image 1 of 2 Washing Machine: step 41, image 2 of 2
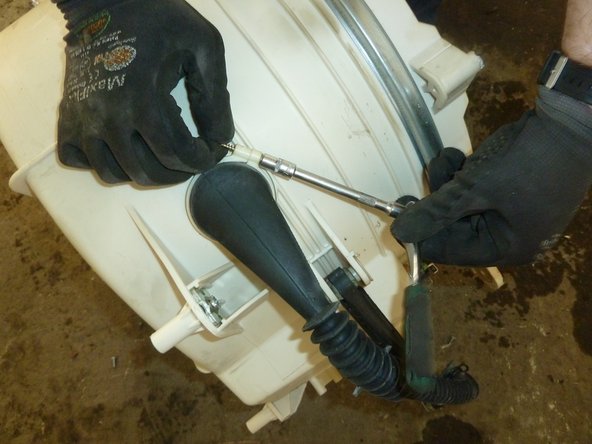
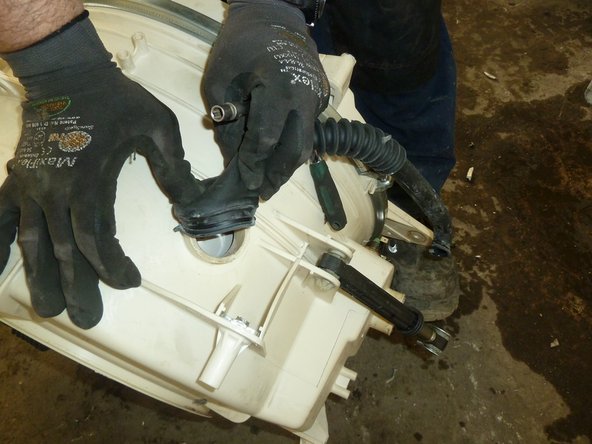
      • Unscrew and remove the water hose.

      Add Comment

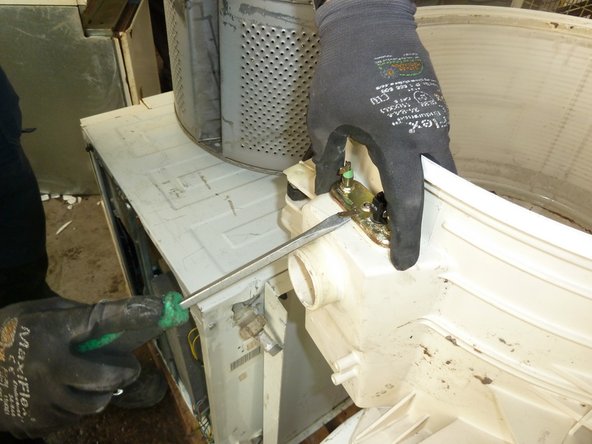
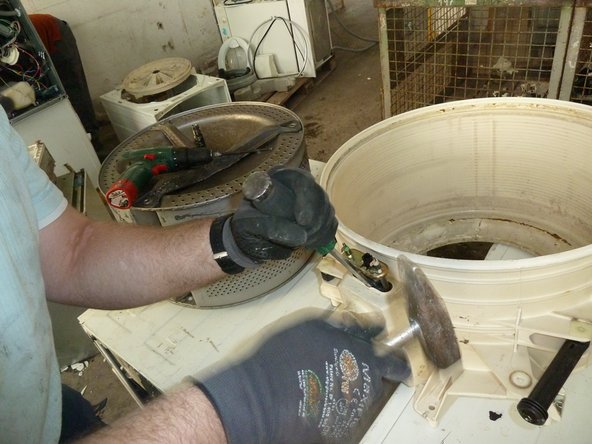
    42. Washing Machine: step 42, image 1 of 1
      • Remove metal fixtures.

      Add Comment

    43. Washing Machine: step 43, image 1 of 2 Washing Machine: step 43, image 2 of 2
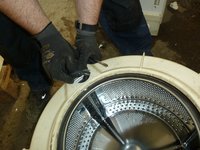
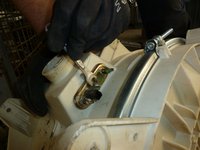
      • Continue dismantling the fixture around the drum.

      Add Comment

    44. Washing Machine: step 44, image 1 of 2 Washing Machine: step 44, image 2 of 2
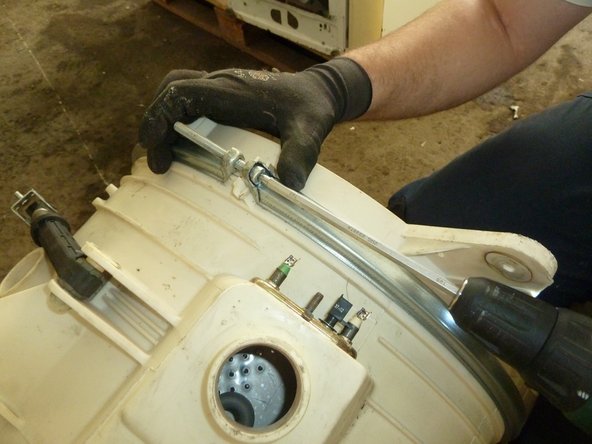
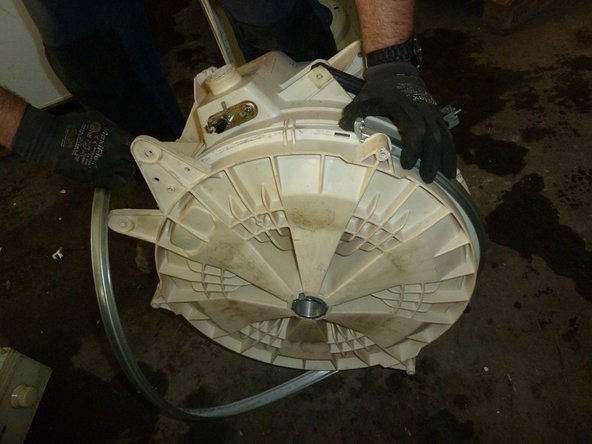
      • Unscrew and remove the metal belt around the plastic fixture around the drum.

      Add Comment

    45. Washing Machine: step 45, image 1 of 3 Washing Machine: step 45, image 2 of 3 Washing Machine: step 45, image 3 of 3
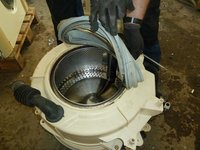
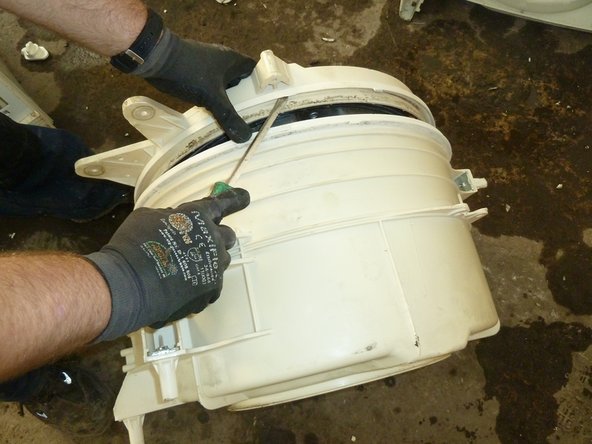
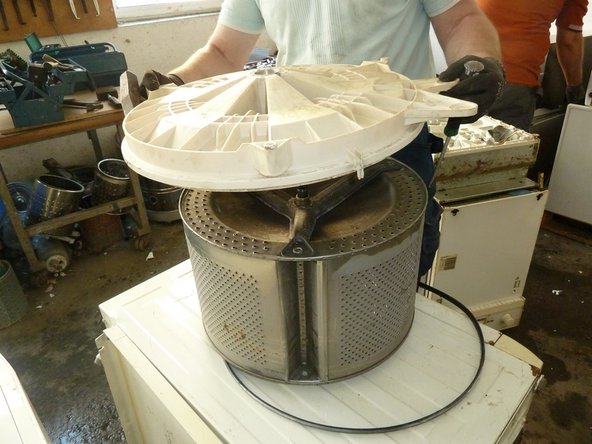
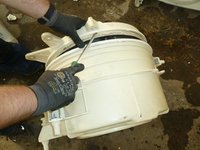
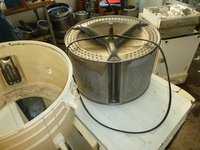
      • Open and remove the case around the drum.

      Add Comment

    46. Washing Machine: step 46, image 1 of 2 Washing Machine: step 46, image 2 of 2
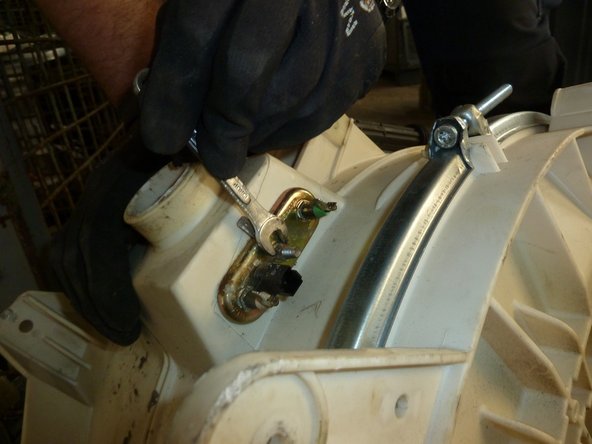
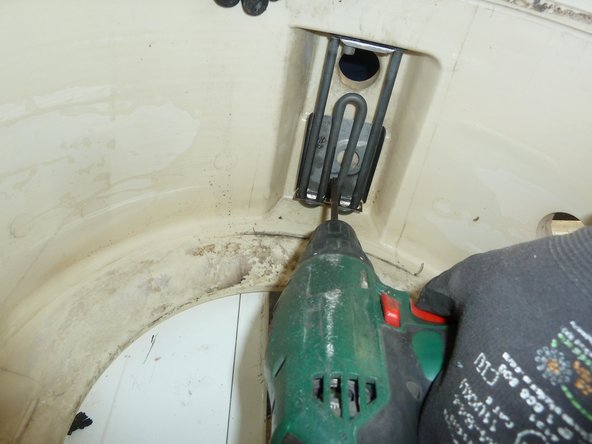
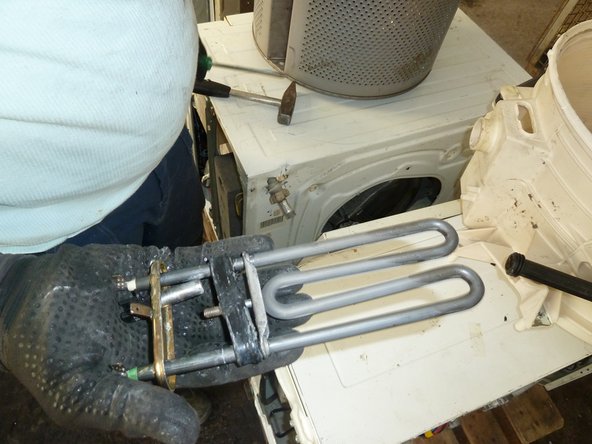
      • Unscrew and remove the heating element.

      Add Comment

    47. Washing Machine: step 47, image 1 of 2 Washing Machine: step 47, image 2 of 2
      • Remove all metal parts from the plastic case.

      Add Comment

    48. Washing Machine: step 48, image 1 of 1
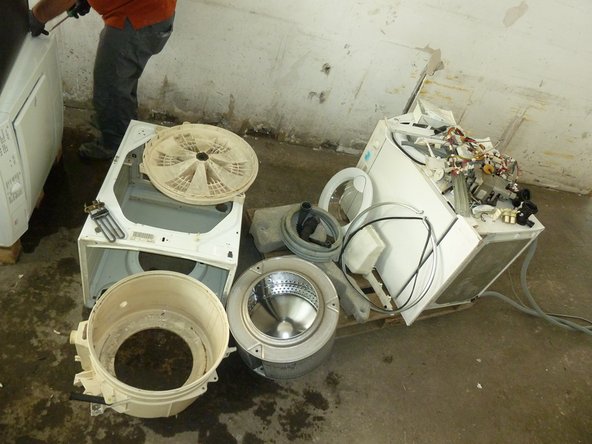
      • Separate the remaining materials according to their type and go on with the appropriate data sheet (e.g. aluminium, ferrous metals, plastic, further PWBs, etc.).

      • Make sure the plastic parts are completely free of metal pieces.

      Add Comment

Finish Line

Cancel: I did not complete this guide.

2 other people completed this guide.

Elisabeth Herbeck

Member since: 09/24/15

10 Guides authored

1 Guide Comment

Remove the capacitor and unclip all wires. ;being careful not to hold/touch the terminals as this could lead to an electrical discharge and a sharp shock.

Terry gilligan - Reply Share
Add Comment

View Statistics:

Past 24 Hours: 1

Past 7 Days: 1

Past 30 Days: 3

All Time: 330