
Xbox 360 Optical Drive Replacement

Last updated on Apr 11, 2016
Views: 38
View statistics:
- Past 24 Hours:
- 0
- Past 7 Days:
- 0
- Past 30 Days:
- 3
- All Time:
- 38
Comments: 0
No one has left comments on this guide. Will you be first?
Go to guide commentsCompleted: 0 1
No one has marked this guide "completed." Will you be the first?
1 person has marked this guide "completed." It's you — great job!
Favorites: 0 1
No one has favorited (and subscribed to) this guide. Will you be the first?
1 person has favorited (and subscribed to) this guide — and that's you!

Introduction
Go to step 1 ↓This guide is used as an internal prereq.
-
-
-
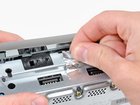
Peel the silver tape securing the optical drive to the metal casing.
-
-
-
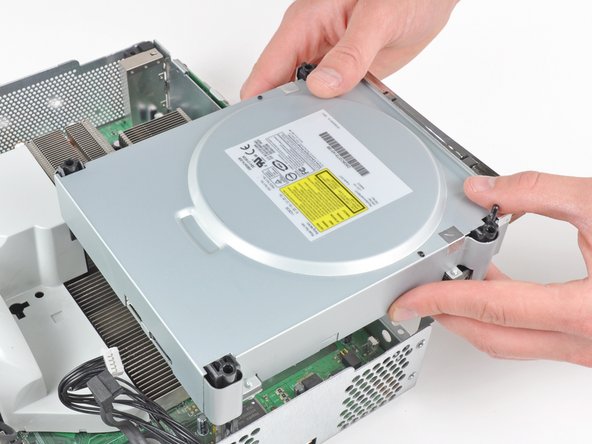
Slightly lift the optical drive upwards to gain clearance to disconnect the SATA and power connectors located on the backside of the optical drive.
-
-
-
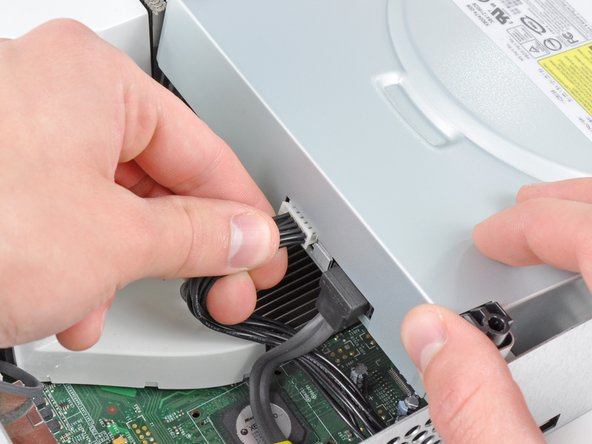
Grab the power connector by its cables and pull it straight out of its socket on the optical drive.
-
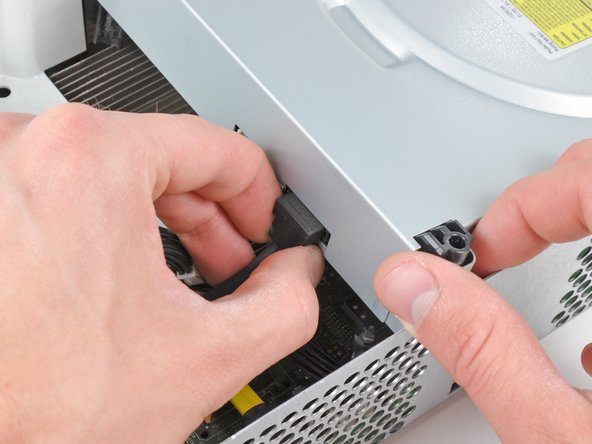
Disconnect the SATA data connector from its socket on the optical drive by pulling it straight away.
-
-



To reassemble your device, follow these instructions in reverse order.

