
Xbox 360 Top Vent Replacement

What you need

  1. Xbox 360 Top Vent Replacement, Xbox 360 Top Vent Replacement: step 1, image 1 of 2 Xbox 360 Top Vent Replacement, Xbox 360 Top Vent Replacement: step 1, image 2 of 2
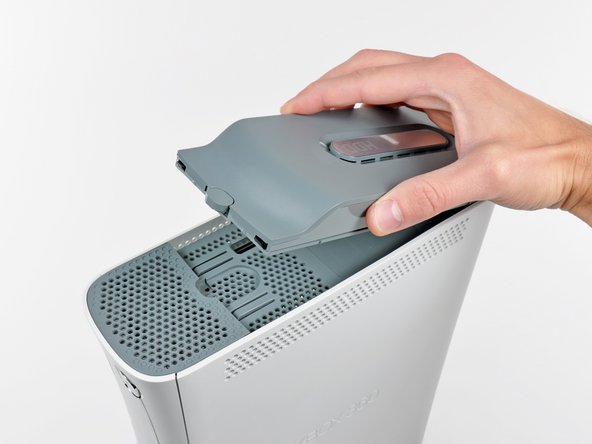
    • Grasp the hard drive assembly and press the release button while lifting its front edge.

    • Remove the hard drive assembly from the top vent.

    Add Comment

  2. Xbox 360 Top Vent Replacement: step 2, image 1 of 2 Xbox 360 Top Vent Replacement: step 2, image 2 of 2
    • Stand the console vertically with the top edge facing up.

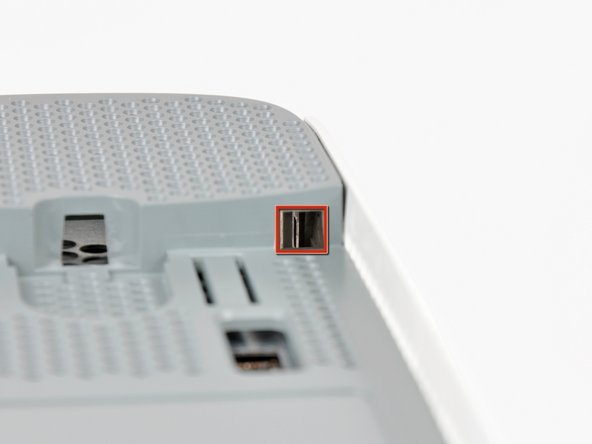
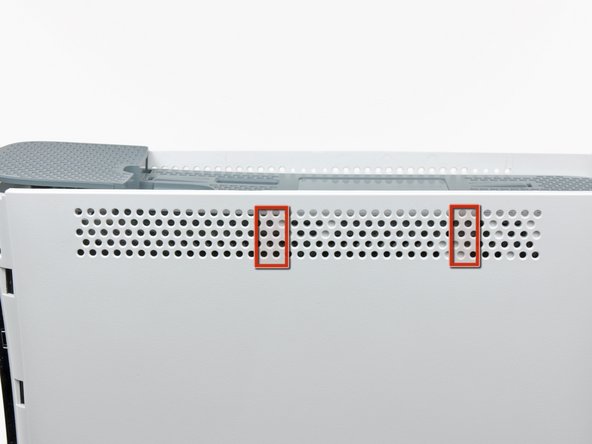
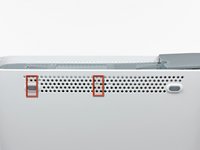
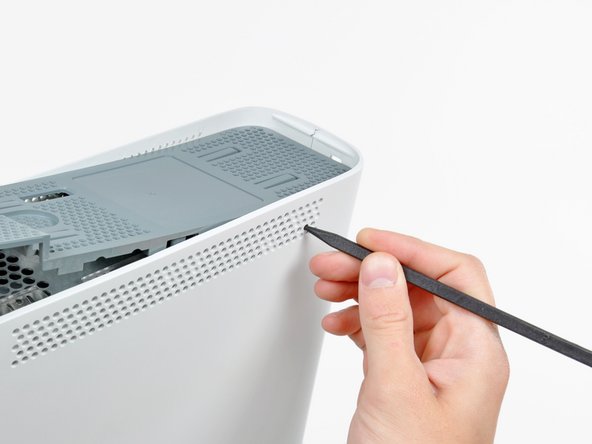
    • The top vent is secured to the console via clips. The first two clips are located underneath the top vent closest to the faceplate, as shown in the pictures.

    Add Comment

  3. Xbox 360 Top Vent Replacement: step 3, image 1 of 2 Xbox 360 Top Vent Replacement: step 3, image 2 of 2
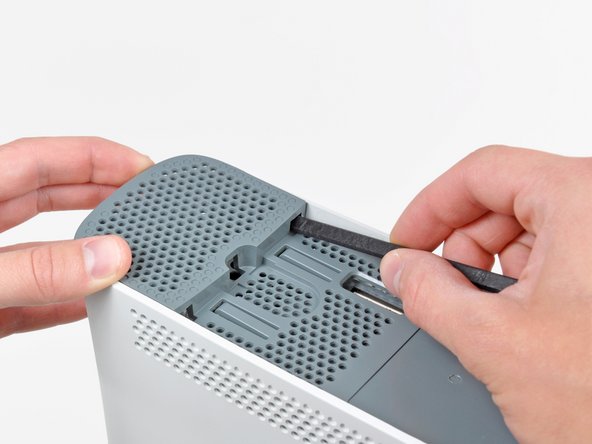
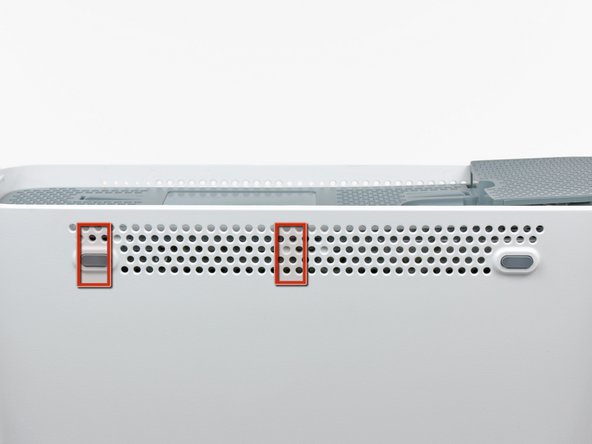
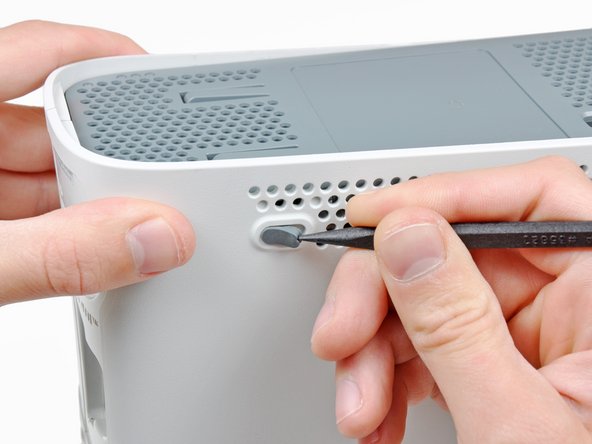
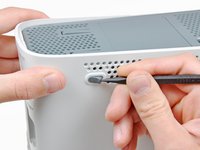
    • Insert the flat end of a spudger into the small gaps previously mentioned to release the clips.

    • You may also use the long finger of an Xbox 360 opening tool to accomplish this task.

    Add Comment

  4. Xbox 360 Top Vent Replacement: step 4, image 1 of 3 Xbox 360 Top Vent Replacement: step 4, image 2 of 3 Xbox 360 Top Vent Replacement: step 4, image 3 of 3
    • In the next few steps, you will use the tip of a spudger or the finger of an Xbox 360 opening tool to release the clips along the left and right sides of the top vent. Their locations are highlighted in red.

    Add Comment

  5. Xbox 360 Top Vent Replacement: step 5, image 1 of 2 Xbox 360 Top Vent Replacement: step 5, image 2 of 2
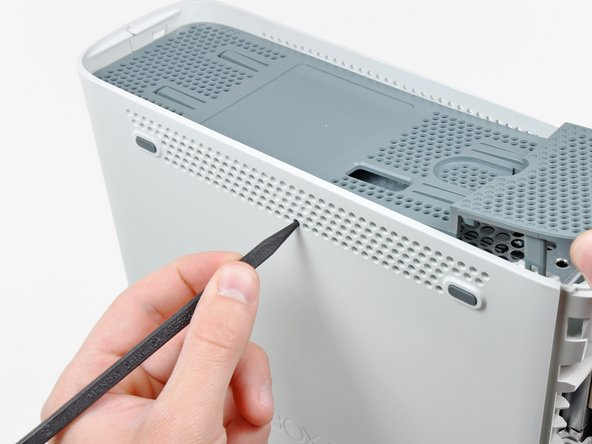
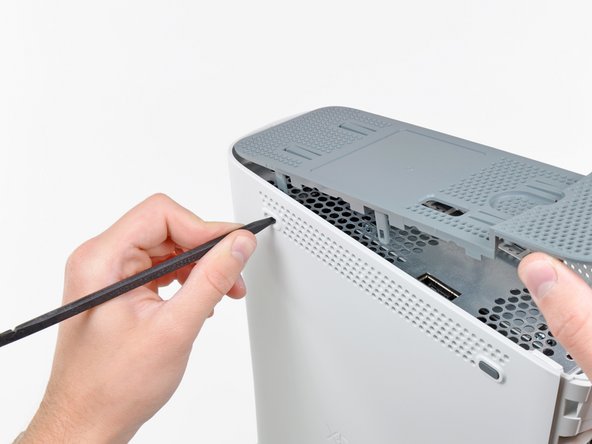
    • To release the clips, work from the middle of the top vent.

    • While slightly lifting the front edge of the top vent, use the tip of a spudger to push the clips closest to the center of the top vent towards the inside of the console.

    Add Comment

  6. Xbox 360 Top Vent Replacement: step 6, image 1 of 1
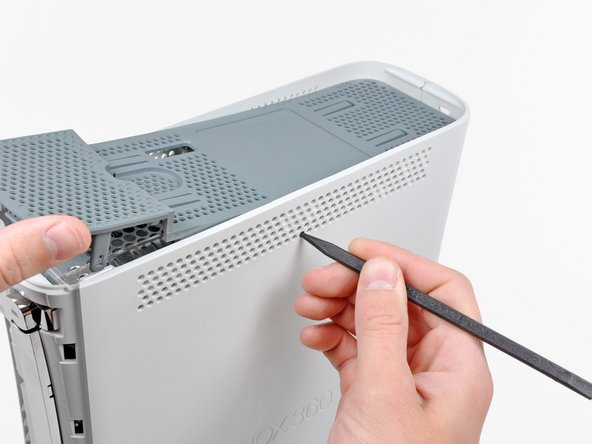
    • Use the tip of your spudger to release the clip on the top vent nearest the back of the Xbox's upper case.

    Add Comment

  7. Xbox 360 Top Vent Replacement: step 7, image 1 of 2 Xbox 360 Top Vent Replacement: step 7, image 2 of 2
    • The last clip is hidden underneath the rubber foot nearest the back of the console.

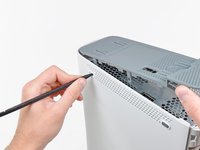
    • Use the tip of your spudger to release the clip on the top vent nearest the back of the Xbox.

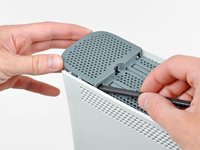
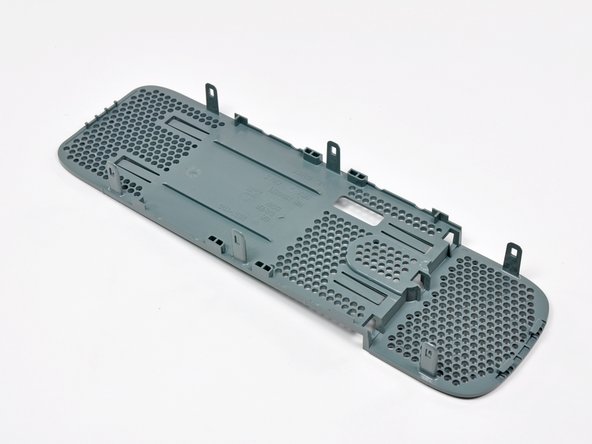
    • Remove the top vent from the 360.

    Add Comment

Conclusion

To reassemble your device, follow these instructions in reverse order.

Cancel: I did not complete this guide.

System

Member since: 09/24/09

2,562 Guides authored

0 Guide Comments

Add Comment

View Statistics:

Past 24 Hours: 1

Past 7 Days: 1

Past 30 Days: 4

All Time: 31