/

Xbox Disc Drive Replacement

What you need

  1. Xbox Disc Drive Replacement, Xbox Disc Drive Replacement: step 1, image 1 of 1
    • Make sure your Xbox is safely unplugged and is laying on a flat, stable surface.

  2. Xbox Disc Drive Replacement: step 2, image 1 of 1
    • Turn the Xbox over to reveal the four rubber feet.

    • Use a metal spudger to pry off the four rubber feet.

  3. Xbox Disc Drive Replacement: step 3, image 1 of 2 Xbox Disc Drive Replacement: step 3, image 2 of 2
    • There are 2 more screws hidden under the two labels on the bottom of the case.

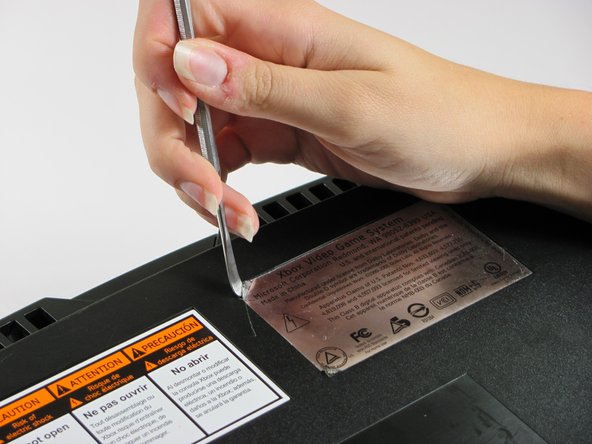
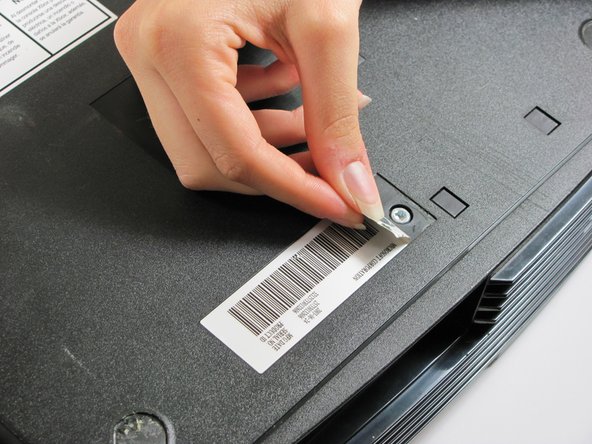
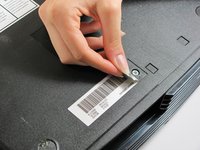
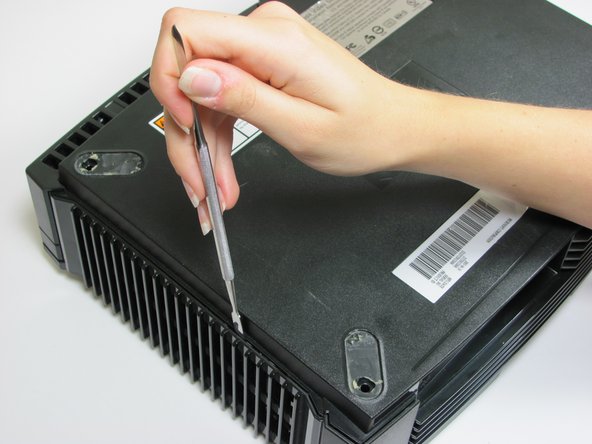
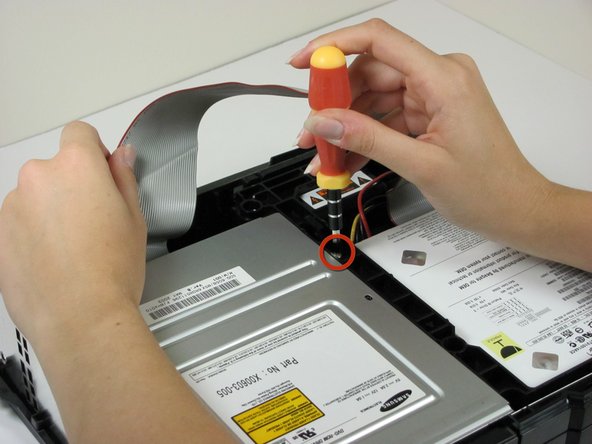
    • You can either remove the labels or simply feel for the screw holes through the labels and then cut or punch a hole through them.

  4. Xbox Disc Drive Replacement: step 4, image 1 of 1
    • Remove the six T20 Torx screws securing the top cover to the bottom cover.

  5. Xbox Disc Drive Replacement: step 5, image 1 of 2 Xbox Disc Drive Replacement: step 5, image 2 of 2
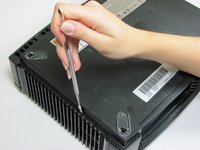
    • Wedge a metal spudger and carefully pry upwards to slightly separate the top and bottom covers.

    • Flip the Xbox right side up.

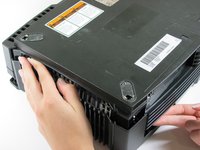
    • Hold the sides and lift the Xbox slightly off the bench. A gentle shake of the unit should see the top cover separate from the rest of the unit quite easily.

    • Placing the Xbox on your lap while separating the top and bottom covers may make the process easier.

  6. Xbox Disc Drive Replacement: step 6, image 1 of 2 Xbox Disc Drive Replacement: step 6, image 2 of 2
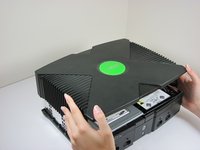
    • Once the bottom and top shells are no longer attached, carefully turn the Xbox right-side-up, lift and remove the top cover.

  7. Xbox Disc Drive Replacement: step 7, image 1 of 2 Xbox Disc Drive Replacement: step 7, image 2 of 2
    • Remove the three 3 mm T10 screws securing the hard drive to the Xbox.

    • There is one screw on the rear left side of the hard drive that is only visible when the IDE ribbon cable is lifted up. The other two are at the front right and left sides of the hard drive.

    • The screw on the lower left corner of the disk drive is not in the hole that it appears to be in, but rather just closer to the corner.

  8. Xbox Disc Drive Replacement: step 8, image 1 of 2 Xbox Disc Drive Replacement: step 8, image 2 of 2
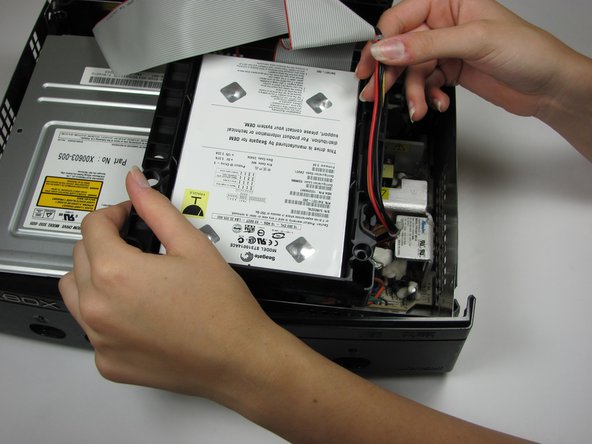
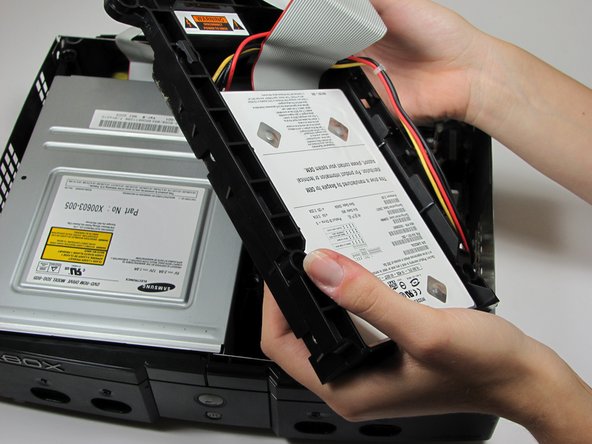
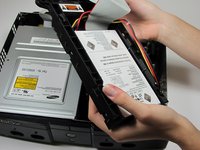
    • Free the hard drive power cable from the carrier for sufficient slack to lift the hard drive out.

    • Lift the plastic hard drive carrier out of the Xbox case.

  9. Xbox Disc Drive Replacement: step 9, image 1 of 3 Xbox Disc Drive Replacement: step 9, image 2 of 3 Xbox Disc Drive Replacement: step 9, image 3 of 3
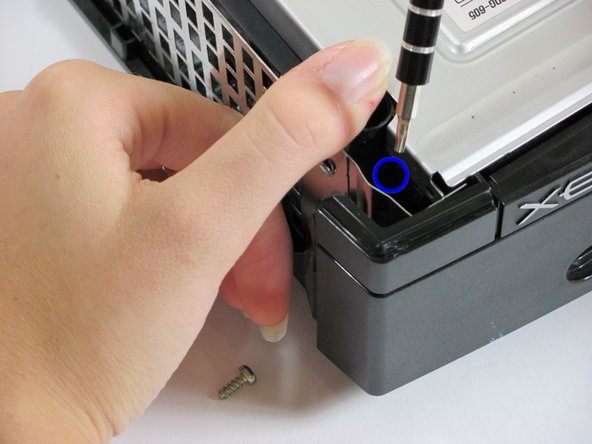
    • Remove the four 3.4 mm T15 Torx screws from the plastic hard drive carrier (two screws per side).

    • Carefully remove the hard drive from the plastic carrier. Gentle rocking will see the hard drive come out quite easily.

  10. Xbox Disc Drive Replacement: step 10, image 1 of 2 Xbox Disc Drive Replacement: step 10, image 2 of 2
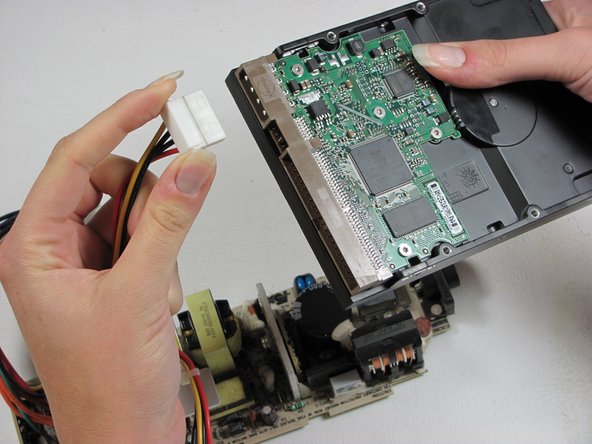
    • Pull both the hard drive data ribbon cable and the power cable straight up from the hard drive.

    • They may be firmly seated, so be careful trying to remove them. DO NOT pull the wires as you may damage the cable assembly.

  11. Xbox Disc Drive Replacement: step 11, image 1 of 3 Xbox Disc Drive Replacement: step 11, image 2 of 3 Xbox Disc Drive Replacement: step 11, image 3 of 3
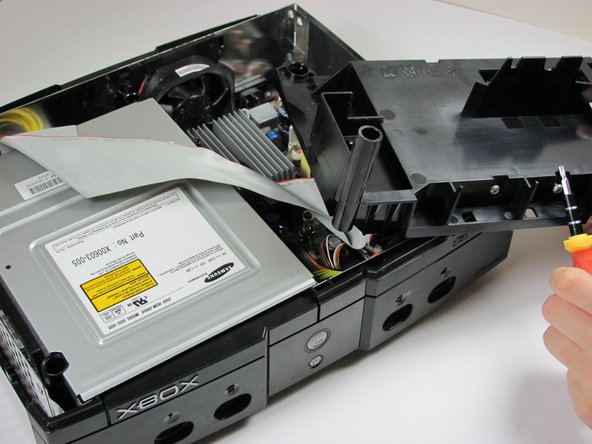
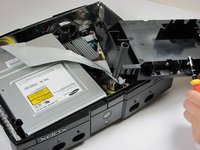
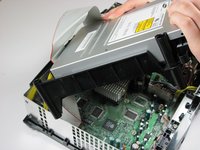
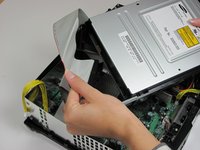
    • Remove the disk drive. It should come right out.

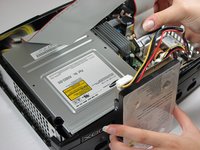
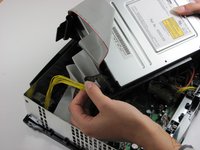
    • Unplug the ribbon cable and yellow cables from back of disk drive.

  12. Xbox Disc Drive Replacement: step 12, image 1 of 1
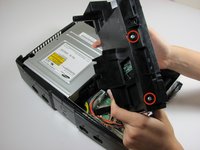
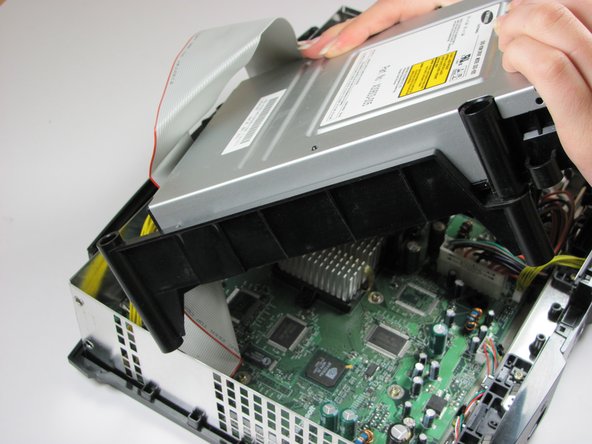
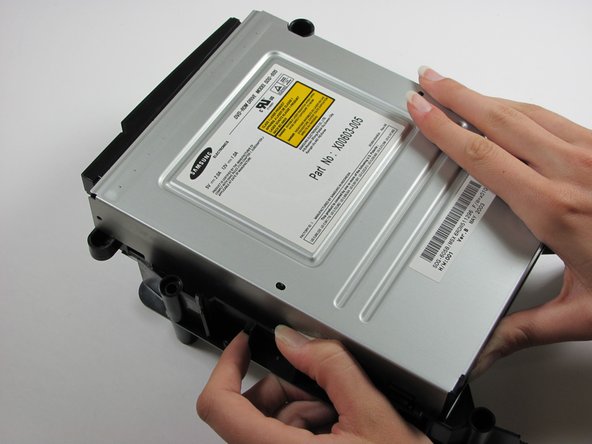
    • Pry back the black plastic tabs around the disk drive in order to remove it from its housing. Once removed, set the drive aside.

    • ONLY REMOVE IF DEAD!

Conclusion

To reassemble your device, follow these instructions in reverse order.

System

Member since: 09/24/09

2,562 Guides authored

0 Comments

Add Comment

View Statistics:

Past 24 Hours: 0

Past 7 Days: 0

Past 30 Days: 0

All Time: 1