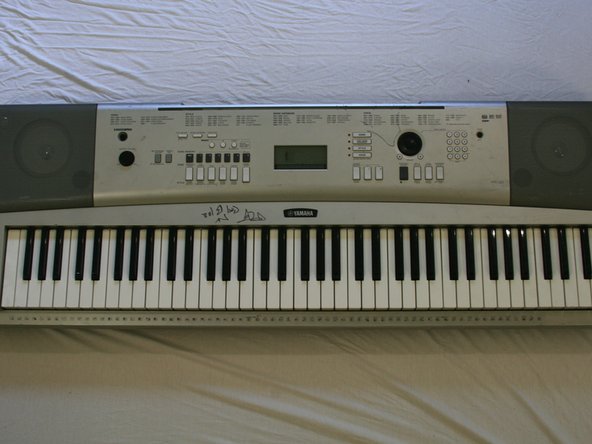
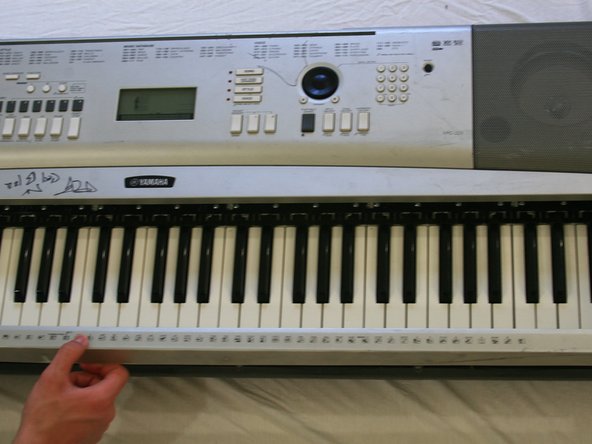
Yamaha YPG-225 Keys Replacement

What you need

    1. Yamaha YPG-225 Keys Replacement, Yamaha YPG-225 Keys Replacement: step 1, image 1 of 1
      • Turn the keyboard over so that the keys are facing the ground.

      Add Comment

    2. Yamaha YPG-225 Keys Replacement: step 2, image 1 of 1
      • Pop the tabs on the battery casing and remove it from the back plate.

      Add Comment

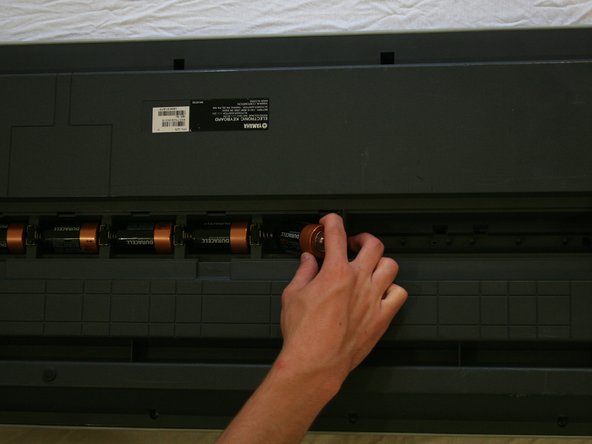
    3. Yamaha YPG-225 Keys Replacement: step 3, image 1 of 1
      • Locate the six batteries and remove them from the battery cavity.

      Add Comment

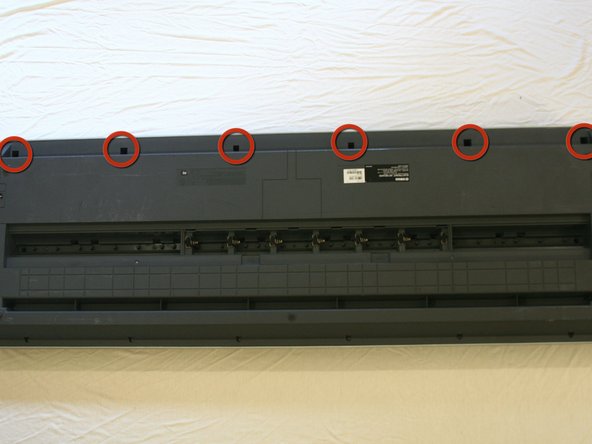
    4. Yamaha YPG-225 Keys Replacement: step 4, image 1 of 1
      • Remove the six 10mm screws at the top of the backplate.

      Add Comment

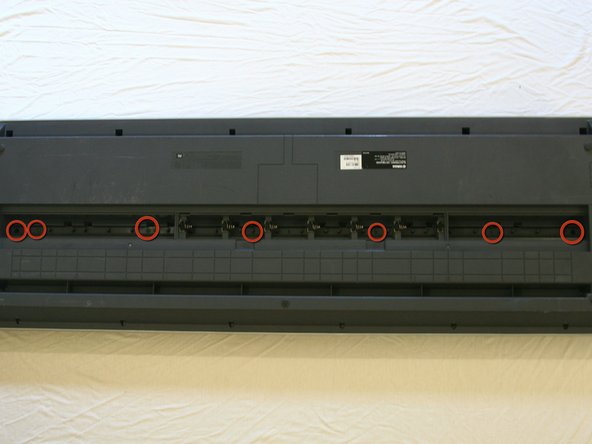
    5. Yamaha YPG-225 Keys Replacement: step 5, image 1 of 1
      • Remove the seven 12mm screws in the middle of the back plate.

      Add Comment

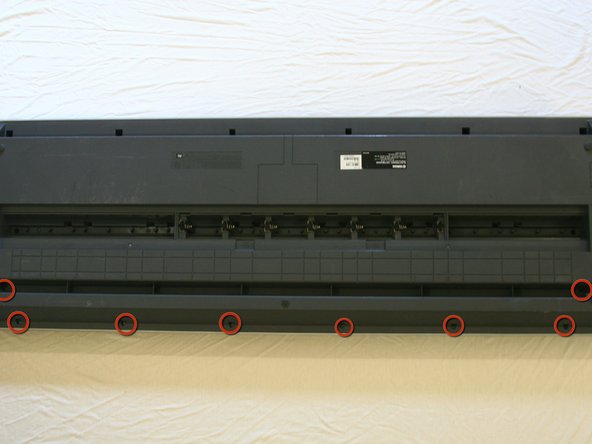
    6. Yamaha YPG-225 Keys Replacement: step 6, image 1 of 1
      • Remove the eight 10mm screws from the side and the bottom of the back plate.

      Add Comment

    7. Yamaha YPG-225 Keys Replacement: step 7, image 1 of 1
      • As the face plate is no longer connected to the body of the keyboard, be careful to not drop the body when performing this step.

      • Flip over the keyboard

      Add Comment

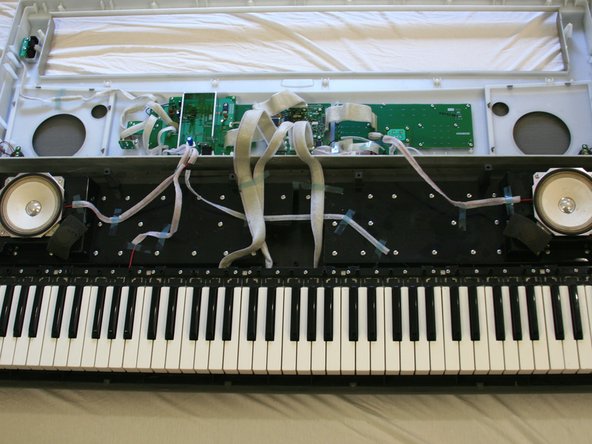
    8. Yamaha YPG-225 Keys Replacement: step 8, image 1 of 2 Yamaha YPG-225 Keys Replacement: step 8, image 2 of 2
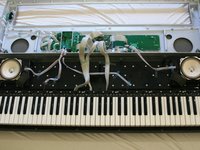
      • Lifting from the front and the back of the face plate equally, pull the face plate up and then back, away from the keyboard.

      • Be careful when removing the face plate. There are wires attached.

      Add Comment

    9. Yamaha YPG-225 Keys Replacement: step 9, image 1 of 1
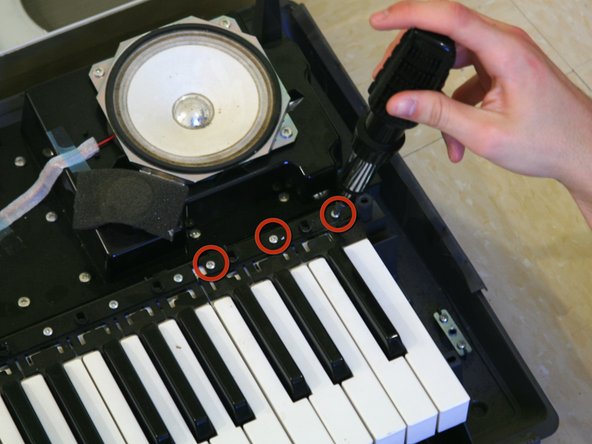
      • Remove the 32mm screws that hold keys down.

      • Depending on which block of keys you wish to remove, there may be four screws instead of three.

      Add Comment

    10. Yamaha YPG-225 Keys Replacement: step 10, image 1 of 1
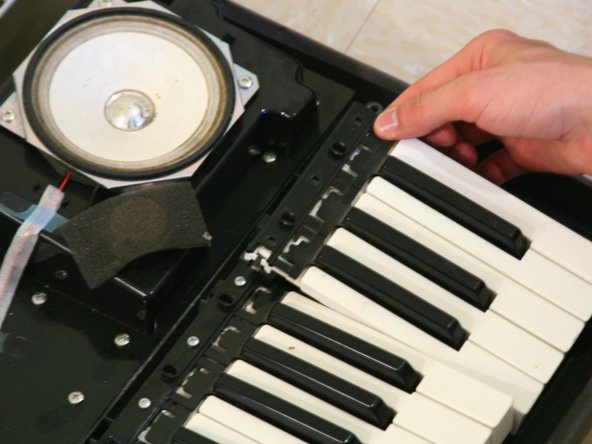
      • Remove the block of keys that holds the key you wish to install.

      • To do this, apply a small force away from the top of the keys and slightly toward the floor.

      • If done correctly, the block of keys will come to a slight downward angle.

      Add Comment

    11. Yamaha YPG-225 Keys Replacement: step 11, image 1 of 2 Yamaha YPG-225 Keys Replacement: step 11, image 2 of 2
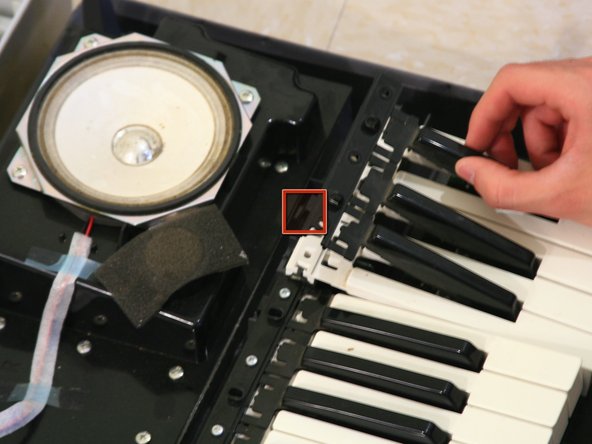
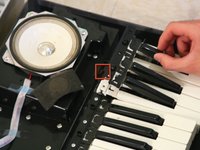
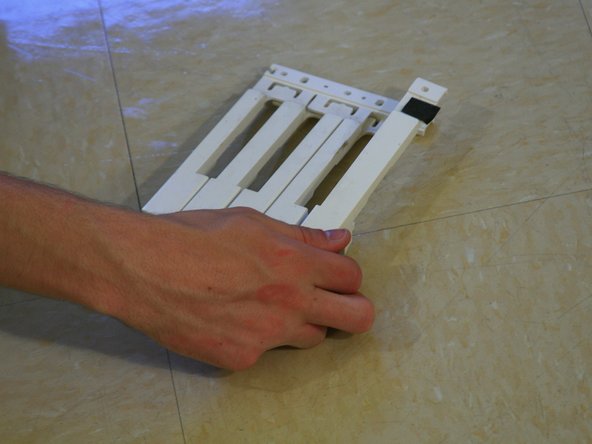
      • Press the tab on the back side of the block of keys out and detach the black keys.

      Add Comment

    12. Yamaha YPG-225 Keys Replacement: step 12, image 1 of 1
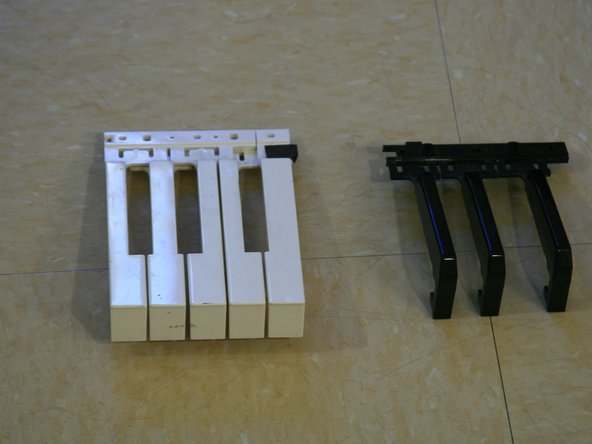
      • Remove the individual white key(s) or the black key set(s) that require replacement.

      Add Comment

Conclusion

To reassemble your device, follow these instructions in reverse order.

Cancel: I did not complete this guide.

System

Member since: 09/24/09

2,562 Guides authored

0 Guide Comments

Add Comment

View Statistics:

Past 24 Hours: 0

Past 7 Days: 0

Past 30 Days: 4

All Time: 25