iBook G3 12" Rear Display Bezel Replacement

What you need

    1. iBook G3 12" Rear Display Bezel Replacement, iBook G3 12" Rear Display Bezel Replacement: step 1, image 1 of 1
      • Use a coin to rotate the battery locking screw 90 degrees clockwise.

      • Lift the battery out of the computer.

      Add Comment

    2. iBook G3 12" Rear Display Bezel Replacement: step 2, image 1 of 2 iBook G3 12" Rear Display Bezel Replacement: step 2, image 2 of 2
      • Use a 1.5mm hex screwdriver to remove the two hex screws on either side of the display (four screws total).

      • If you don't have a 1.5mm hex driver, you can probably get these screws out with a T6 Torx screwdriver. However, if you use a T6 Torx driver you'll be more likely to strip the screws.

      Add Comment

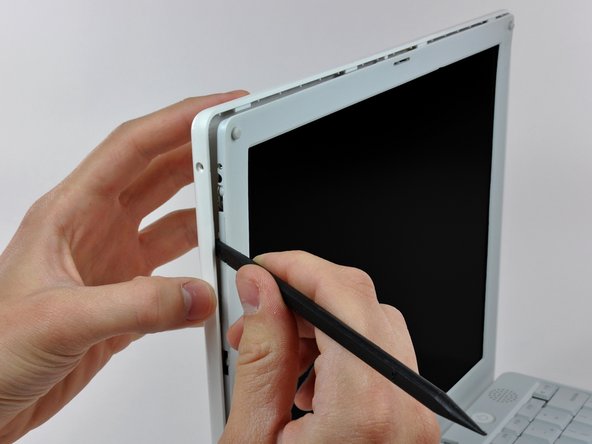
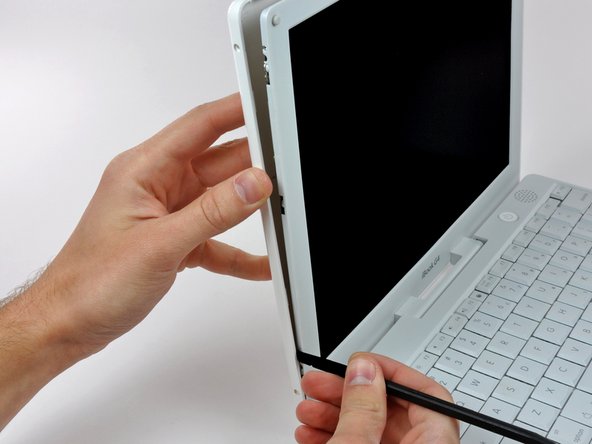
    3. iBook G3 12" Rear Display Bezel Replacement: step 3, image 1 of 2 iBook G3 12" Rear Display Bezel Replacement: step 3, image 2 of 2
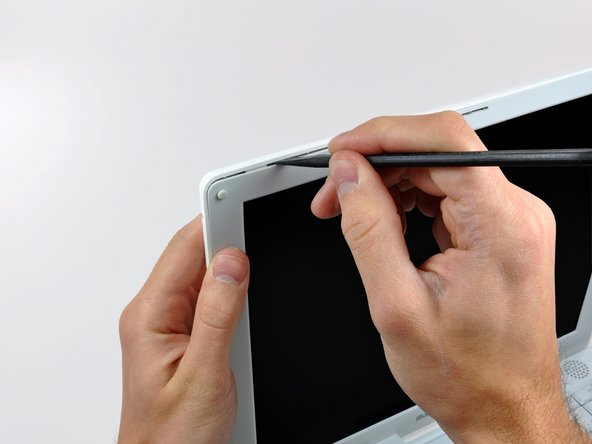
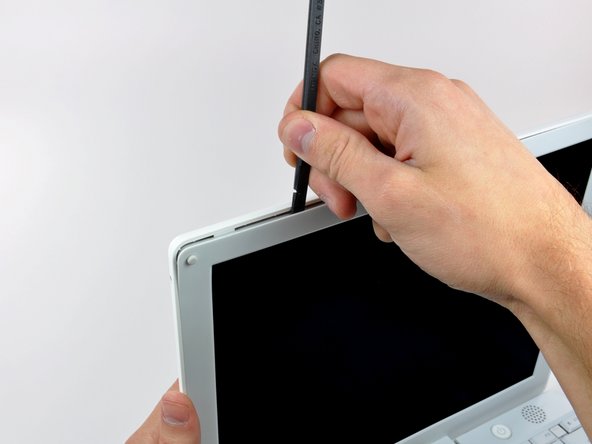
      • Insert the flat end of a spudger perpendicular to the face of the display into the gap between the front and rear bezels near the upper left corner of the display.

      • Rotate the spudger away from the display to pry the rear bezel off the front bezel.

      Add Comment

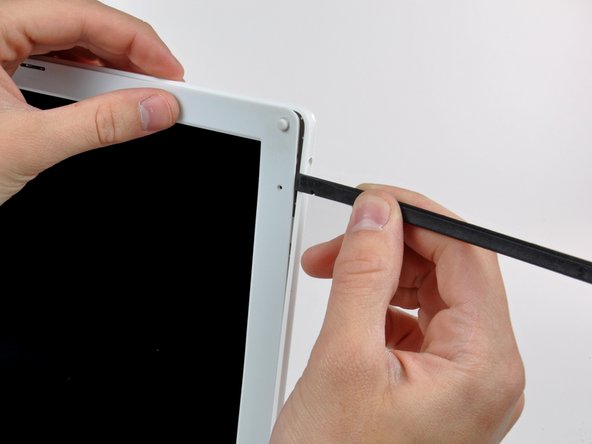
    4. iBook G3 12" Rear Display Bezel Replacement: step 4, image 1 of 1
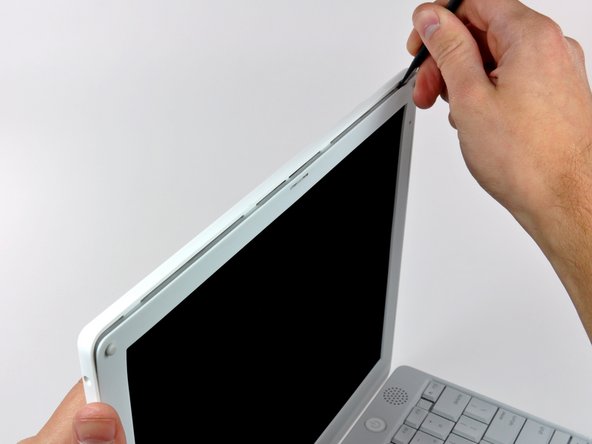
      • Run your spudger along the top edge of the front display bezel to evenly separate the two bezels.

      Add Comment

    5. iBook G3 12" Rear Display Bezel Replacement: step 5, image 1 of 2 iBook G3 12" Rear Display Bezel Replacement: step 5, image 2 of 2
      • Working down from the upper left corner, use the flat end of a spudger to pry the rear bezel away from the left edge of the display.

      Add Comment

    6. iBook G3 12" Rear Display Bezel Replacement: step 6, image 1 of 1
      • Use the flat end of a spudger to pry the rear bezel away from the right edge of the display.

      • If necessary, pry along the bottom edge of the rear bezel to separate it from the display assembly.

      Add Comment

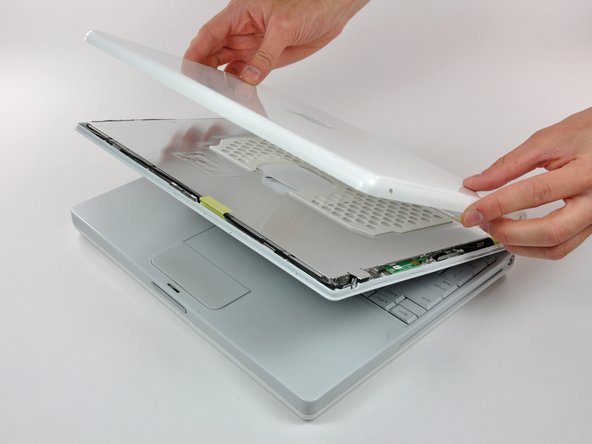
    7. iBook G3 12" Rear Display Bezel Replacement: step 7, image 1 of 1
      • Lift the rear bezel off the display assembly.

      Add Comment

Conclusion

To reassemble your device, follow these instructions in reverse order.

Cancel: I did not complete this guide.

System

Member since: 09/24/09

2,562 Guides authored

0 Guide Comments

Add Comment

View Statistics:

Past 24 Hours: 0

Past 7 Days: 0

Past 30 Days: 0

All Time: 21