
iMac G3 Model M4984 Hard Drive Replacement

What you need

  1. iMac G3 Model M4984 Hard Drive Replacement, iMac G3 Model M4984 Hard Drive Replacement: step 1, image 1 of 1
    • The iMac G3. This was a great computer for the time, and had plenty of features.

    Add Comment

  2. iMac G3 Model M4984 Hard Drive Replacement: step 2, image 1 of 1
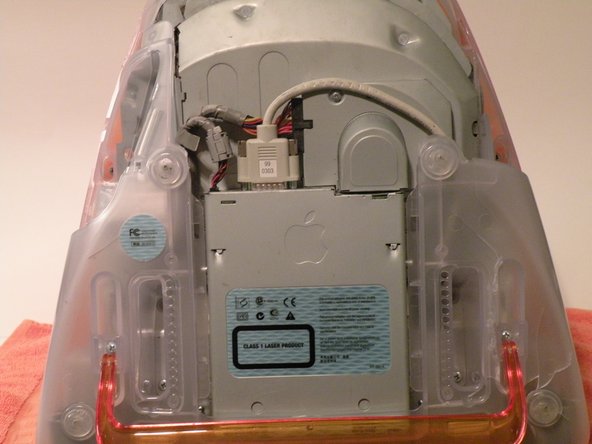
    • Start by flipping the iMac upside-down. It may help to lay it on a towel, so you don't damage the screen, or scratch the face.

    Add Comment

  3. iMac G3 Model M4984 Hard Drive Replacement: step 3, image 1 of 3 iMac G3 Model M4984 Hard Drive Replacement: step 3, image 2 of 3 iMac G3 Model M4984 Hard Drive Replacement: step 3, image 3 of 3
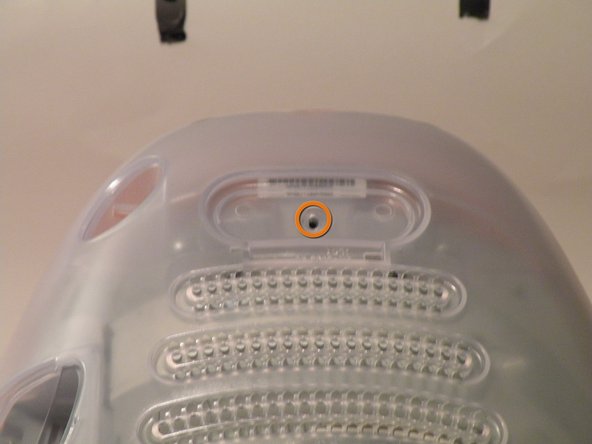
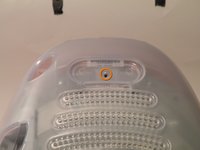
    • Remove this Phillips screw.

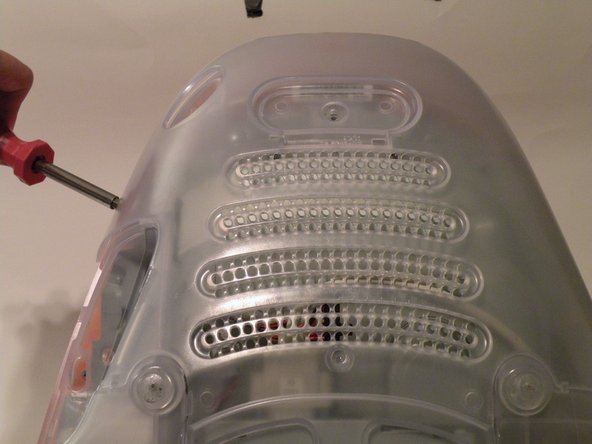
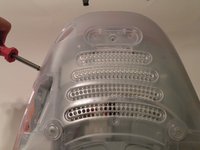
    • Using a flathead screwdriver, work your way around the bottom cover, until it comes off.

    • Then, lift the bottom cover up and out, and set it aside.

    Add Comment

  4. iMac G3 Model M4984 Hard Drive Replacement: step 4, image 1 of 3 iMac G3 Model M4984 Hard Drive Replacement: step 4, image 2 of 3 iMac G3 Model M4984 Hard Drive Replacement: step 4, image 3 of 3
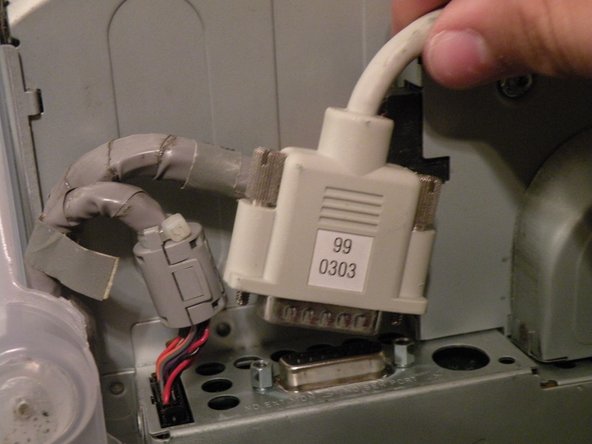
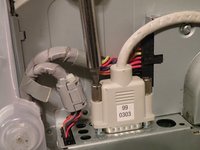
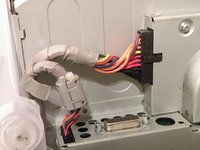
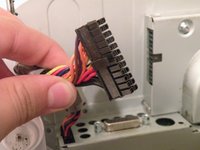
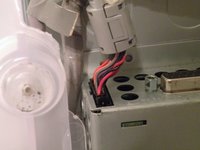
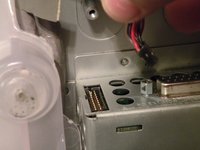
    • Now, remove the DB-15 Video connector from the logic board.

    • It may be helpful to use a Phillips screwdriver to remove the thumbscrews.

    Add Comment

  5. iMac G3 Model M4984 Hard Drive Replacement: step 5, image 1 of 3 iMac G3 Model M4984 Hard Drive Replacement: step 5, image 2 of 3 iMac G3 Model M4984 Hard Drive Replacement: step 5, image 3 of 3
    • Remove the power cable from the logic board assembly.

    Add Comment

  6. iMac G3 Model M4984 Hard Drive Replacement: step 6, image 1 of 2 iMac G3 Model M4984 Hard Drive Replacement: step 6, image 2 of 2
    • Remove the front panel connector.

    Add Comment

  7. iMac G3 Model M4984 Hard Drive Replacement: step 7, image 1 of 3 iMac G3 Model M4984 Hard Drive Replacement: step 7, image 2 of 3 iMac G3 Model M4984 Hard Drive Replacement: step 7, image 3 of 3
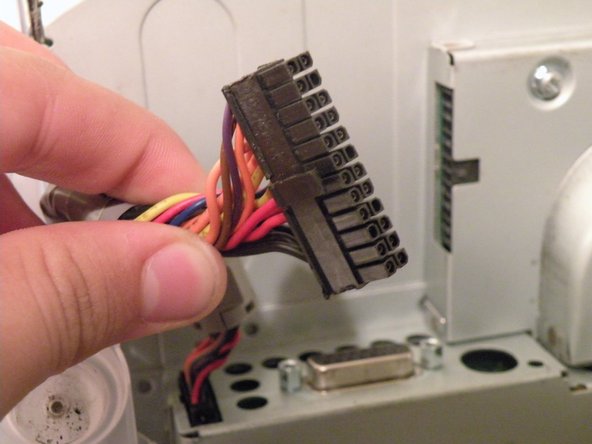
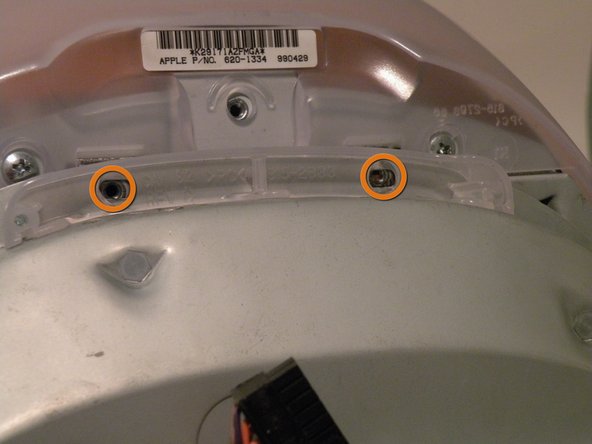
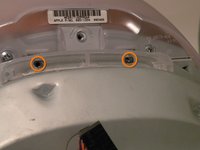
    • Now, remove these Phillips screws.

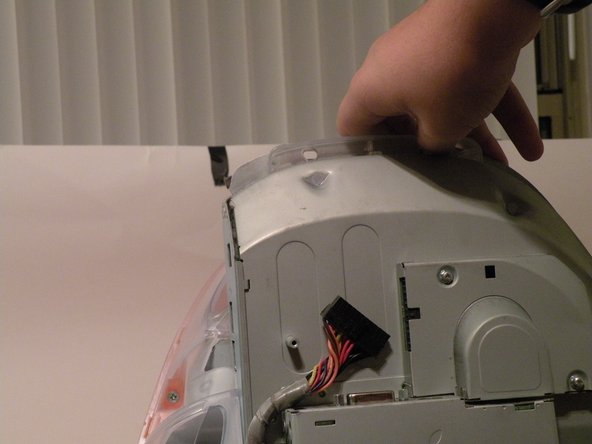
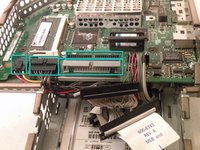
    • Now, grab the logic board assembly by the piece of plastic, and lift it out.

    Add Comment

  8. iMac G3 Model M4984 Hard Drive Replacement: step 8, image 1 of 1
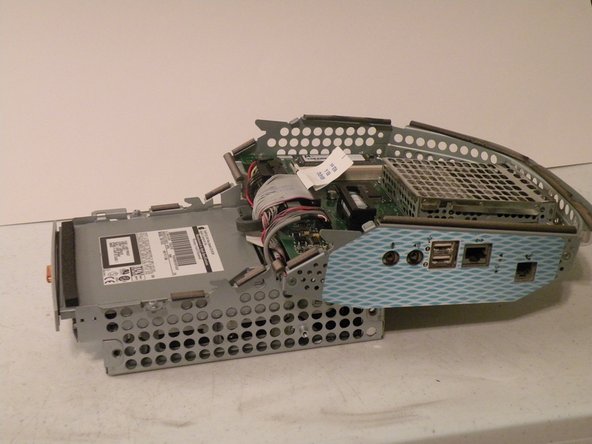
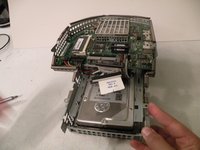
    • The logic board assembly. This is the heart of the computer, it contains the motherboard, CPU, RAM, V-RAM, PRAM battery, the hard drive, and the optical drive.

    Add Comment

  9. iMac G3 Model M4984 Hard Drive Replacement: step 9, image 1 of 1
    • Now to remove the optical drive!

    Add Comment

  10. iMac G3 Model M4984 Hard Drive Replacement: step 10, image 1 of 1
    • The optical drive is located near the front of the assembly.

    Add Comment

  11. iMac G3 Model M4984 Hard Drive Replacement: step 11, image 1 of 3 iMac G3 Model M4984 Hard Drive Replacement: step 11, image 2 of 3 iMac G3 Model M4984 Hard Drive Replacement: step 11, image 3 of 3
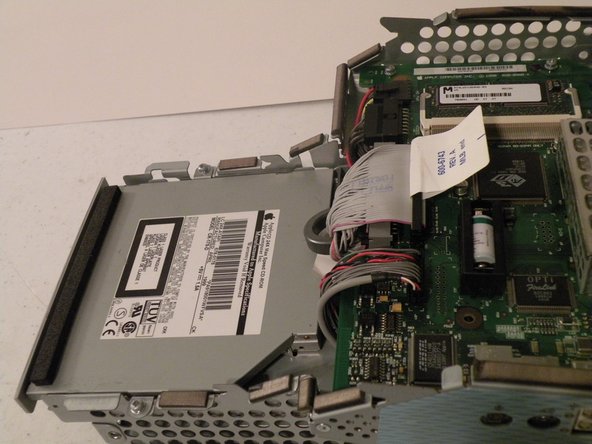
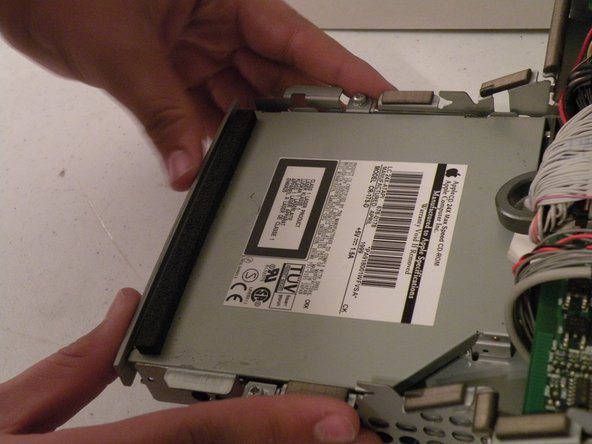
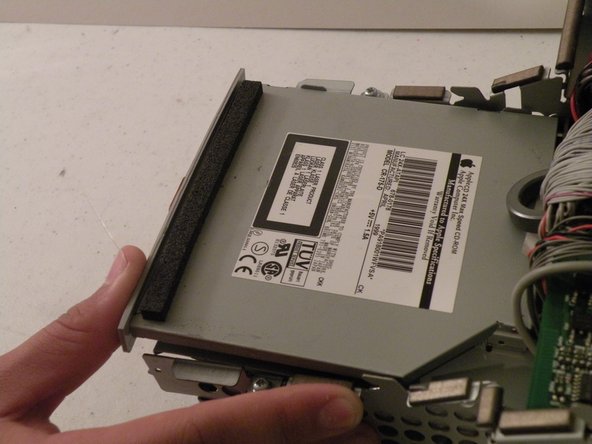
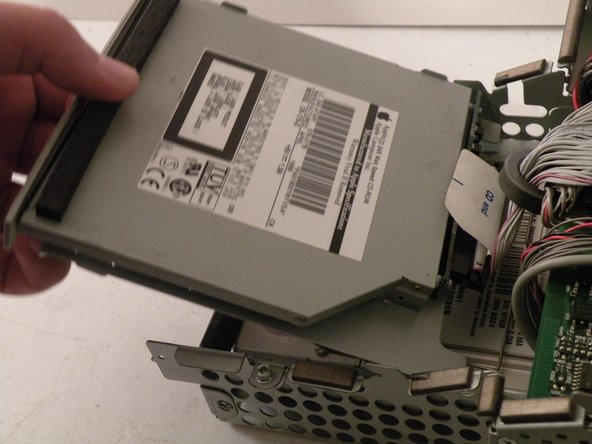
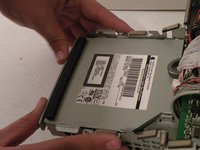
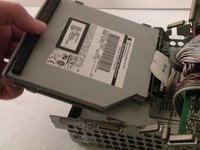
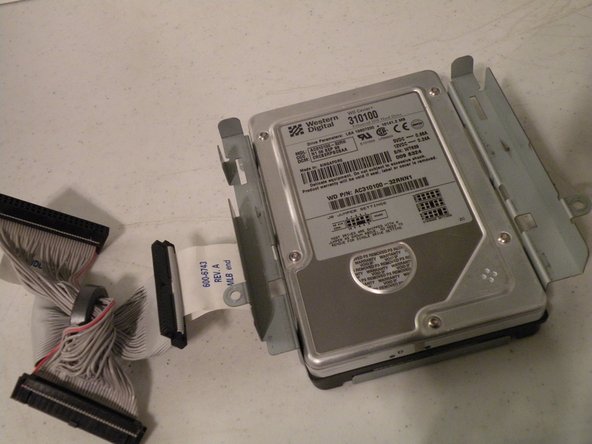
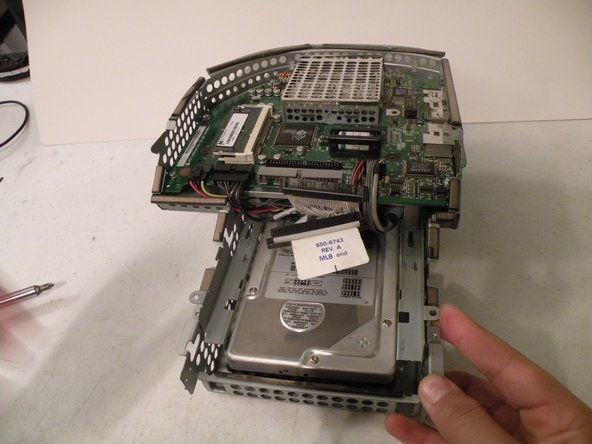
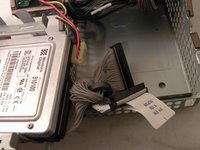
    • To remove the drive, push it in, lift up, and then pull forward.

    • As you pull the drive forward, disconnect the ribbon cable and set it aside.

    Add Comment

  12. iMac G3 Model M4984 Hard Drive Replacement: step 12, image 1 of 3 iMac G3 Model M4984 Hard Drive Replacement: step 12, image 2 of 3 iMac G3 Model M4984 Hard Drive Replacement: step 12, image 3 of 3
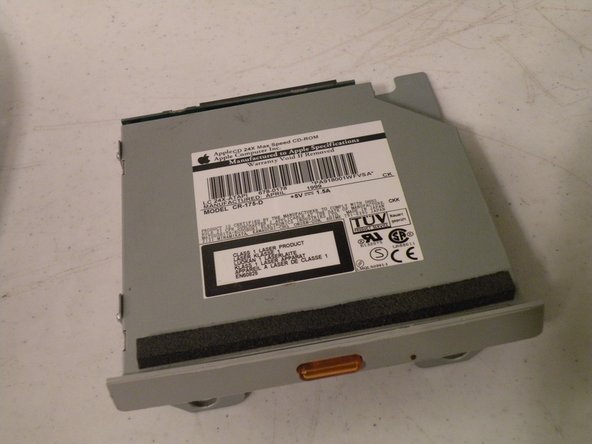
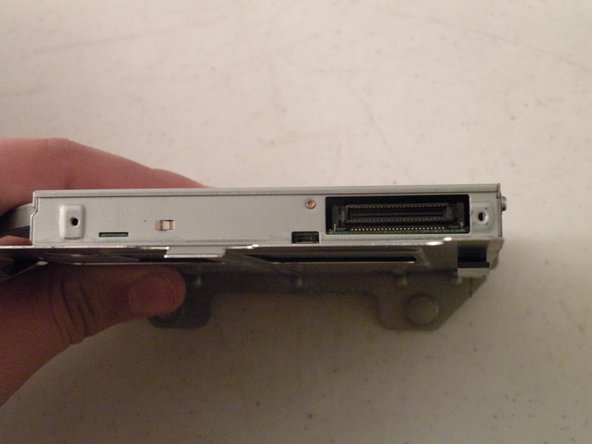
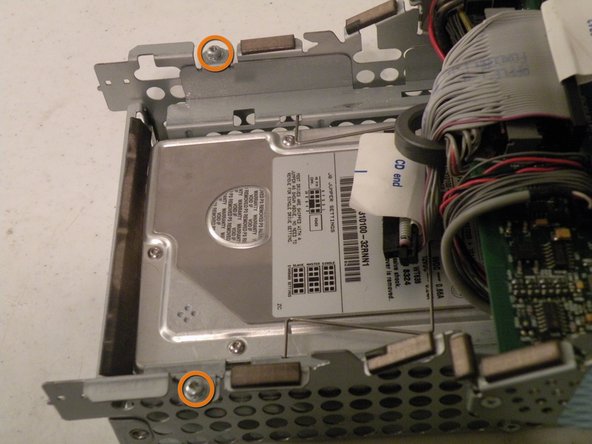
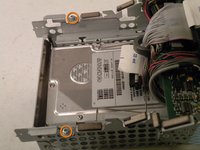
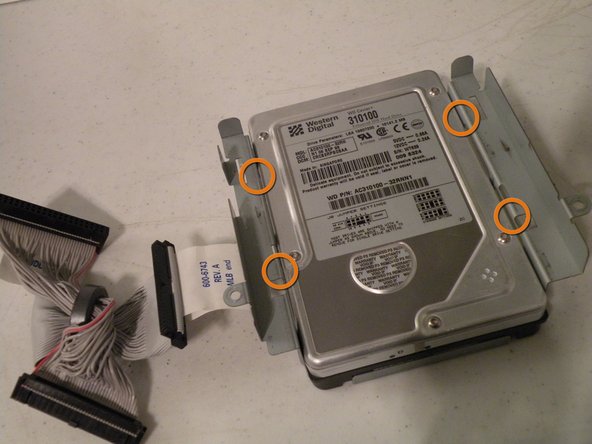
    • Remove the two phillips #00 screws.

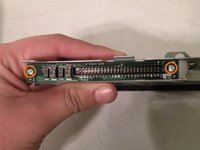
    • Then remove the board. This will reveal that it is a standard PATA drive.

    • Congrats, the drive is free! You can use any PATA-tray loading drive in the iMac G3 which means you can install a CDRW to burn CDs in OS9 or X(if using OSX,install that DVD writer) but, of course only original drives will match the great look of the iMac).

    Add Comment

  13. iMac G3 Model M4984 Hard Drive Replacement: step 13, image 1 of 1
    • Hard Drive Removal:

    Add Comment

  14. iMac G3 Model M4984 Hard Drive Replacement: step 14, image 1 of 2 iMac G3 Model M4984 Hard Drive Replacement: step 14, image 2 of 2
    • Start by removing these Phillips screws:

    • Now, remove all of these cables:

    Add Comment

  15. iMac G3 Model M4984 Hard Drive Replacement: step 15, image 1 of 2 iMac G3 Model M4984 Hard Drive Replacement: step 15, image 2 of 2
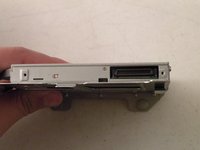
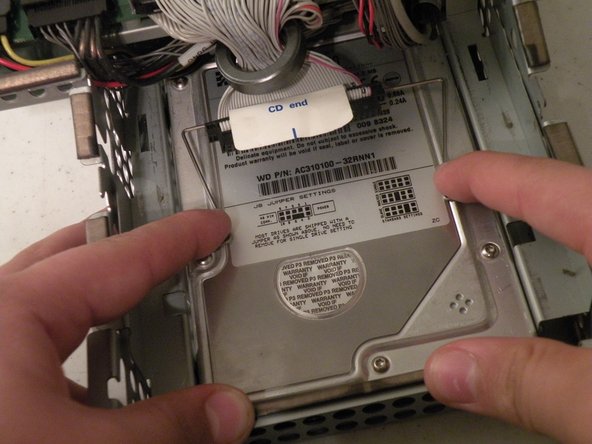
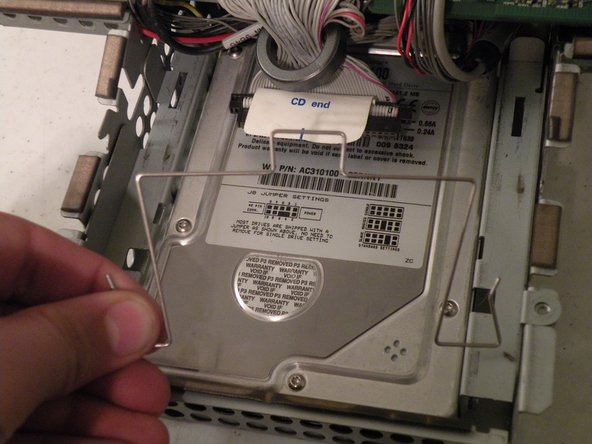
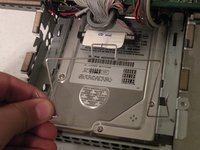
    • Now, remove the optical drive retention spring.

    • Push in on both sides, and pull towards you releasing the retention spring.

    • It may help to do it one side at a time.

    Add Comment

  16. iMac G3 Model M4984 Hard Drive Replacement: step 16, image 1 of 3 iMac G3 Model M4984 Hard Drive Replacement: step 16, image 2 of 3 iMac G3 Model M4984 Hard Drive Replacement: step 16, image 3 of 3
    • Now lift the drive up, and pull it out.

    • Make sure that no cables are snagged before completed pulling out the drive!

    Add Comment

  17. iMac G3 Model M4984 Hard Drive Replacement: step 17, image 1 of 1
    • When installing a new drive, make sure that the drive jumper block is set to "Single drive". In most drives, this means removing the jumper, or positioning the jumper horizontally instead of vertically, so you don't lose it.

    • To remove the drive from the metal caddy, remove these four screws from the side of the drive.

    Add Comment

Conclusion

To reassemble your device, follow these instructions in reverse order.

Cancel: I did not complete this guide.

System

Member since: 09/24/09

2,562 Guides authored

0 Guide Comments

Add Comment

View Statistics:

Past 24 Hours: 0

Past 7 Days: 0

Past 30 Days: 1

All Time: 23