/

iMac G4 17 800 MHz EMC 1936 Drive Carrier Assembly Replacement

What you need

  1. iMac G4 17 800 MHz EMC 1936 Drive Carrier Assembly Replacement, iMac G4 17 800 MHz EMC 1936 Drive Carrier Assembly Replacement: step 1, image 1 of 1
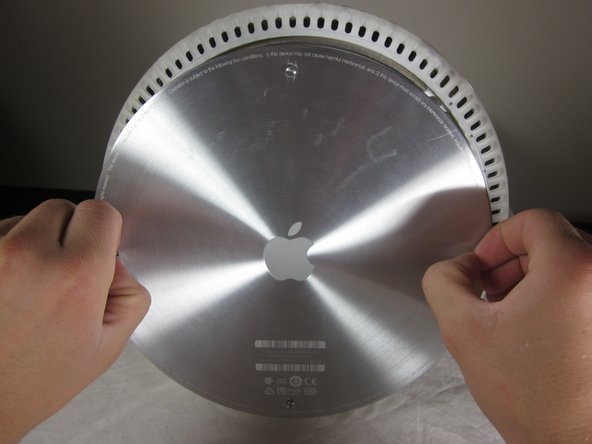
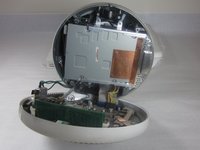
    • Unplug all the cables from the computer, including the power cable. Lay the computer face-down, supporting the neck and base with a soft cloth under the screen.

  2. iMac G4 17 800 MHz EMC 1936 Drive Carrier Assembly Replacement: step 2, image 1 of 1
    • Loosen the four Phillips #0 screws.

  3. iMac G4 17 800 MHz EMC 1936 Drive Carrier Assembly Replacement: step 3, image 1 of 1
    • Carefully remove the base access panel.

  4. iMac G4 17 800 MHz EMC 1936 Drive Carrier Assembly Replacement: step 4, image 1 of 2 iMac G4 17 800 MHz EMC 1936 Drive Carrier Assembly Replacement: step 4, image 2 of 2
    • Remove the four 25mm T-15 screws.

  5. iMac G4 17 800 MHz EMC 1936 Drive Carrier Assembly Replacement: step 5, image 1 of 2 iMac G4 17 800 MHz EMC 1936 Drive Carrier Assembly Replacement: step 5, image 2 of 2
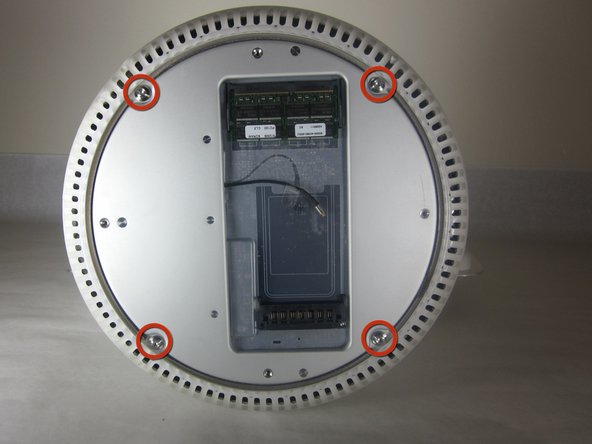
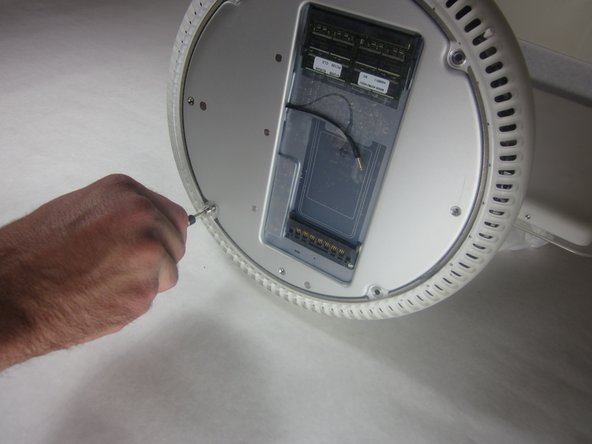
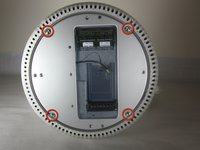
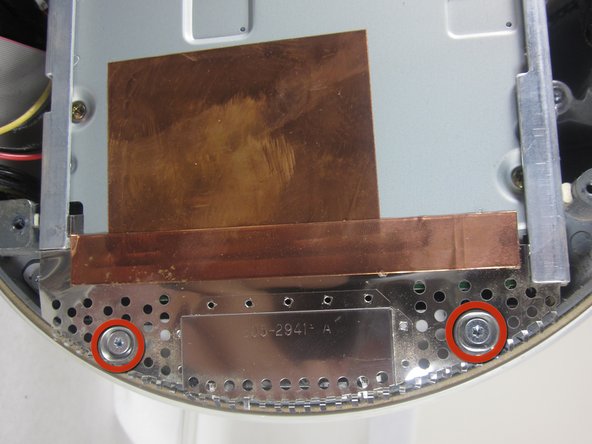
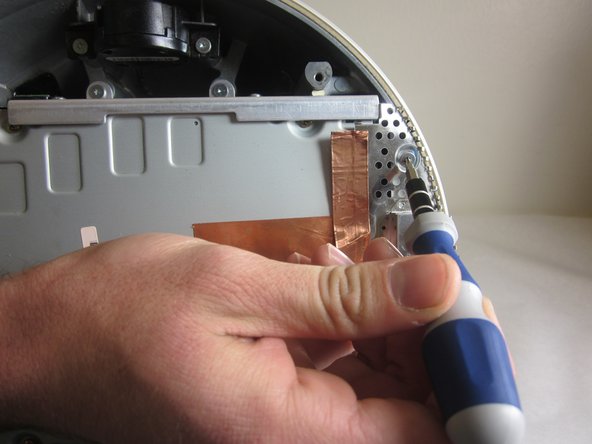
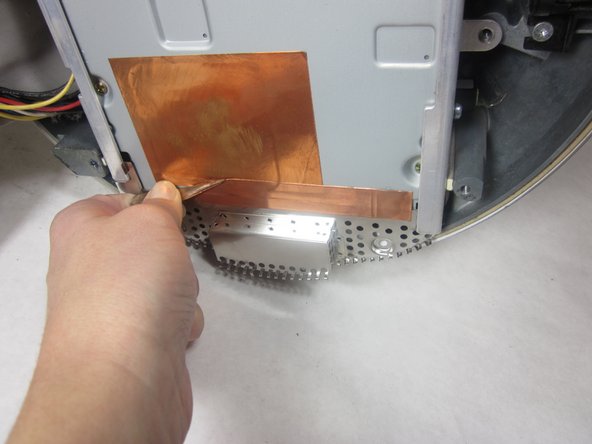
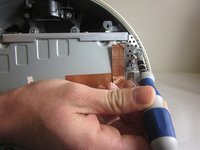
    • Open the housing plate.

    • Be gentle with the wires still connected to the logic board so as not to ruin the cables.

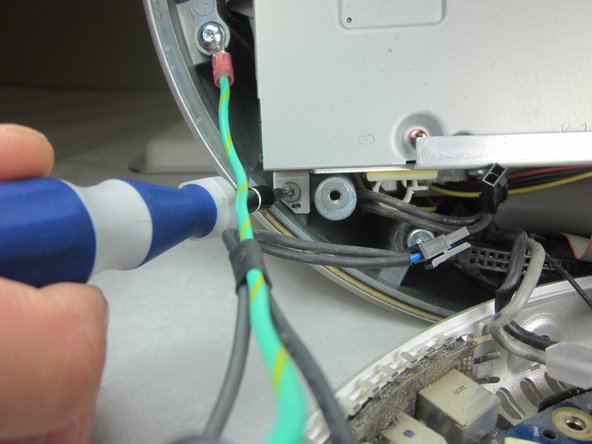
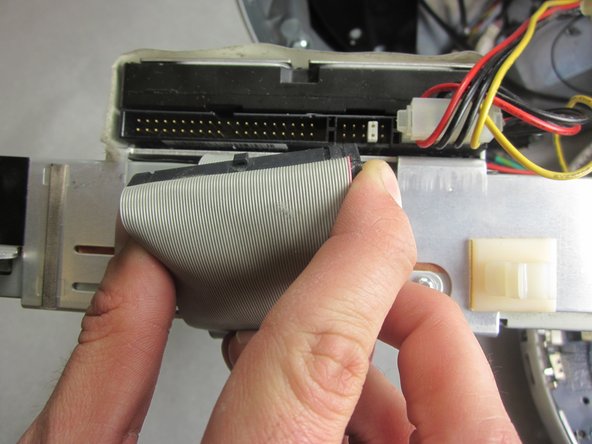
    • A fixed plug connector between the logic board and upper unit will cause some resistance. Pull gently but firmly.

  6. iMac G4 17 800 MHz EMC 1936 Drive Carrier Assembly Replacement: step 6, image 1 of 3 iMac G4 17 800 MHz EMC 1936 Drive Carrier Assembly Replacement: step 6, image 2 of 3 iMac G4 17 800 MHz EMC 1936 Drive Carrier Assembly Replacement: step 6, image 3 of 3
    • Remove the 2 torx 10mm screws on the EMI shield

    • Carefully remove shield and copper tape

  7. iMac G4 17 800 MHz EMC 1936 Drive Carrier Assembly Replacement: step 7, image 1 of 2 iMac G4 17 800 MHz EMC 1936 Drive Carrier Assembly Replacement: step 7, image 2 of 2
    • Remove the 4 10mm torx screws attatched to the drive carrier.

    • The drive carrier includes optical drive and hard drive.

  8. iMac G4 17 800 MHz EMC 1936 Drive Carrier Assembly Replacement: step 8, image 1 of 1
    • Grasp the carrier with both hands on each side.

    • Remove the carrier by lifting up and out.

    • Pull gently but firmly. The carrier is meant to fit snugly.

  9. iMac G4 17 800 MHz EMC 1936 Drive Carrier Assembly Replacement: step 9, image 1 of 1
    • Flip the removed carrier to the right and pull out power cables.

Conclusion

To reassemble your device, follow these instructions in reverse order.

System

Member since: 09/24/09

2,562 Guides authored

0 Comments

Add Comment

View Statistics:

Past 24 Hours: 0

Past 7 Days: 0

Past 30 Days: 0

All Time: 0