
Introduction
Dissembly to replace/repair optical drive.
What you need
-
-
Unplug all the cables from the computer, including the power cable. Lay the computer face-down, supporting the neck and base with a soft cloth under the screen.
-
-
-
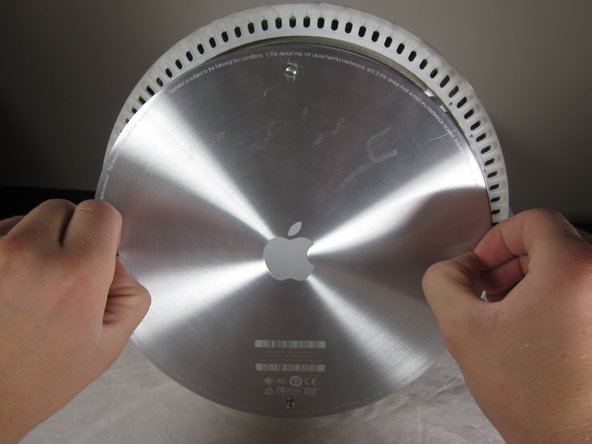
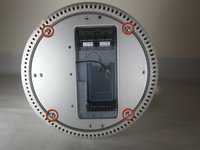
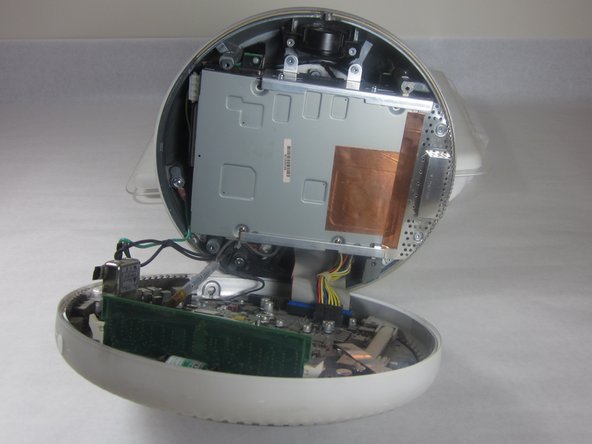
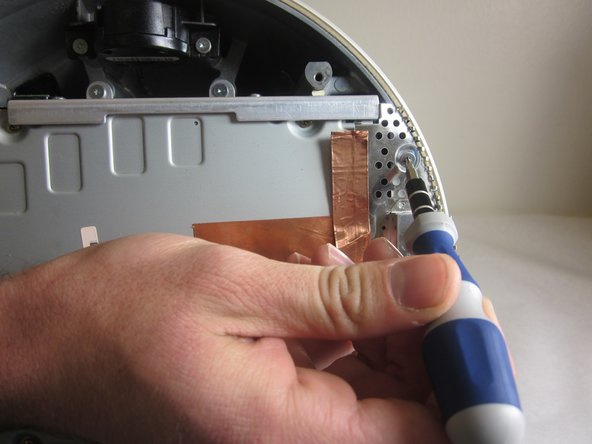
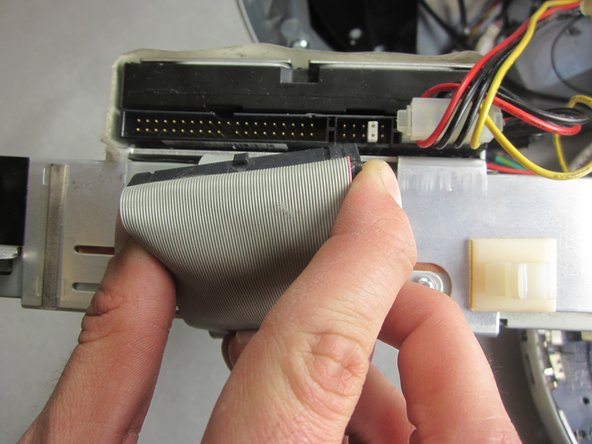
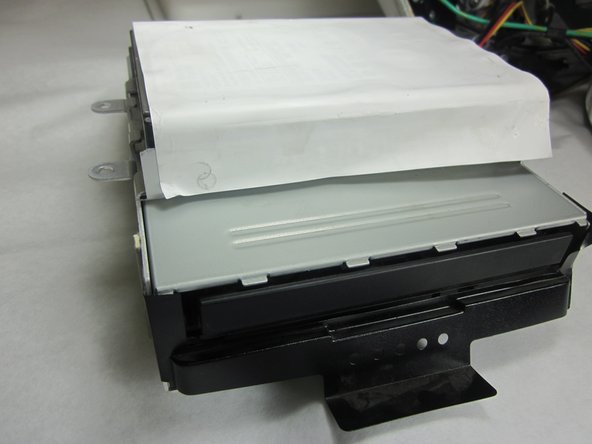
Open the housing plate.
-
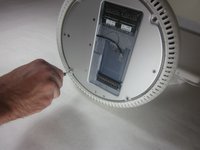
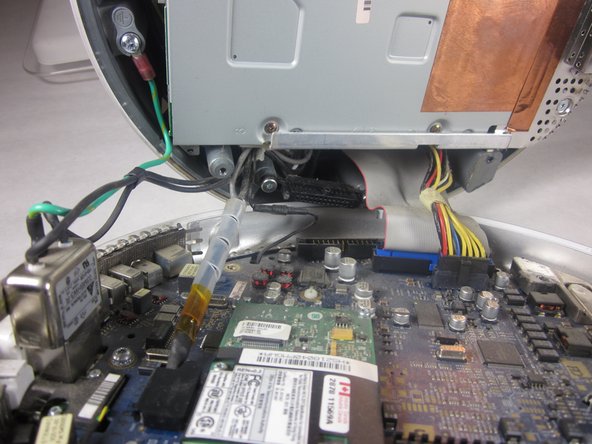
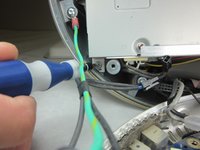
A fixed plug connector between the logic board and upper unit will cause some resistance. Pull gently but firmly.
-
-
-
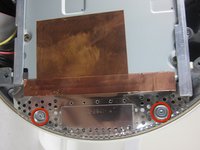
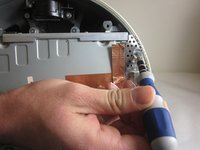
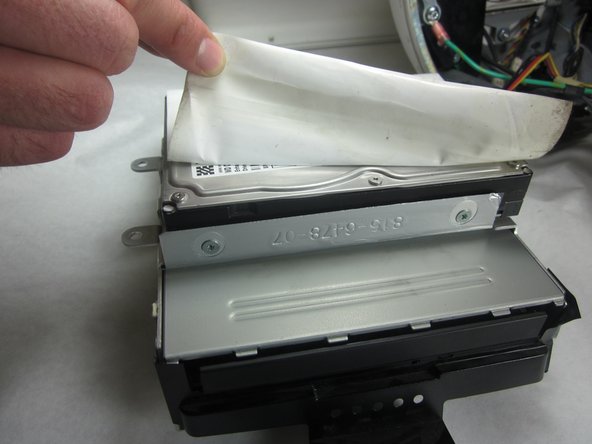
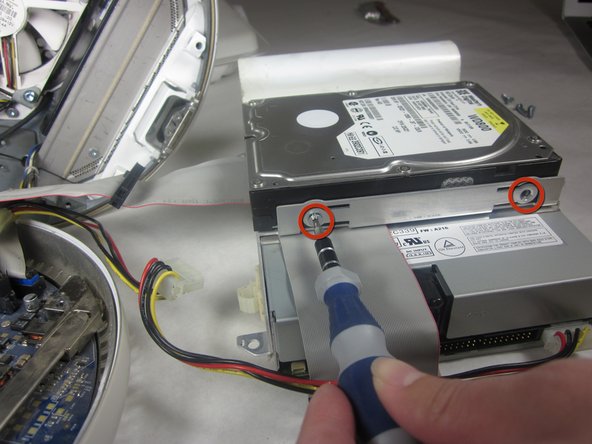
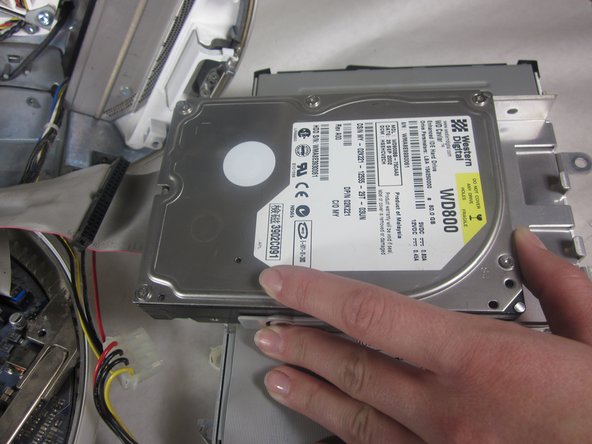
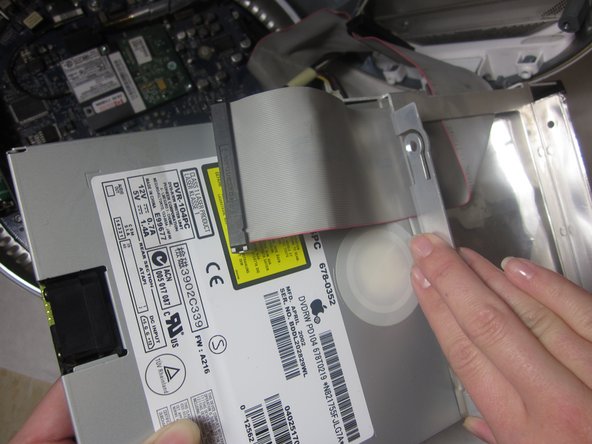
Peel back the white paper, revealing the screws that connect the hard drive to the carrier.
-
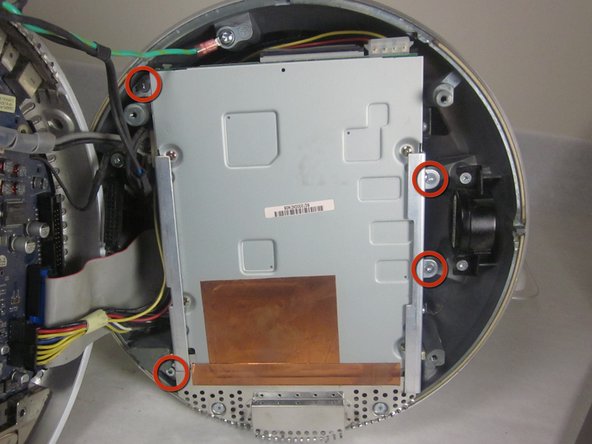
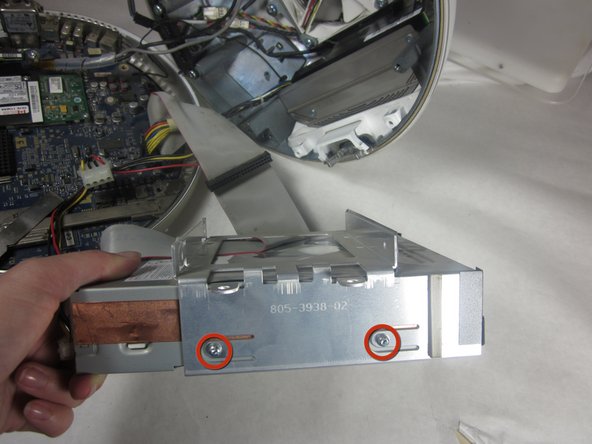
Remove the 4 T-10 5mm screws connecting the hard drive and frame. (There are 2 screws on each side)
-


Conclusion
To reassemble your device, follow these instructions in reverse order.
