
iPhone 3G Display Assembly Replacement

Last updated on Sep 17, 2016
Views: 22
View statistics:
- Past 24 Hours:
- 0
- Past 7 Days:
- 2
- Past 30 Days:
- 2
- All Time:
- 22
Comments: 0
No one has left comments on this guide. Will you be first?
Go to guide commentsCompleted: 0 1
No one has marked this guide "completed." Will you be the first?
1 person has marked this guide "completed." It's you — great job!
Favorites: 0 1
No one has favorited (and subscribed to) this guide. Will you be the first?
1 person has favorited (and subscribed to) this guide — and that's you!
Introduction
Go to step 1 ↓Cracked both the LCD and Front Panel? This guide shows that replacing the display assembly can be done with ease.
Video Overview
-
-
-
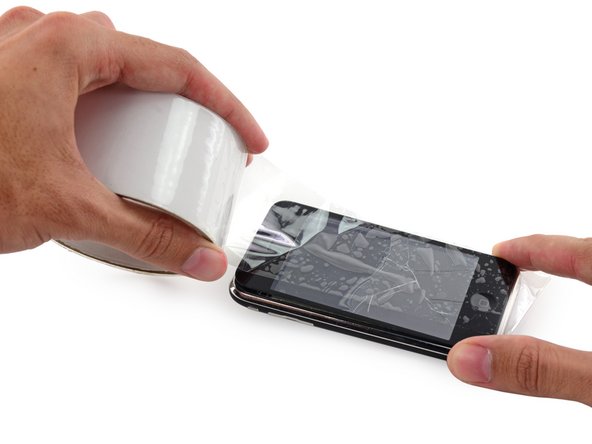
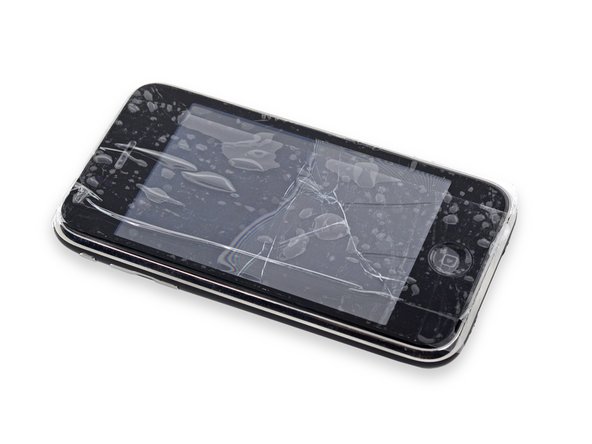
If your display glass is cracked, keep further breakage contained and prevent bodily harm during your repair by taping the glass.
-
Lay overlapping strips of clear packing tape over the iPhone's display until the whole face is covered.
-
-
-
Remove the two Phillips #00 screws from the dock-connector end of the iPhone.
-
-
-
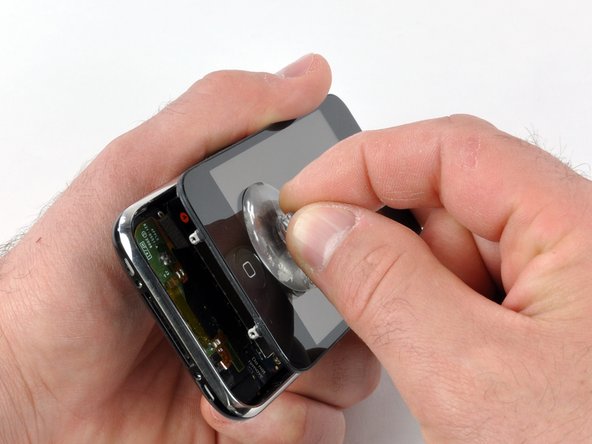
Remove the metal handle from the suction cup. It's easier and safer to grip the suction cup's base instead of the metal handle.
-
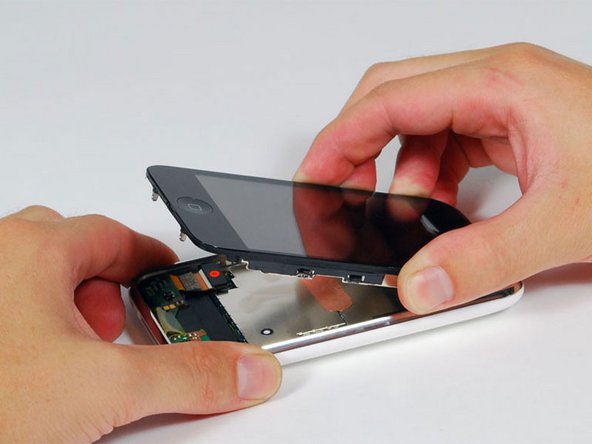
Use a small suction cup near the Home button to gently pull up the bottom portion of the iPhone's display assembly.
-
-
-
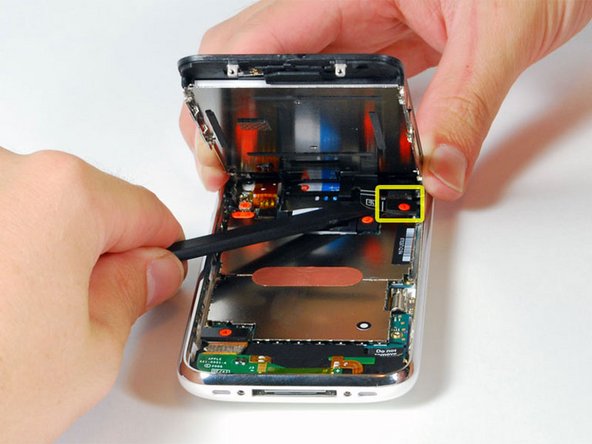
Continue to hold the display assembly with one hand, and use your other hand and a spudger to disconnect the black ribbon cable labeled "1."
-
-
-
Rotate the display assembly up until it is roughly vertical. This will allow easier access for disconnecting the remaining cables.
-
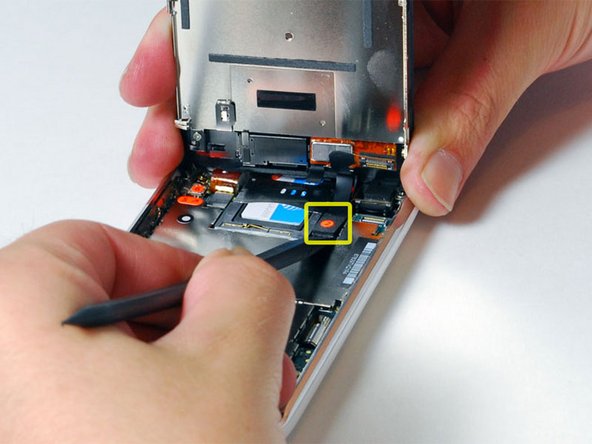
Use a spudger to disconnect the black ribbon cable labeled "2."
-
-
-
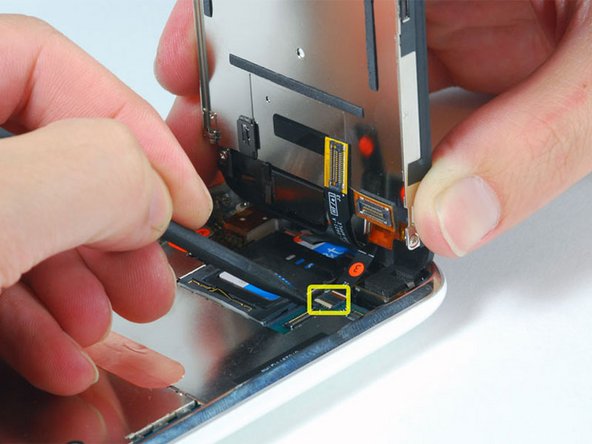
Use a spudger to flip up the black plastic tab holding the remaining ribbon cable in place. The black will rotate up 90 degrees, releasing the ribbon cable.
-
Slide the ribbon cable out of its connector, and remove the display assembly from the iPhone.
-
-



To reassemble your device, follow these instructions in reverse order.

