
Introduction
Use this guide to replace a blown speaker enclosure closest to the bottom edge of the iPhone 4S.
What you need
-
-
Remove the two 3.6 mm Pentalobe P2 screws next to the dock connector.
-
-
-
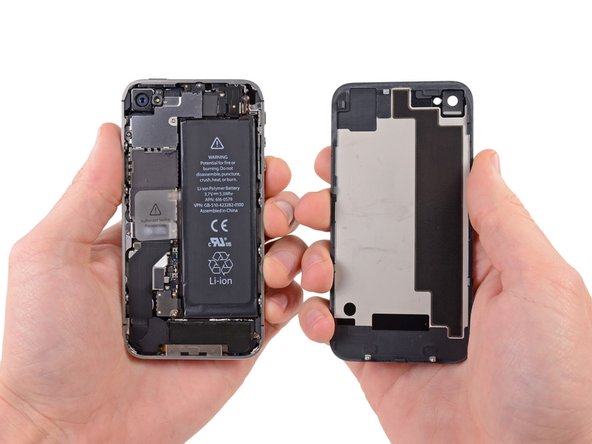
Pull the rear panel away from the back of the iPhone, being careful not to damage the plastic clips attached to the rear panel.
-
Remove the rear panel from the iPhone.
-
-
-
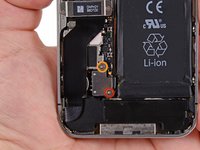
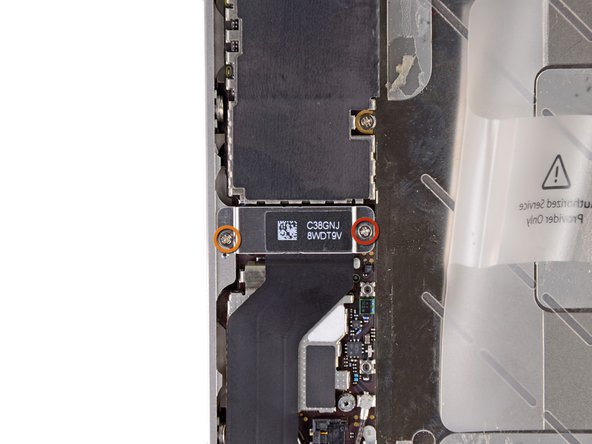
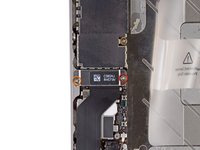
Remove the following screws securing the battery connector to the logic board:
-
One 1.7 mm Phillips screw
-
One 1.5 mm Phillips screw.
-
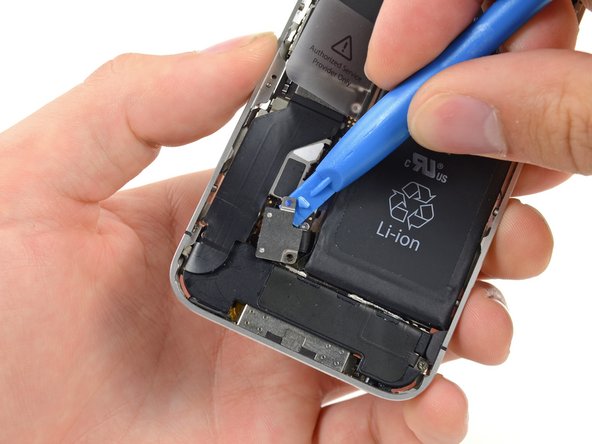
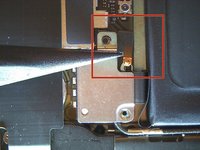
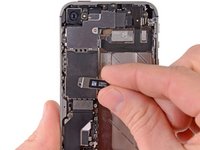
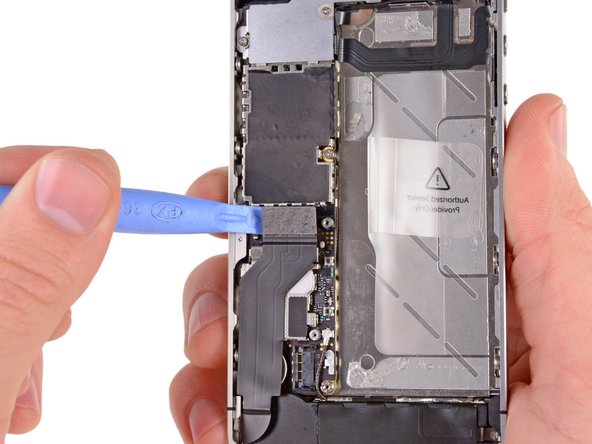
Use a plastic opening tool to gently detach the battery connector from the socket on the device. Start lifting off the connector from the bottom side, by placing the tip of the tool between the loudspeaker enclosure and the metal cover of the connector.
-
-
-
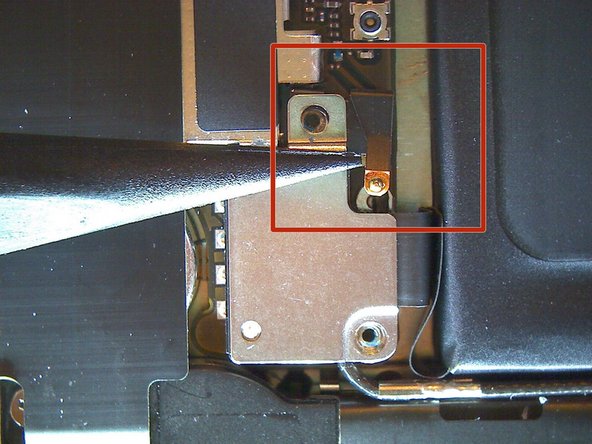
Use a plastic opening tool to pull the pressure contact from underneath the battery connector.
-
Be careful not to rip off the battery connector socket soldered on the logic board. There are 4 very small soldering points awaiting this mistake!
-
-
-
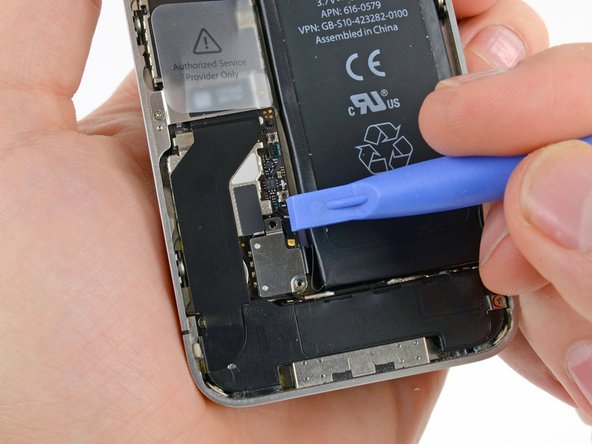
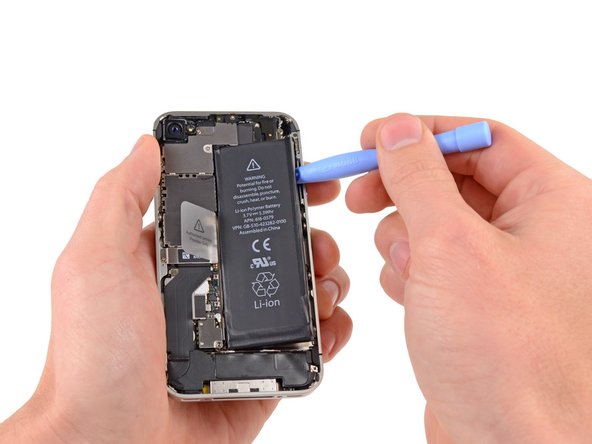
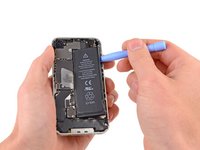
Insert the edge of a plastic opening tool between the battery and the outer case near the bottom of the iPhone.
-
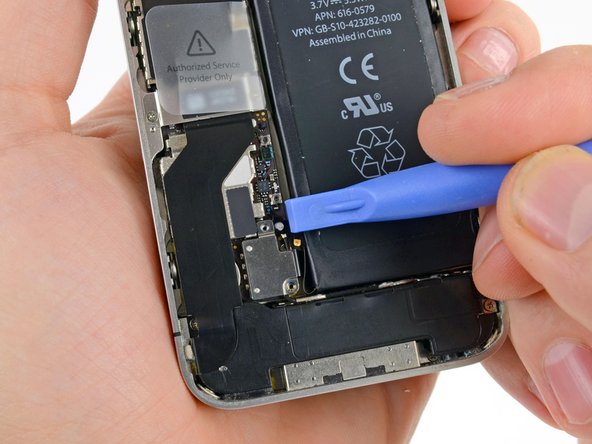
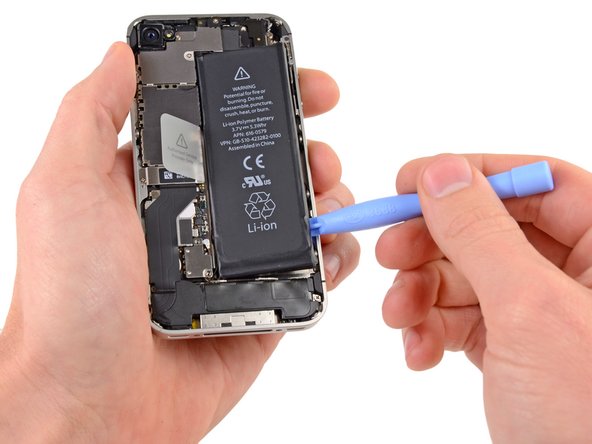
Run the plastic opening tool along the right edge of the battery and pry up at several points to completely separate it from the adhesive securing it to the outer case.
-
-
-
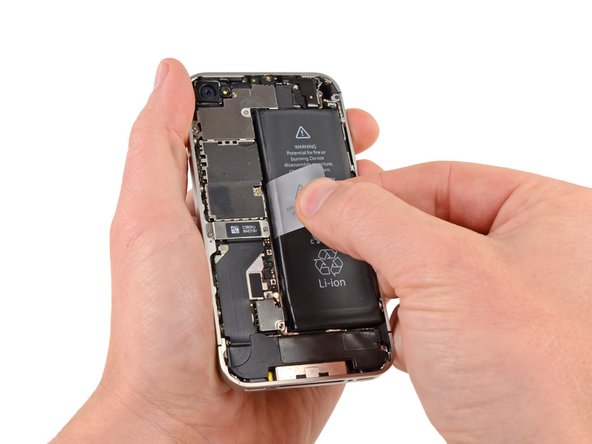
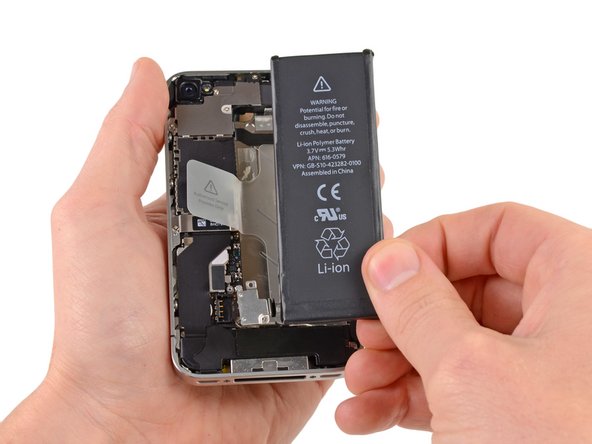
Use the exposed clear plastic pull tab to peel the battery off the adhesive securing it to the iPhone.
-
Remove the battery.
-
-
-
Remove the following screws securing the dock connector cable cover to the logic board:
-
One 1.5 mm Phillips screw
-
One 1.2 mm Phillips screw
-
Remove the metal dock connector cable cover.
-
-
-
Use the edge of a plastic opening tool to pry the dock cable up from its socket on the logic board.
-
-
-
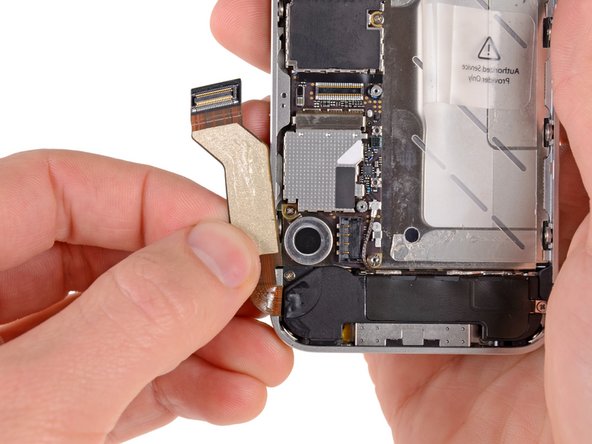
Peel the dock connector cable off the adhesive securing it to the logic board and the side of the speaker enclosure.
-
-
-
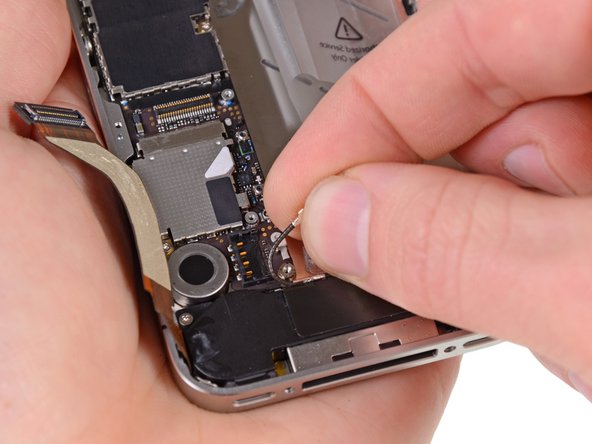
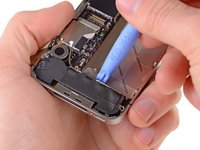
Use the edge of a plastic opening tool to pry the cellular antenna cable up from its socket on the logic board.
-
De-route the cellular antenna cable out from under the metal fingers attached to the logic board.
-
-
-
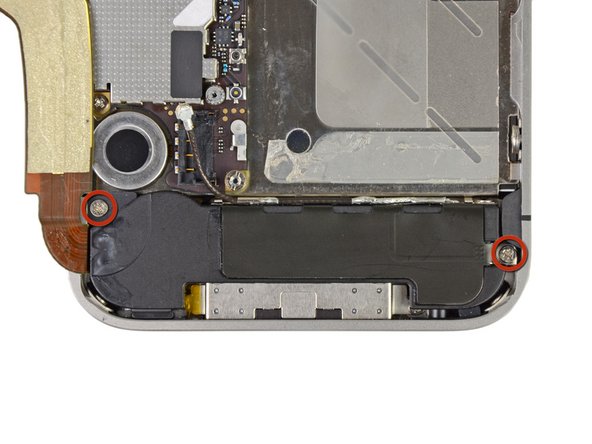
Remove the two 2.4 mm Phillips screws securing the speaker enclosure assembly to the outer case.
-
-
-
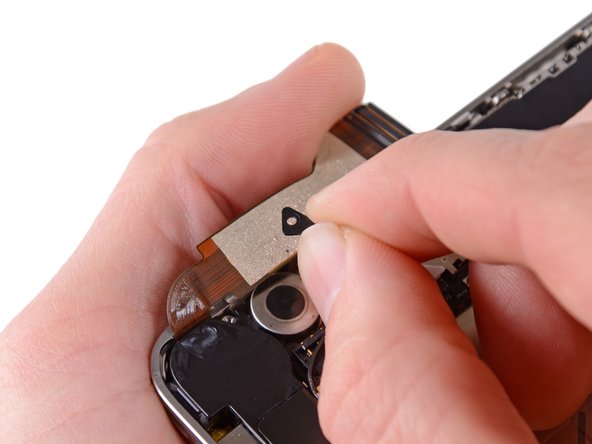
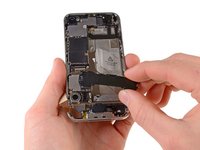
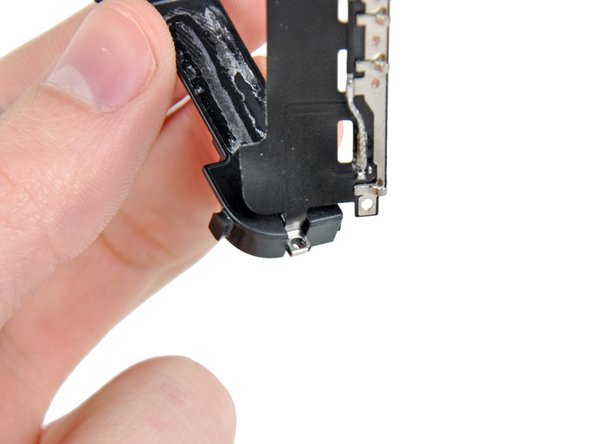
Use a plastic opening tool to lift the speaker enclosure assembly out of the case, being sure not to damage the EMI fingers on the attached Wi-Fi antenna.
-
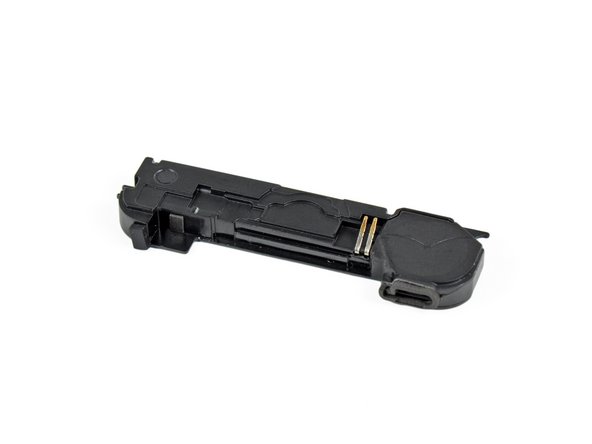
Remove the speaker enclosure assembly.
-
-
-
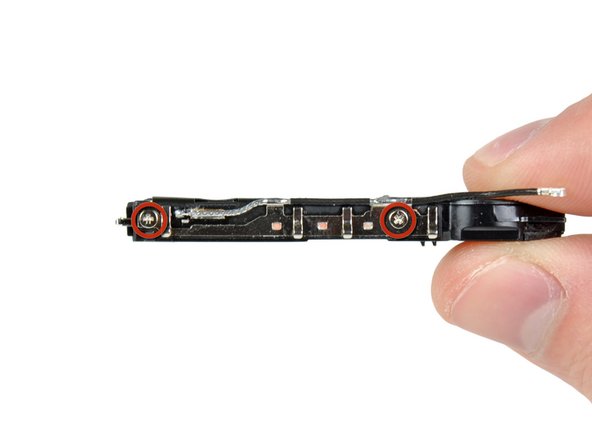
Remove the two 1.6 mm Phillips screws securing the cellular antenna to the speaker enclosure.
-
-
-
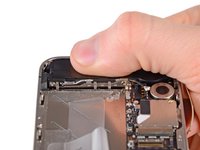
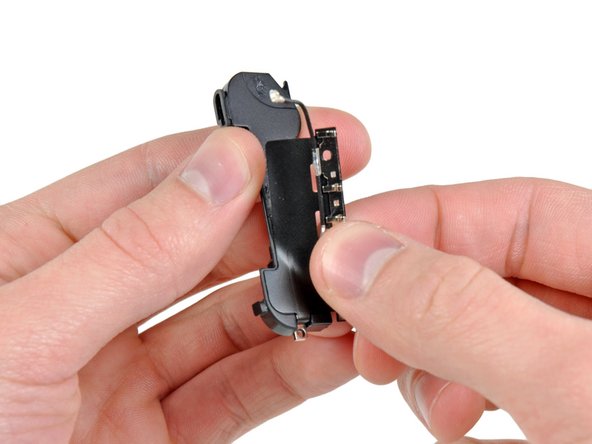
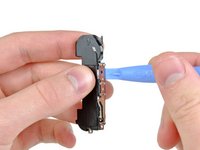
Starting near the cellular antenna cable, use the edge of a plastic opening tool to peel the antenna off the speaker enclosure.
-
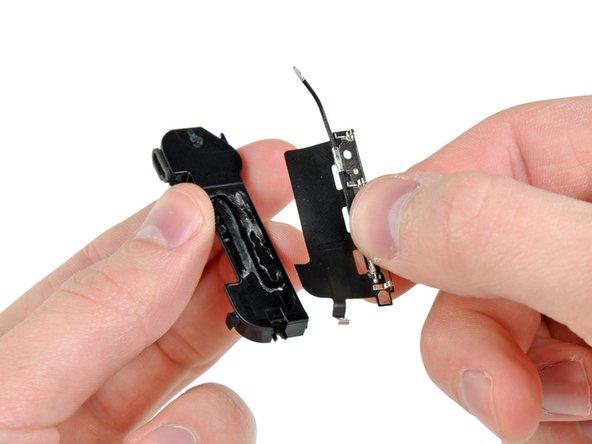
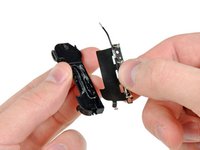
Continue peeling the cellular antenna off the speaker enclosure, being careful not to rip the gold bracket attached to one of its edges.
-
Remove the cellular antenna.
-


To reassemble your device, follow these instructions in reverse order.
