Introduction
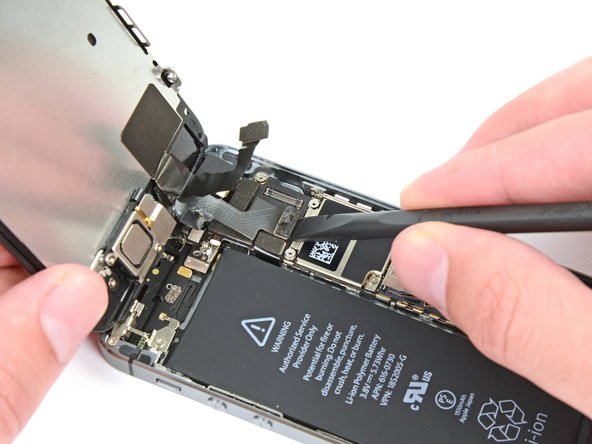
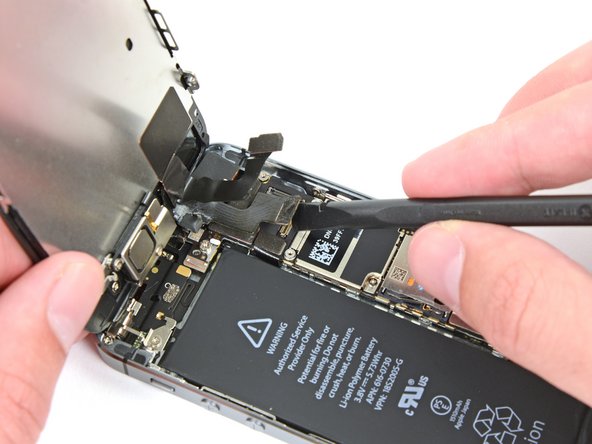
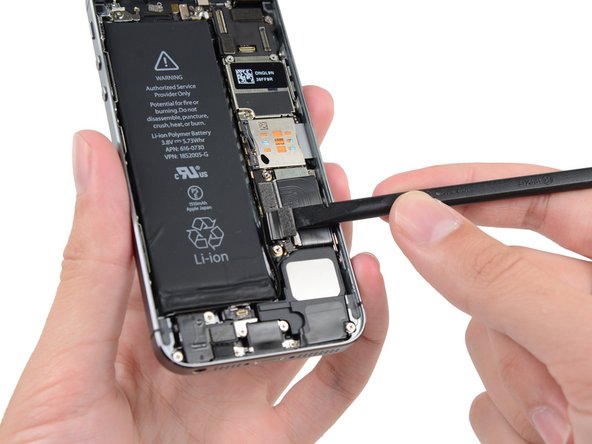
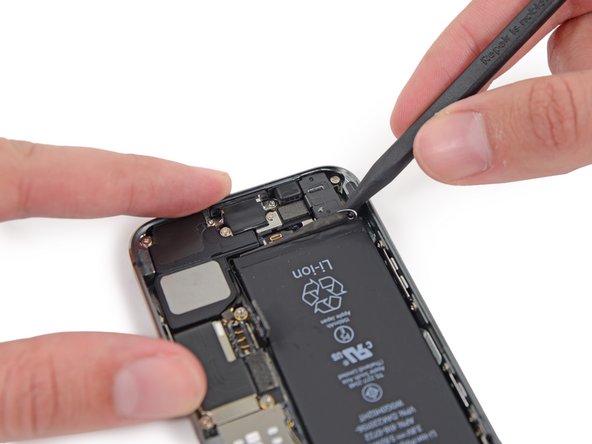
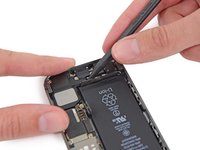
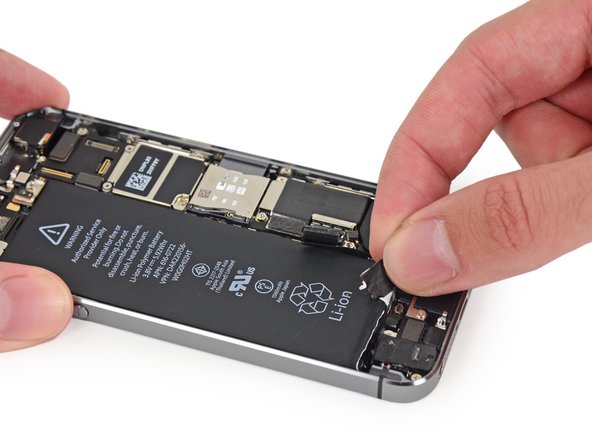
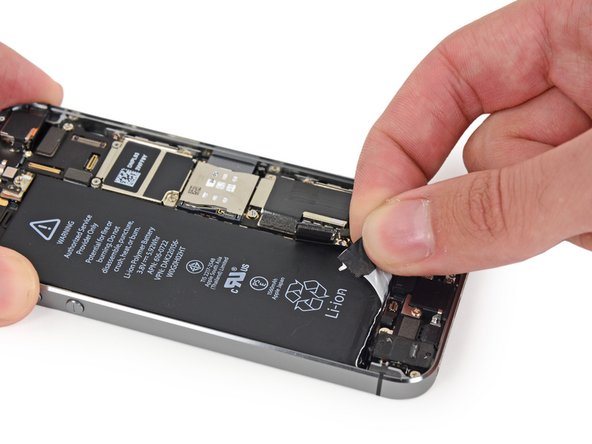
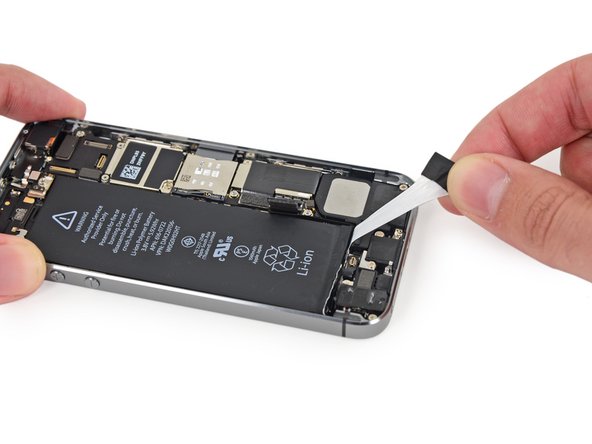
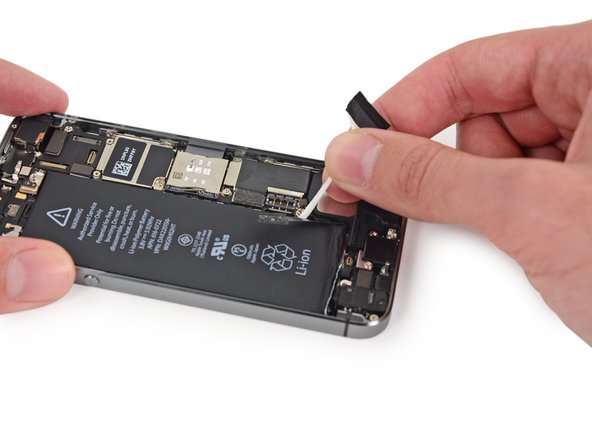
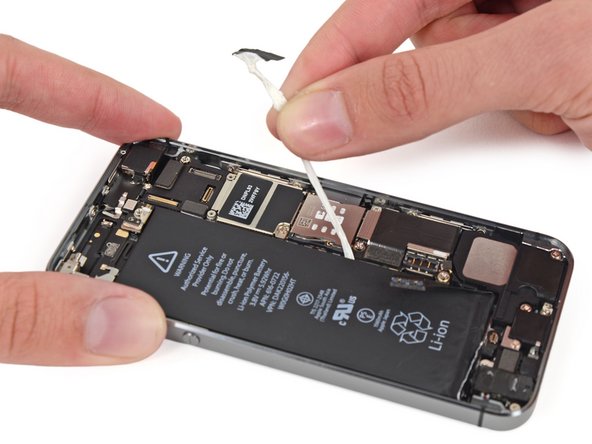
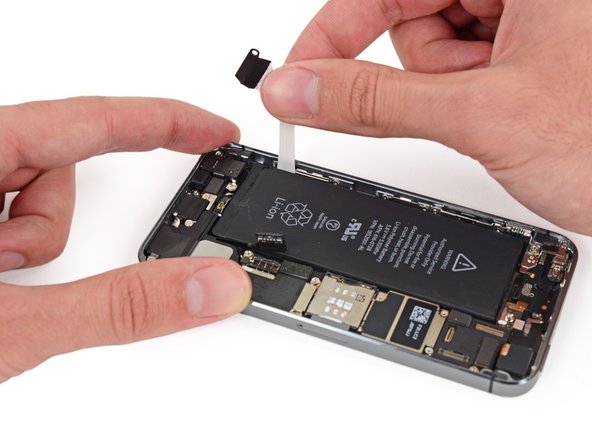
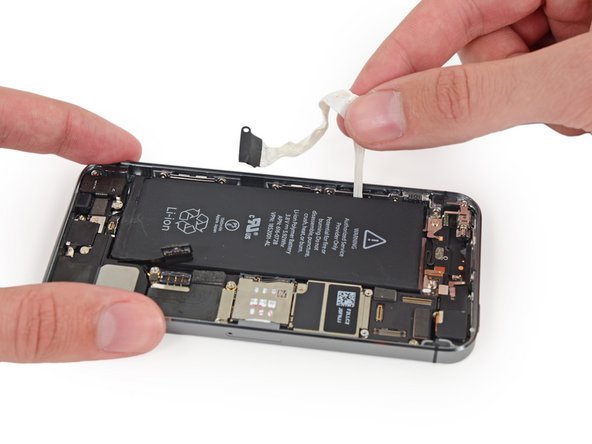
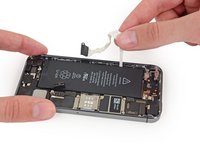
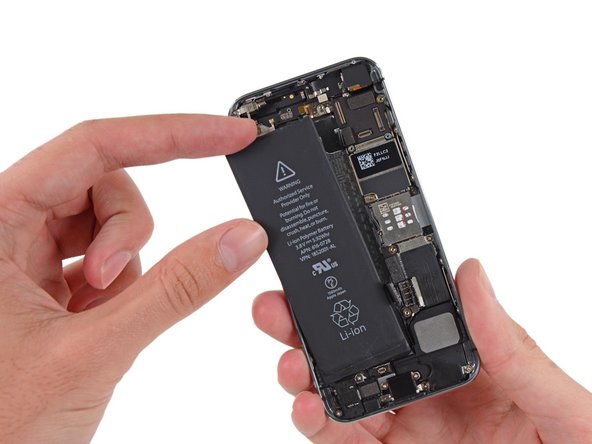
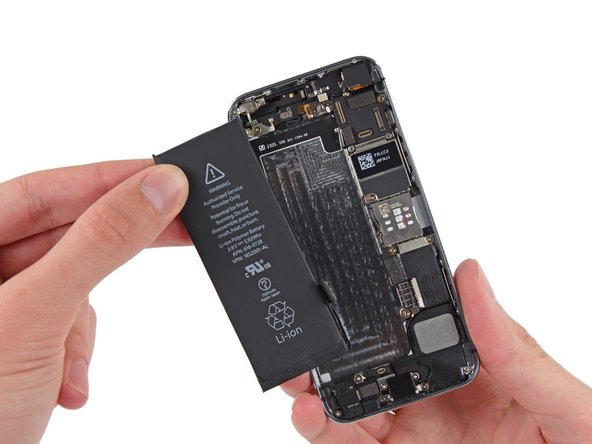
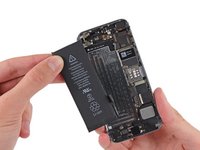
Use this guide to bring life back to your iPhone 5s with a new battery. Removing the battery with the adhesive strips is the safest method, but also leaves your battery without adhesive. When replacing your battery, use a piece of double-sided tape to secure it. The battery is pretty tightly secured in the device, but the tape will keep it from rattling.
What you need
Video Overview
-
-
If your display glass is cracked, keep further breakage contained and prevent bodily harm during your repair by taping the glass.
-
Lay overlapping strips of clear packing tape over the iPhone's display until the whole face is covered.
-
-
-
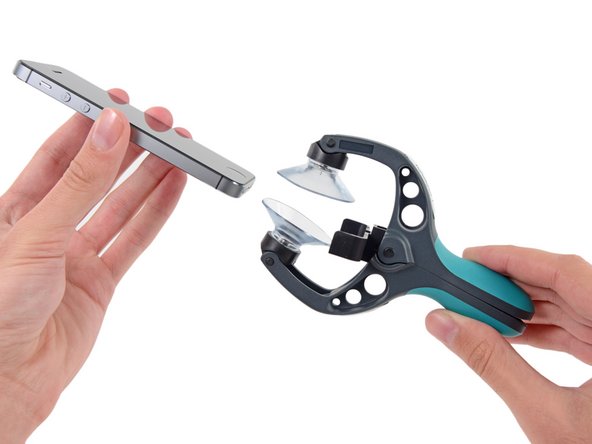
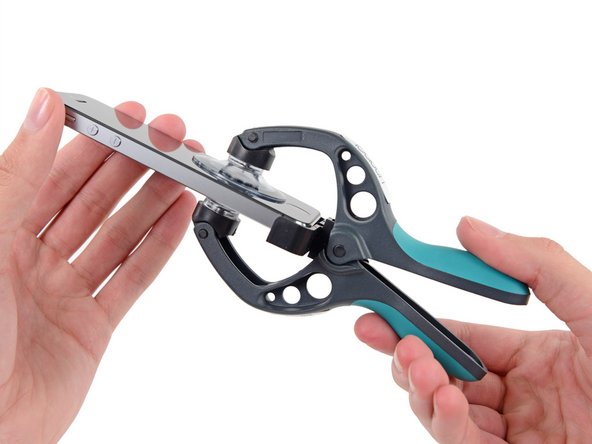
Close the handle on the iSclack, opening the suction-cup jaws.
-
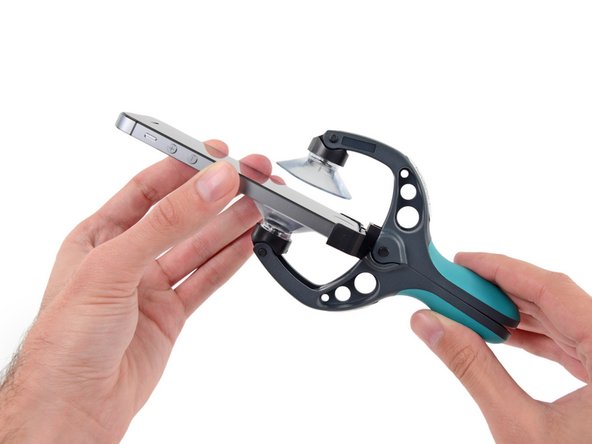
Place the bottom of your iPhone in between the suction cups, against the plastic depth gauge.
-
The top suction cup should rest just above the home button.
-
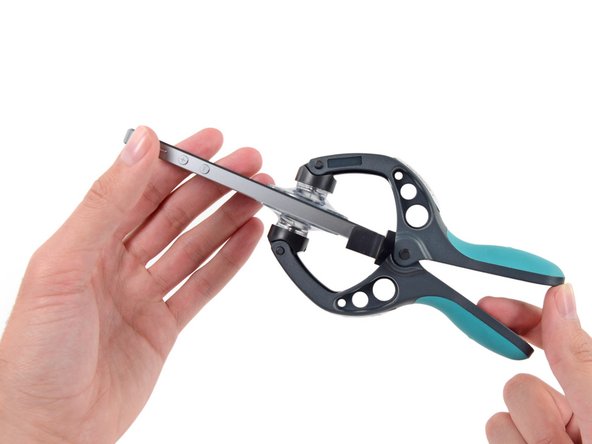
Open the handles to close the jaws of the iSclack. Center the suction cups and press them firmly onto the top and bottom of the iPhone.
-
-
-
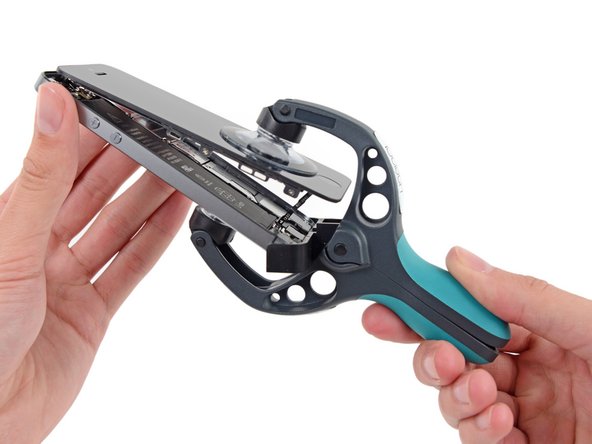
Hold onto your iPhone securely and close the handle of the iSclack to separate the suction cups, pulling the front panel up from the rear case.
-
The iSclack is designed to safely open your iPhone just enough to separate the pieces, but not enough to damage the home button cable.
-
Skip the next three steps and continue on step 8.
-
-
-
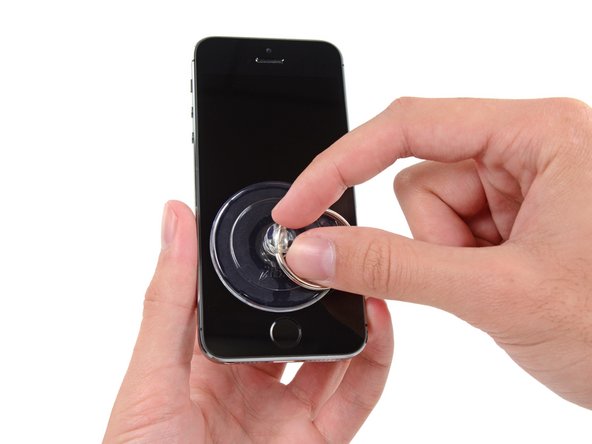
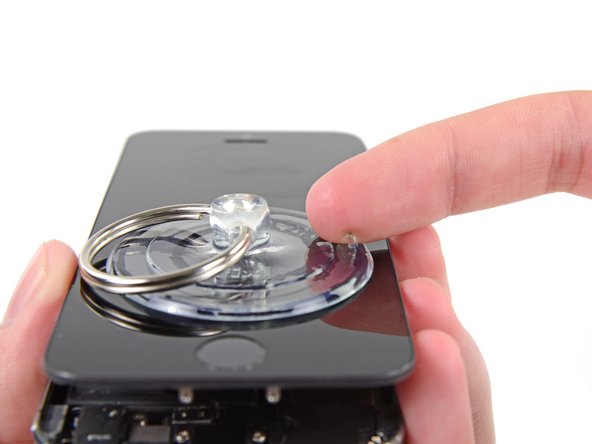
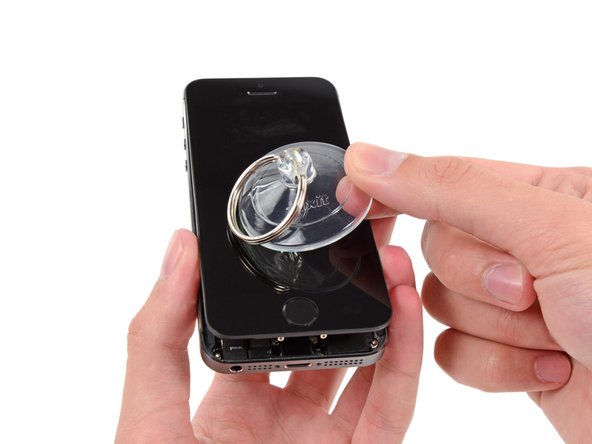
If you don't have an iSclack, use a single suction cup to lift the front panel:
-
Press a suction cup onto the screen, just above the home button.
-
-
-
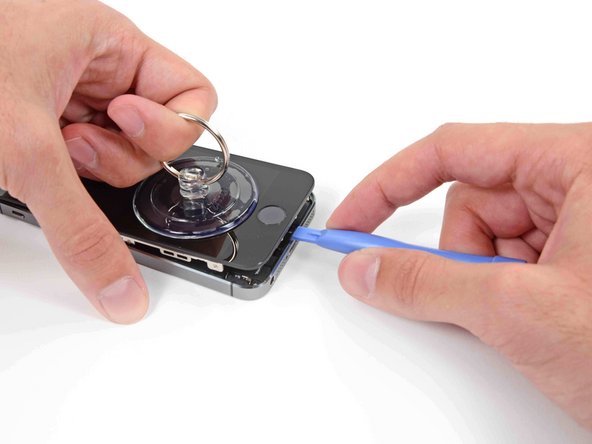
While holding the iPhone down with one hand, pull up on the suction cup to slightly separate the home button end of the front panel from the rear case.
-
With a plastic opening tool, gently pry the edges of the rear case down, away from the front panel assembly, while you pull up with the suction cup.
-
-
-
Pull the plastic nub to release the vacuum seal on the suction cup.
-
Remove the suction cup from the display assembly.
-
-
-
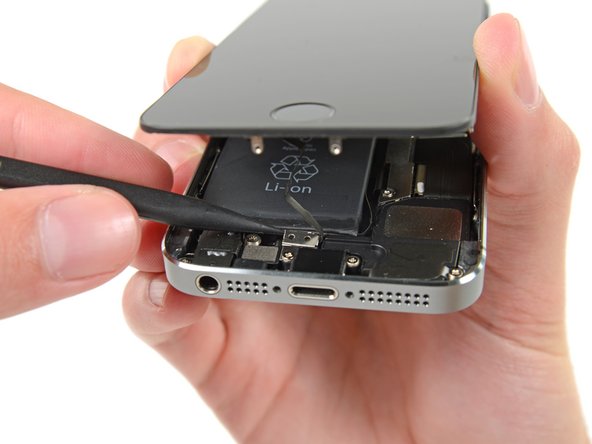
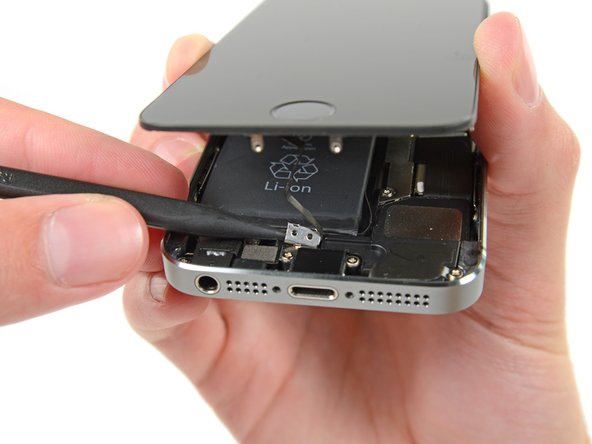
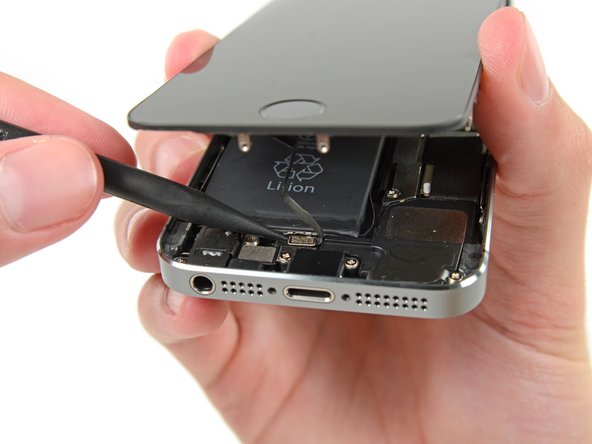
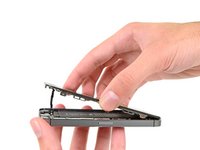
Open the phone just enough to reveal the metal bracket covering the home button cable.
-
Only the phone's original home button assembly will be capable of using the Touch ID functionality. If you rip the cable, installing a new home button will only restore ordinary home button functions, not the Touch ID features.
-
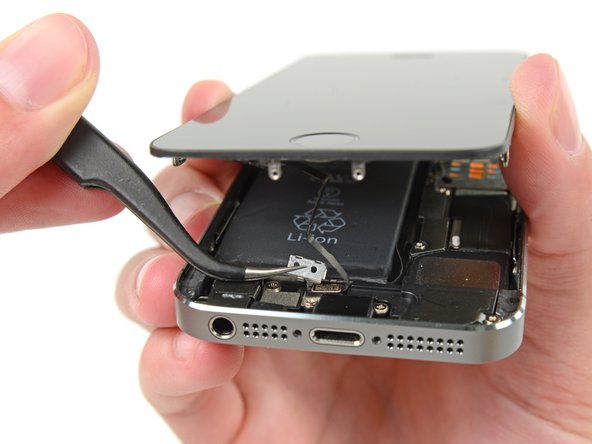
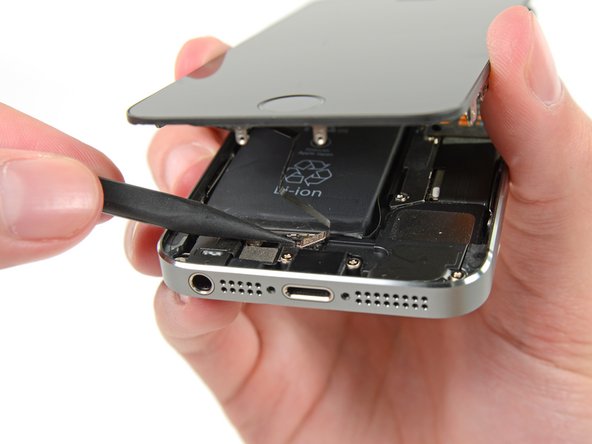
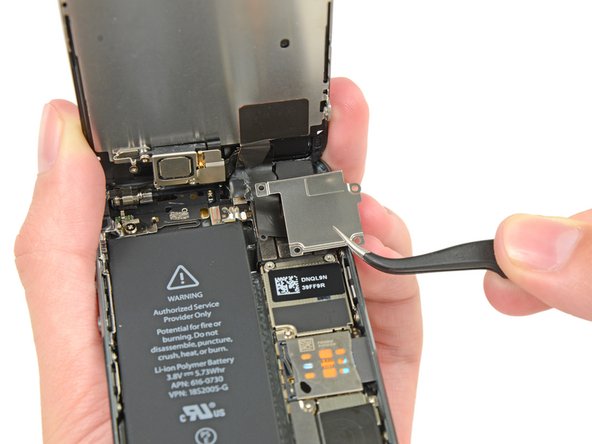
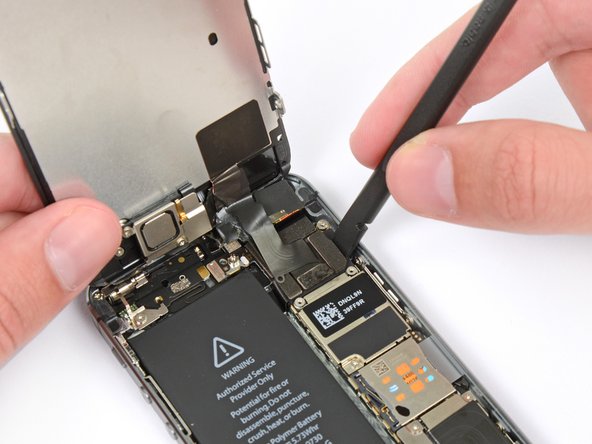
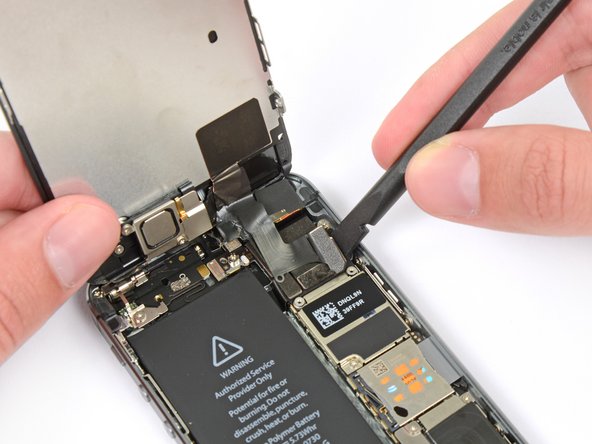
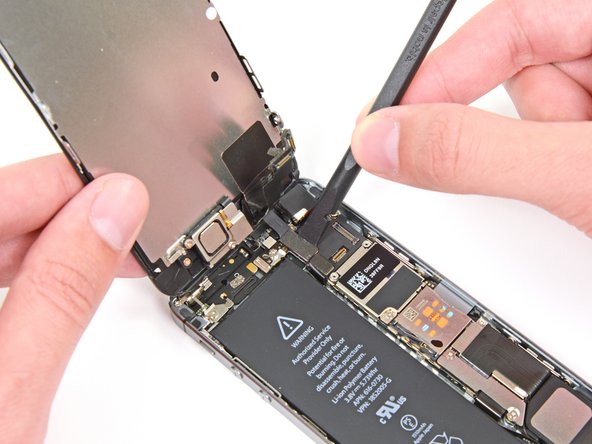
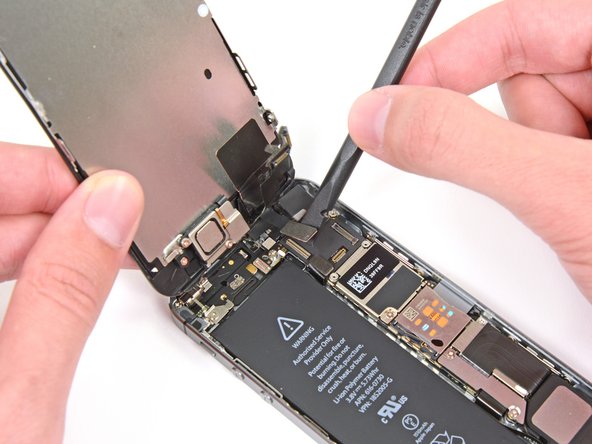
Use the tip of a spudger to push the bracket free and remove it with tweezers.
-
-
-
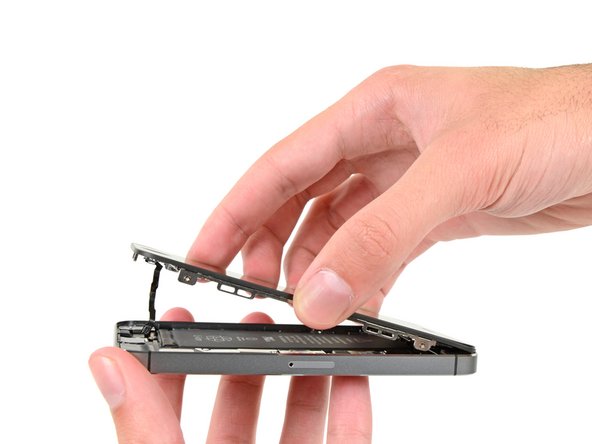
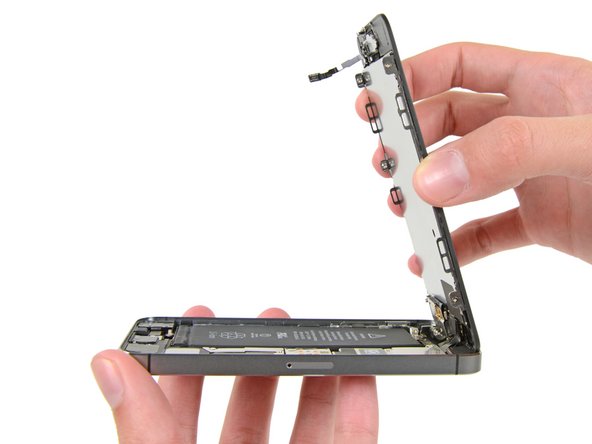
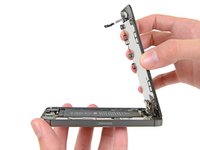
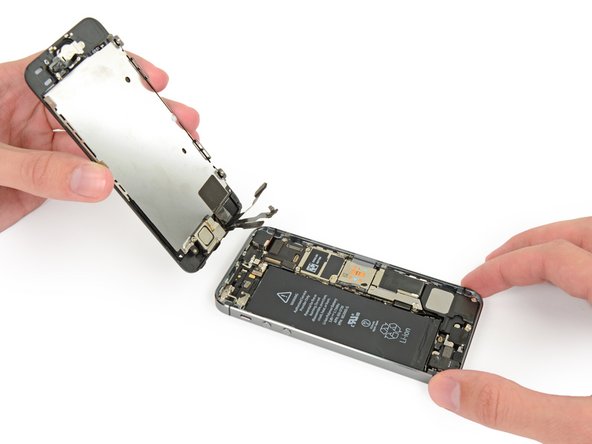
Once the connector has been released, pull the home button end of the assembly away from the rear case, using the top of the phone as a hinge.
-
-
-
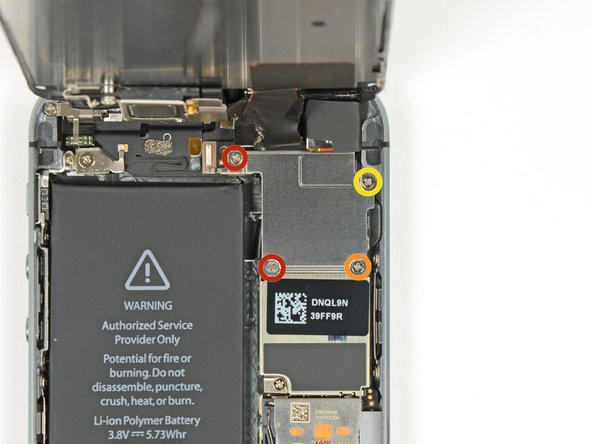
Remove the following screws securing the front panel assembly cable bracket to the logic board:
-
Two 1.7 mm Phillips #000 screws
-
One 1.2 mm Phillips #000 screw
-
One 1.3 mm Phillips #000 screw
-
-
-
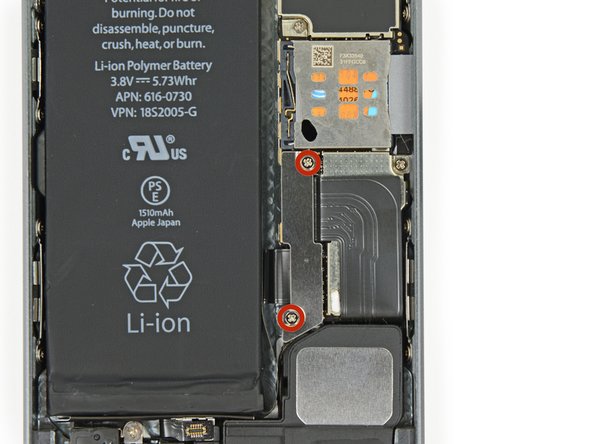
Remove the two 1.6 mm Phillips #000 screws securing the metal battery connector bracket to the logic board.
-
-
-
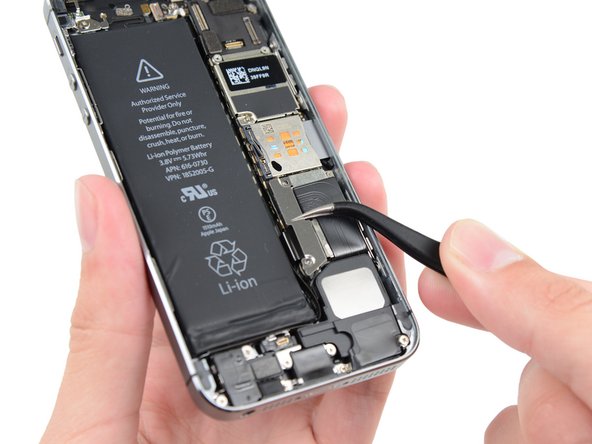
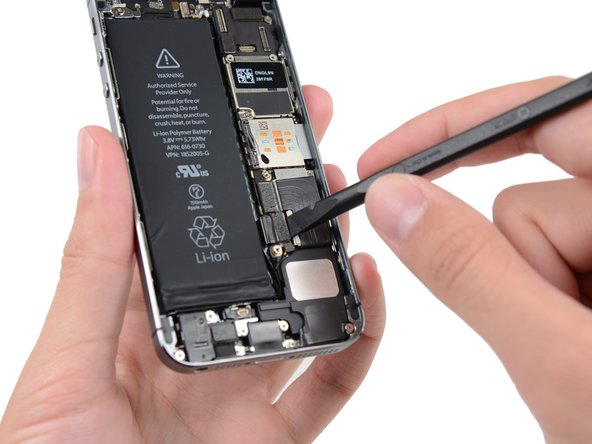
Use the flat end of a spudger to gently pry the battery connector up from its socket on the logic board.
-
-
-
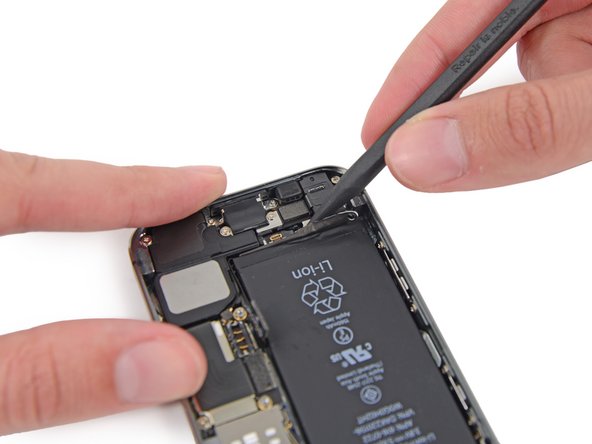
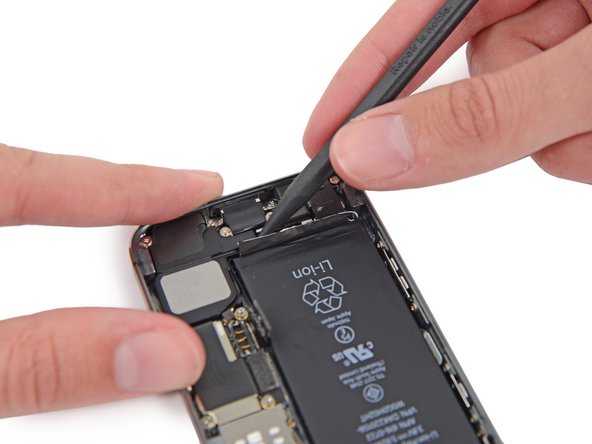
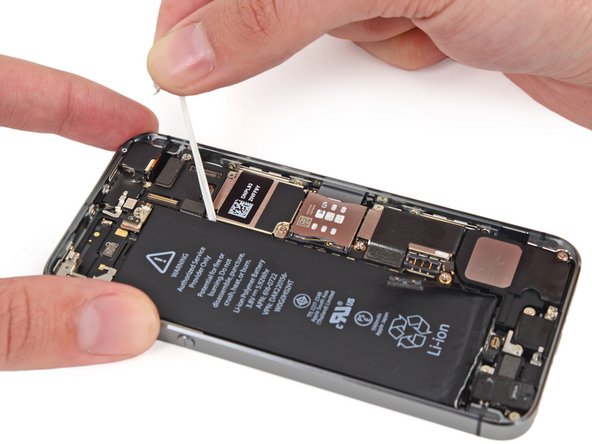
Run the tip of a spudger between the battery and the headphone jack to unfold the battery adhesive tab.
-
-
-
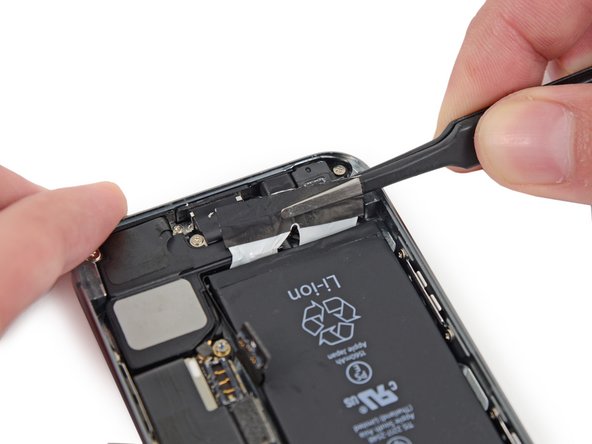
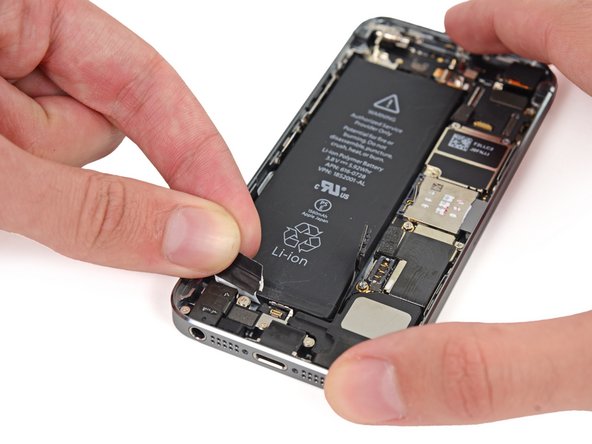
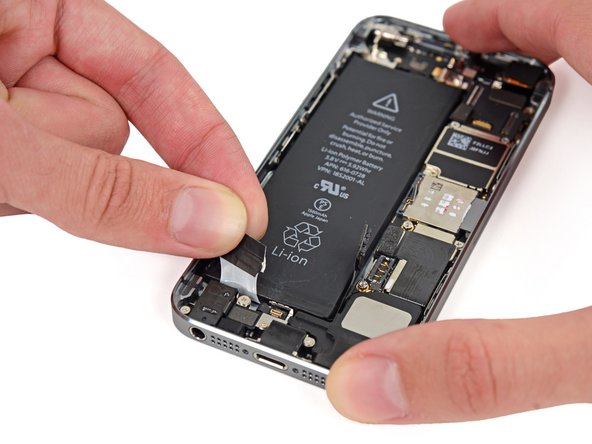
Use a pair of tweezers to pull the battery adhesive tab away from the phone.
-
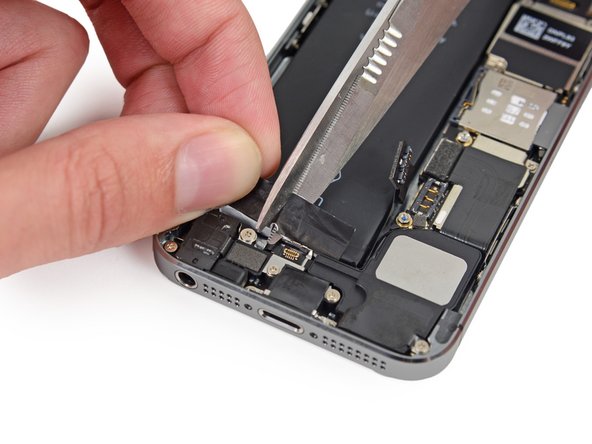
Cut the black battery adhesive tab between the two white adhesive strips, separating them.
-
-
-
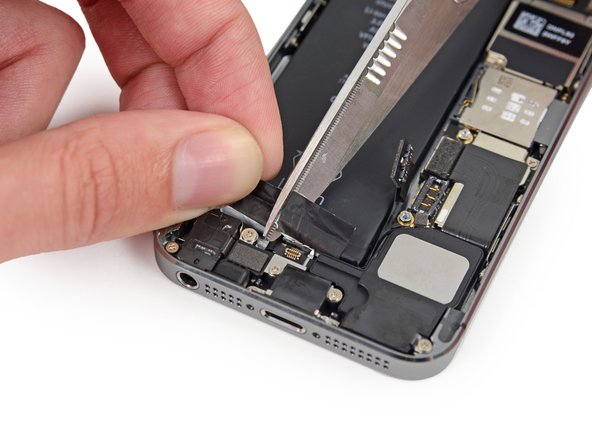
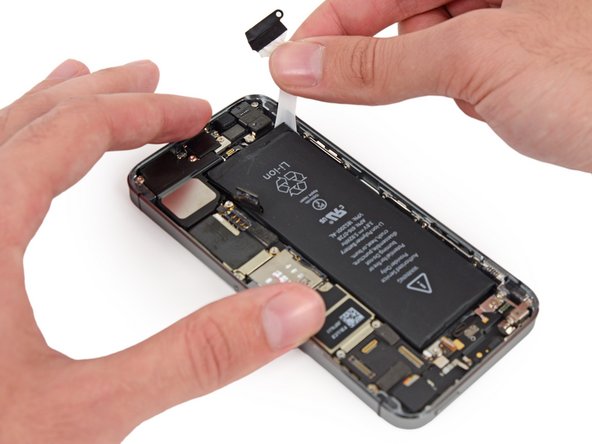
Pull the outside battery adhesive tab straight up and carefully around the corner of the battery.
-
-
-
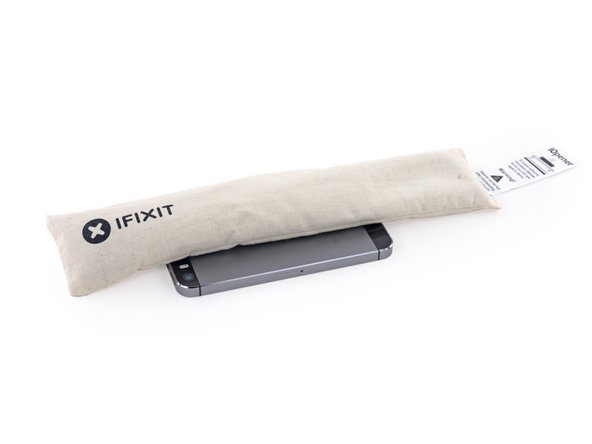
If any of the adhesive strips broke off and the battery remains stuck to the rear case, [invalid guide link] or use a hair dryer to heat the rear case directly behind the battery.
-
-
-
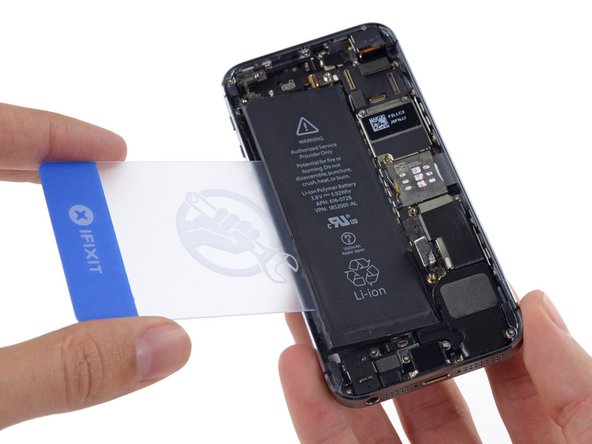
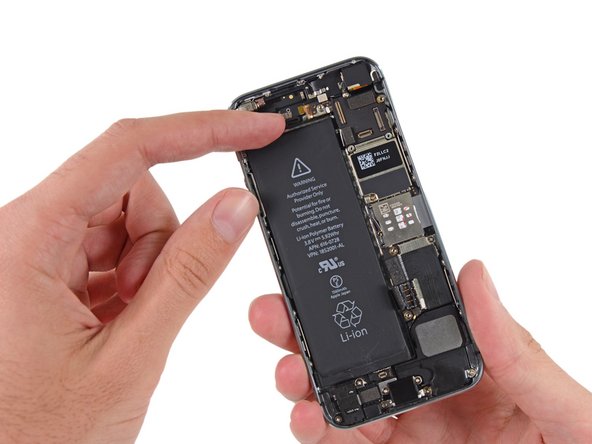
Flip the iPhone back over and insert a plastic card between the case side of the battery and the rear case.
-
Do not pry against the logic board or you may damage the phone.
-
Press the card in farther to break up the adhesive behind the battery.
-


