
Introduction
The plastic part on the bottom of the iPod.
What you need
-
-
Carefully insert a small flathead screwdriver in the seam between the metal casing and white plastic bottom Use the screwdriver to pry up the white plastic bottom bezel. Be careful not to damage the soft plastic with your screwdriver.
-
-
-
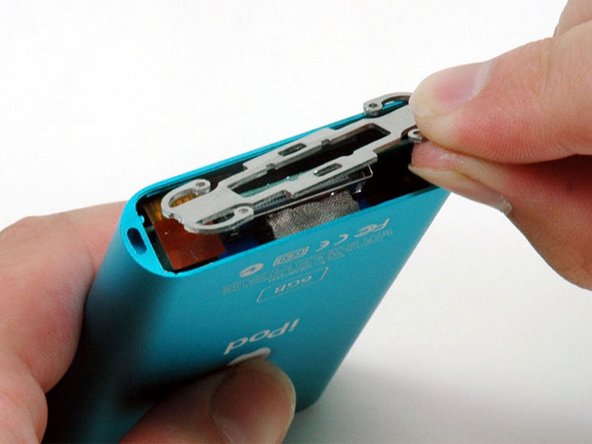
A small pair of snap ring pliers is the easiest tool to remove the metal retaining bracket.
-
You can also use a flathead screwdriver to pry out the metal retaining bracket beneath the bottom bezel as shown. You can free the bracket by first pushing in the metal arms on the corners and then lifting the bracket.
-


Conclusion
To reassemble your device, follow these instructions in reverse order.
