
Introduction
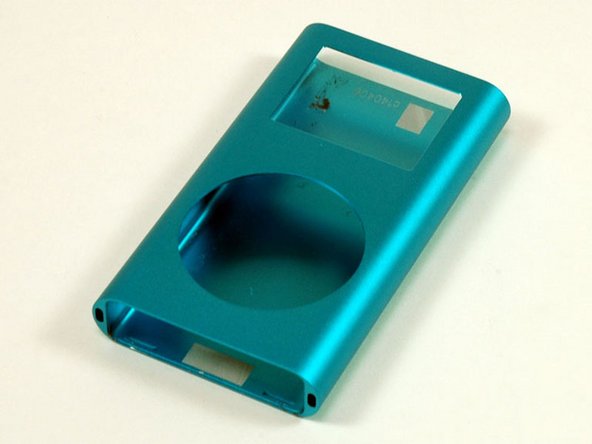
The colored metal casing.
What you need
-
-
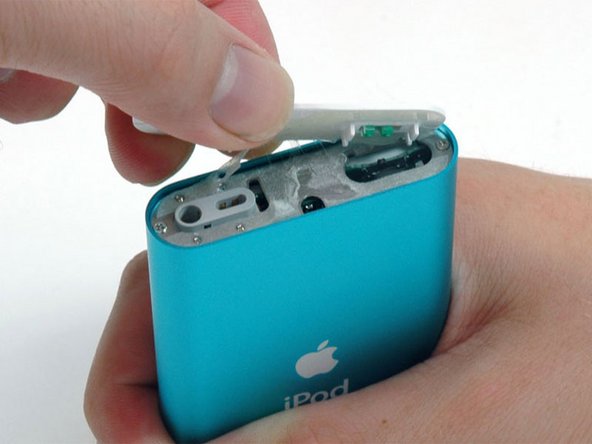
Carefully insert a small flathead screwdriver in the seam between the metal casing and white plastic top. Use the screwdriver to pry up the white plastic top bezel. Be careful not to damage the soft plastic with your screwdriver.
-
To make this job easier, heat up the adhesive with a hairdryer on low heat for a few seconds.
-
-
-
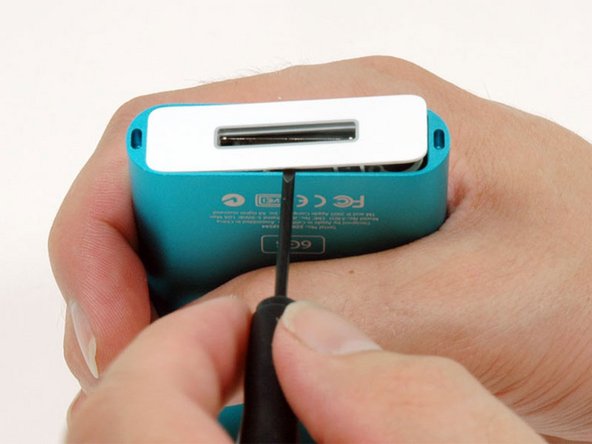
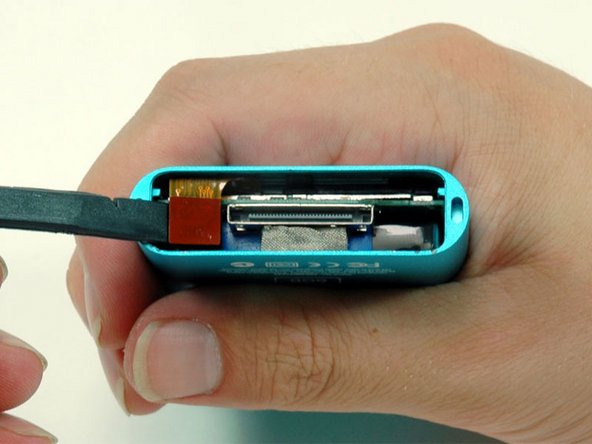
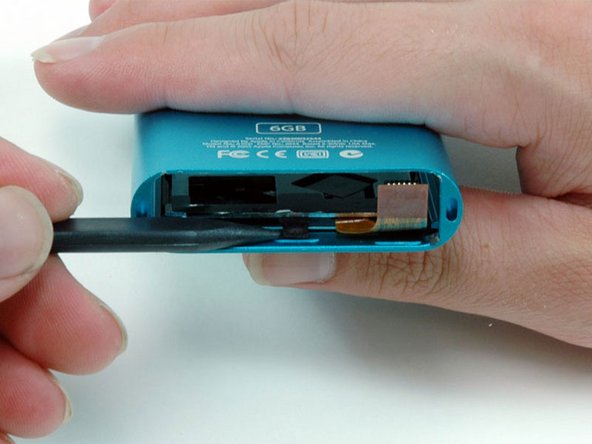
Carefully insert a small flathead screwdriver in the seam between the metal casing and white plastic bottom Use the screwdriver to pry up the white plastic bottom bezel. Be careful not to damage the soft plastic with your screwdriver.
-
-
-
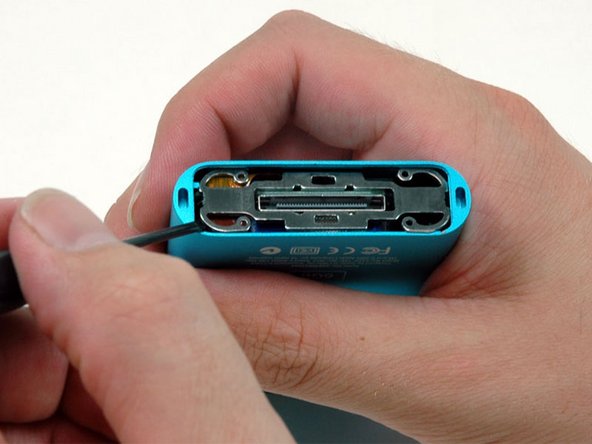
A small pair of snap ring pliers is the easiest tool to remove the metal retaining bracket.
-
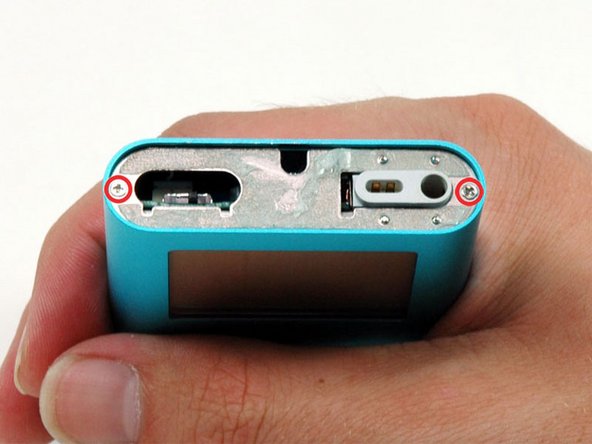
You can also use a flathead screwdriver to pry out the metal retaining bracket beneath the bottom bezel as shown. You can free the bracket by first pushing in the metal arms on the corners and then lifting the bracket.
-
-
-
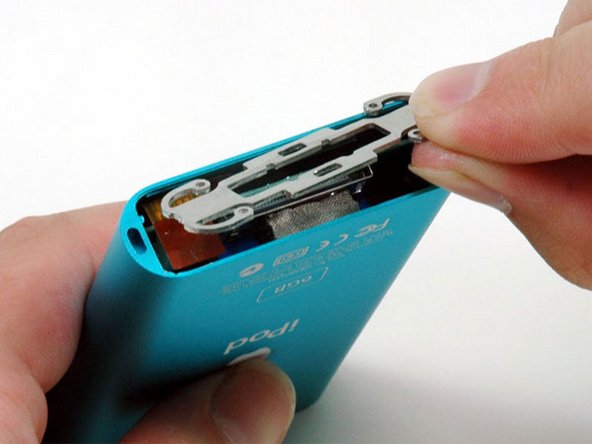
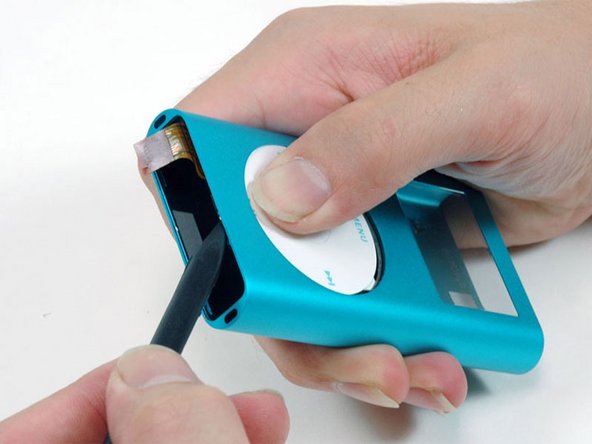
Use a spudger or the tip of your finger to carefully disconect the orange click wheel ribbon from the logic board.
-
-
-
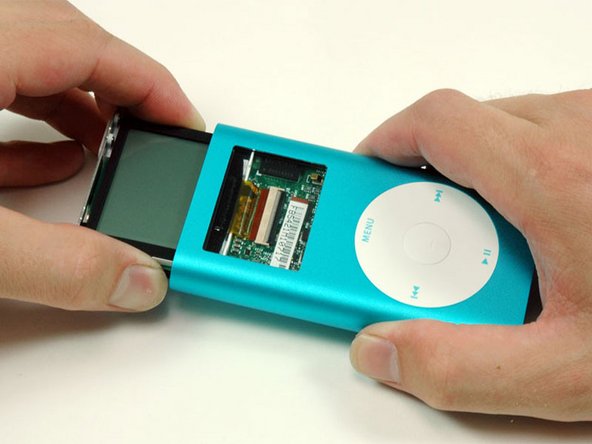
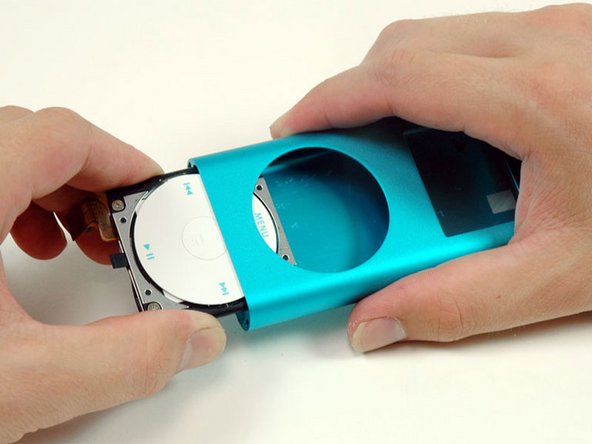
Carefully slide the iPod out of its casing by pushing on the logic board near the bottom edge of the click wheel.
-
-
-
After pushing the logic board out sufficiently, gently grasp the logic board on either side of the display, and continue to slide the iPod out of its casing.
-
-
-
Continue to pull back on the black plastic tab and use your other hand to press down on the click wheel and begin to slide it out of the iPod.
-


To reassemble your device, follow these instructions in reverse order.
