
iPod Mini Top Bezel Replacement

What you need

  1. iPod Mini Top Bezel Replacement, iPod Mini Top Bezel Replacement: step 1, image 1 of 1
    • Before opening your iPod, ensure that the hold switch is in the locked position.

    Add Comment

  2. iPod Mini Top Bezel Replacement: step 2, image 1 of 1
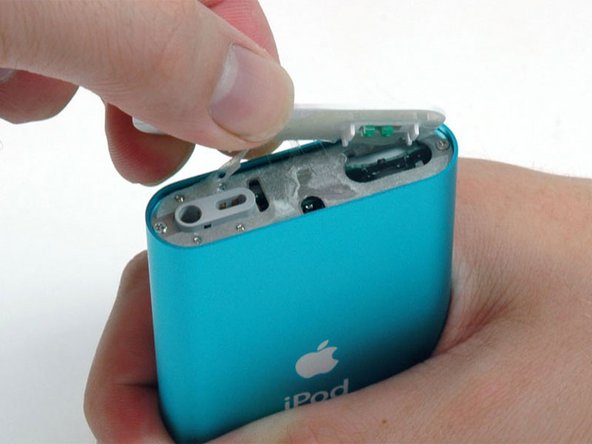
    • Carefully insert a small flathead screwdriver in the seam between the metal casing and white plastic top. Use the screwdriver to pry up the white plastic top bezel. Be careful not to damage the soft plastic with your screwdriver.

    • The top bezel is held on with an adhesive, so it may be necessary to pry up in several different locations to free the part.

    • To make this job easier, heat up the adhesive with a hairdryer on low heat for a few seconds.

    Add Comment

  3. iPod Mini Top Bezel Replacement: step 3, image 1 of 1
    • Lift the top bezel off of the iPod.

    Add Comment

Conclusion

To reassemble your device, follow these instructions in reverse order.

Cancel: I did not complete this guide.

System

Member since: 09/24/09

2,562 Guides authored

0 Guide Comments

Add Comment

View Statistics:

Past 24 Hours: 0

Past 7 Days: 0

Past 30 Days: 0

All Time: 9