
iPod Shuffle 4th Generation Rear Panel Replacement

What you need

  1. iPod Shuffle 4th Generation Rear Panel Replacement, iPod Shuffle 4th Generation Rear Panel Replacement: step 1, image 1 of 1
    • Accessing the internals of the 4th generation Shuffle is extremely difficult, as the rear panel is both glued to the front case and secured by metal retaining clips. It is highly unlikely that you will be able to remove the rear panel without inflicting cosmetic and/or structural damage.

    • Before proceeding, be sure your Shuffle is switched off.

    Add Comment

  2. iPod Shuffle 4th Generation Rear Panel Replacement: step 2, image 1 of 2 iPod Shuffle 4th Generation Rear Panel Replacement: step 2, image 2 of 2
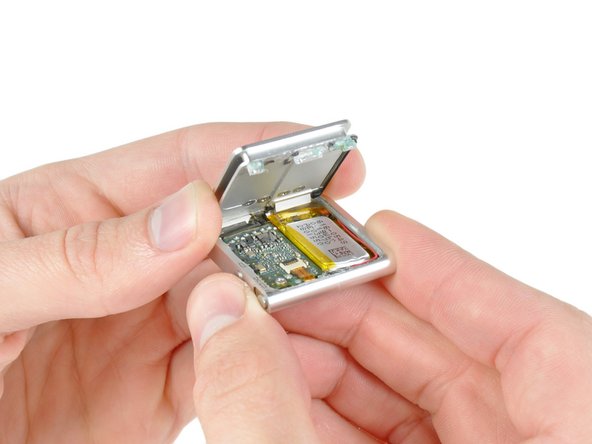
    • Use a combination of iPod opening tools and metal spudgers to pry the rear panel away from the Shuffle by the seam nearest the ON/OFF switch.

    Add Comment

  3. iPod Shuffle 4th Generation Rear Panel Replacement: step 3, image 1 of 1
    • Remove the rear panel from the Shuffle.

    Add Comment

Conclusion

To reassemble your device, follow these instructions in reverse order.

Cancel: I did not complete this guide.

System

Member since: 09/24/09

2,562 Guides authored

0 Guide Comments

Add Comment

View Statistics:

Past 24 Hours: 0

Past 7 Days: 0

Past 30 Days: 0

All Time: 10