Introduction
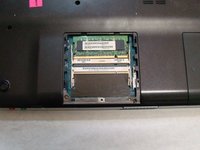
This guide helps users replace the RAM in the Sony Vaio PCG-7A2L laptop.
What you need
-
-
-
Lay the closed laptop on its screen so the bottom is facing towards you.
-
-
-
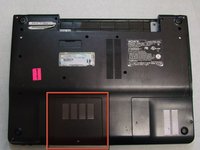
With the bottom of the laptop facing up, locate the RAM cover.
-
The RAM is covered by the panel with four columns of vents.
-
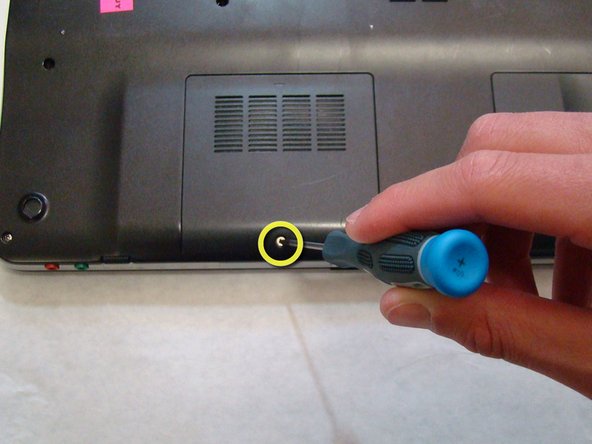
Locate the screw (Length: 4.8 mm) holding down the panel, which is near the edge of the laptop. Unscrew it with your phillips #0 screwdriver.
-
-
-
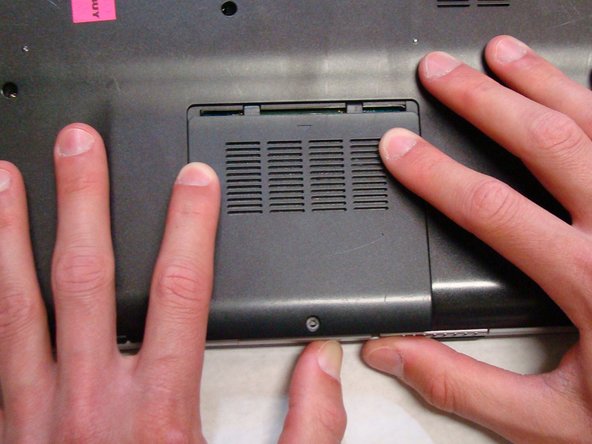
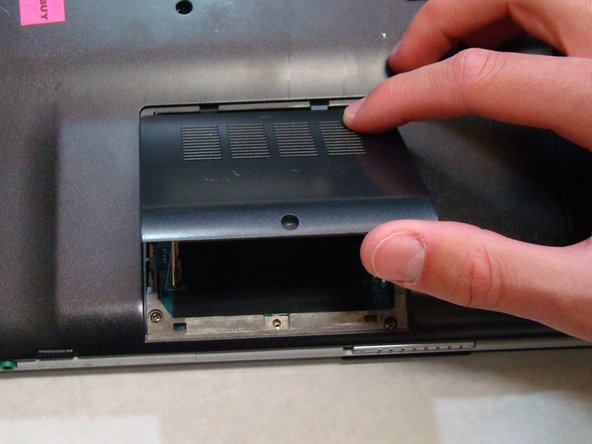
Use your fingers to slide the cover away from the laptop. (It will only slide a few millimeters)
-
Once the panel is out of its locked position, it can be lifted out without any resistance.
-
-
-
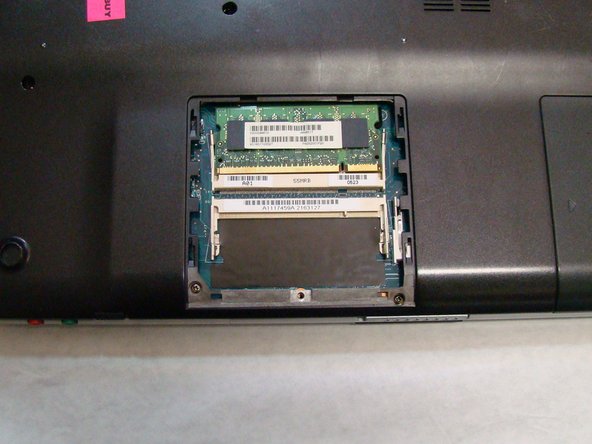
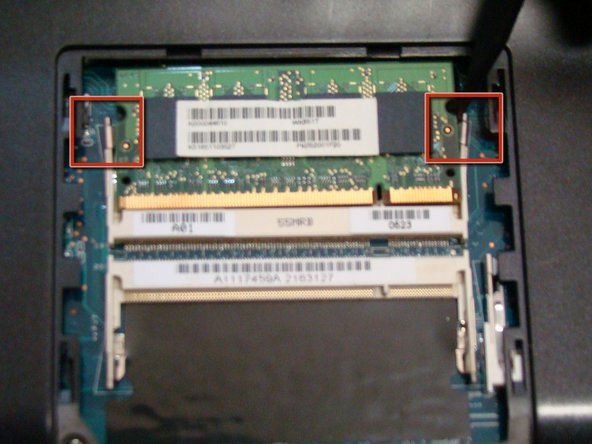
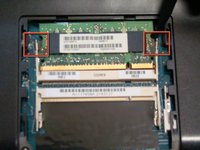
To remove the RAM, use sharp end of a spudger to push the two silver tabs (see picture) away from the green RAM chip.
-
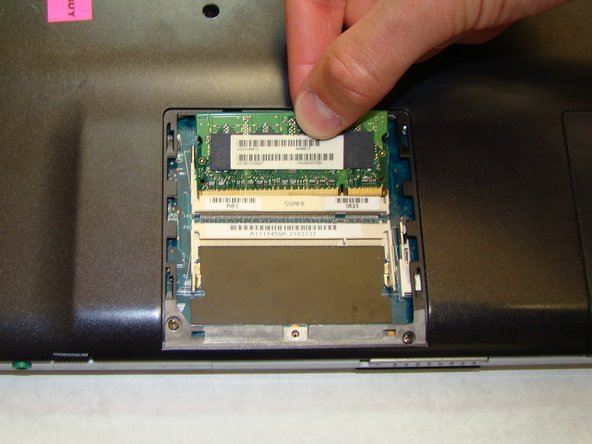
When both silver tabs are moved to the side, one edge of the RAM chip will pop up from its original position.
-
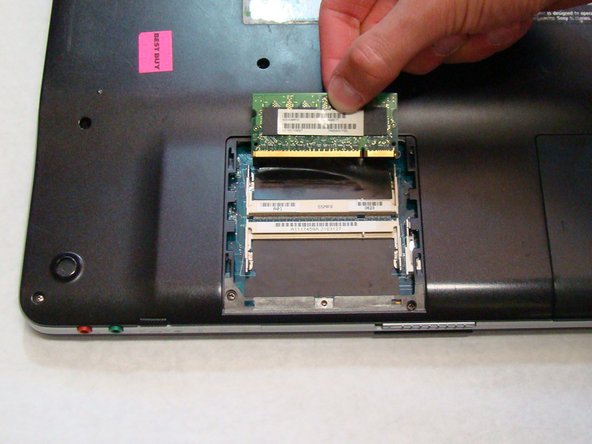
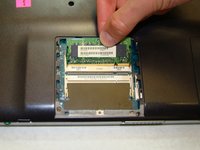
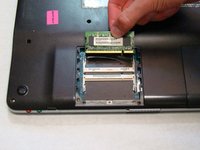
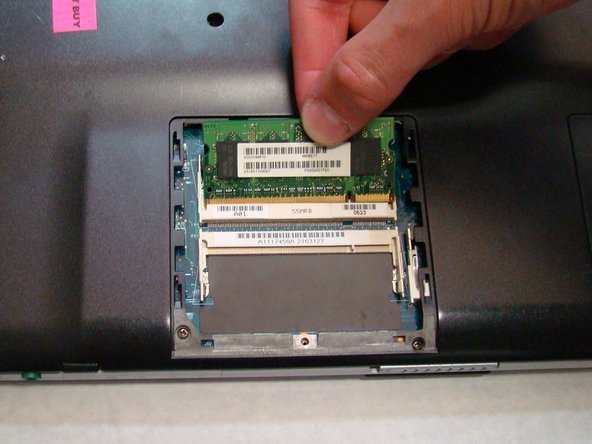
Use your fingers to grab the raised edge of the RAM and pull the chip away from its connection to the laptop.
-
-
-
To install the new RAM, grip the new chip exactly the same way as you gripped the old chip when you removed it.
-
Insert the gold leads of the RAM into the connection at the same angle the original chip was raised at after the tabs were released.
-
-
-
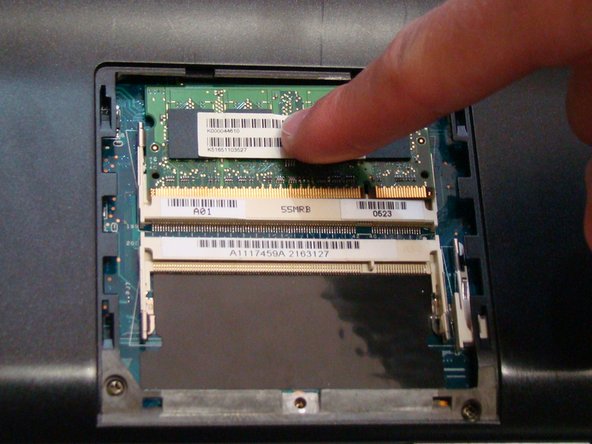
To finish the RAM installation, use your finger to push down on the center of the RAM until it clips into the silver tabs and locks into place.
-
Work backwards through the Disassembling Ram Cover Guide and then the Disassembling Battery Guide to reassemble your laptop.
-
-